UPDATED IDEA
As an update for this project, I decided against the below sketch as I was having complications with my LDR piece, as after multiple attempts, I could get no reading off of the input. Ultimately, after reconsidering the input, I came up with the little sketch below.
I am more pleased with this outcome, it is a bit more fun as well.

Cartoon sketch with embroidered sketch.

I was able to use one of the example codes File > Examples > .02Digital > Button in conjunction with the description on how to tweak a basic button function found in pages 43 – 50 in the Getting Started with Arduino book.
Was able to stab that little button through the fabric directly into the breadboard.

And the reverse, to show how I secured the LED. I just embroidered the cord directly into the design.

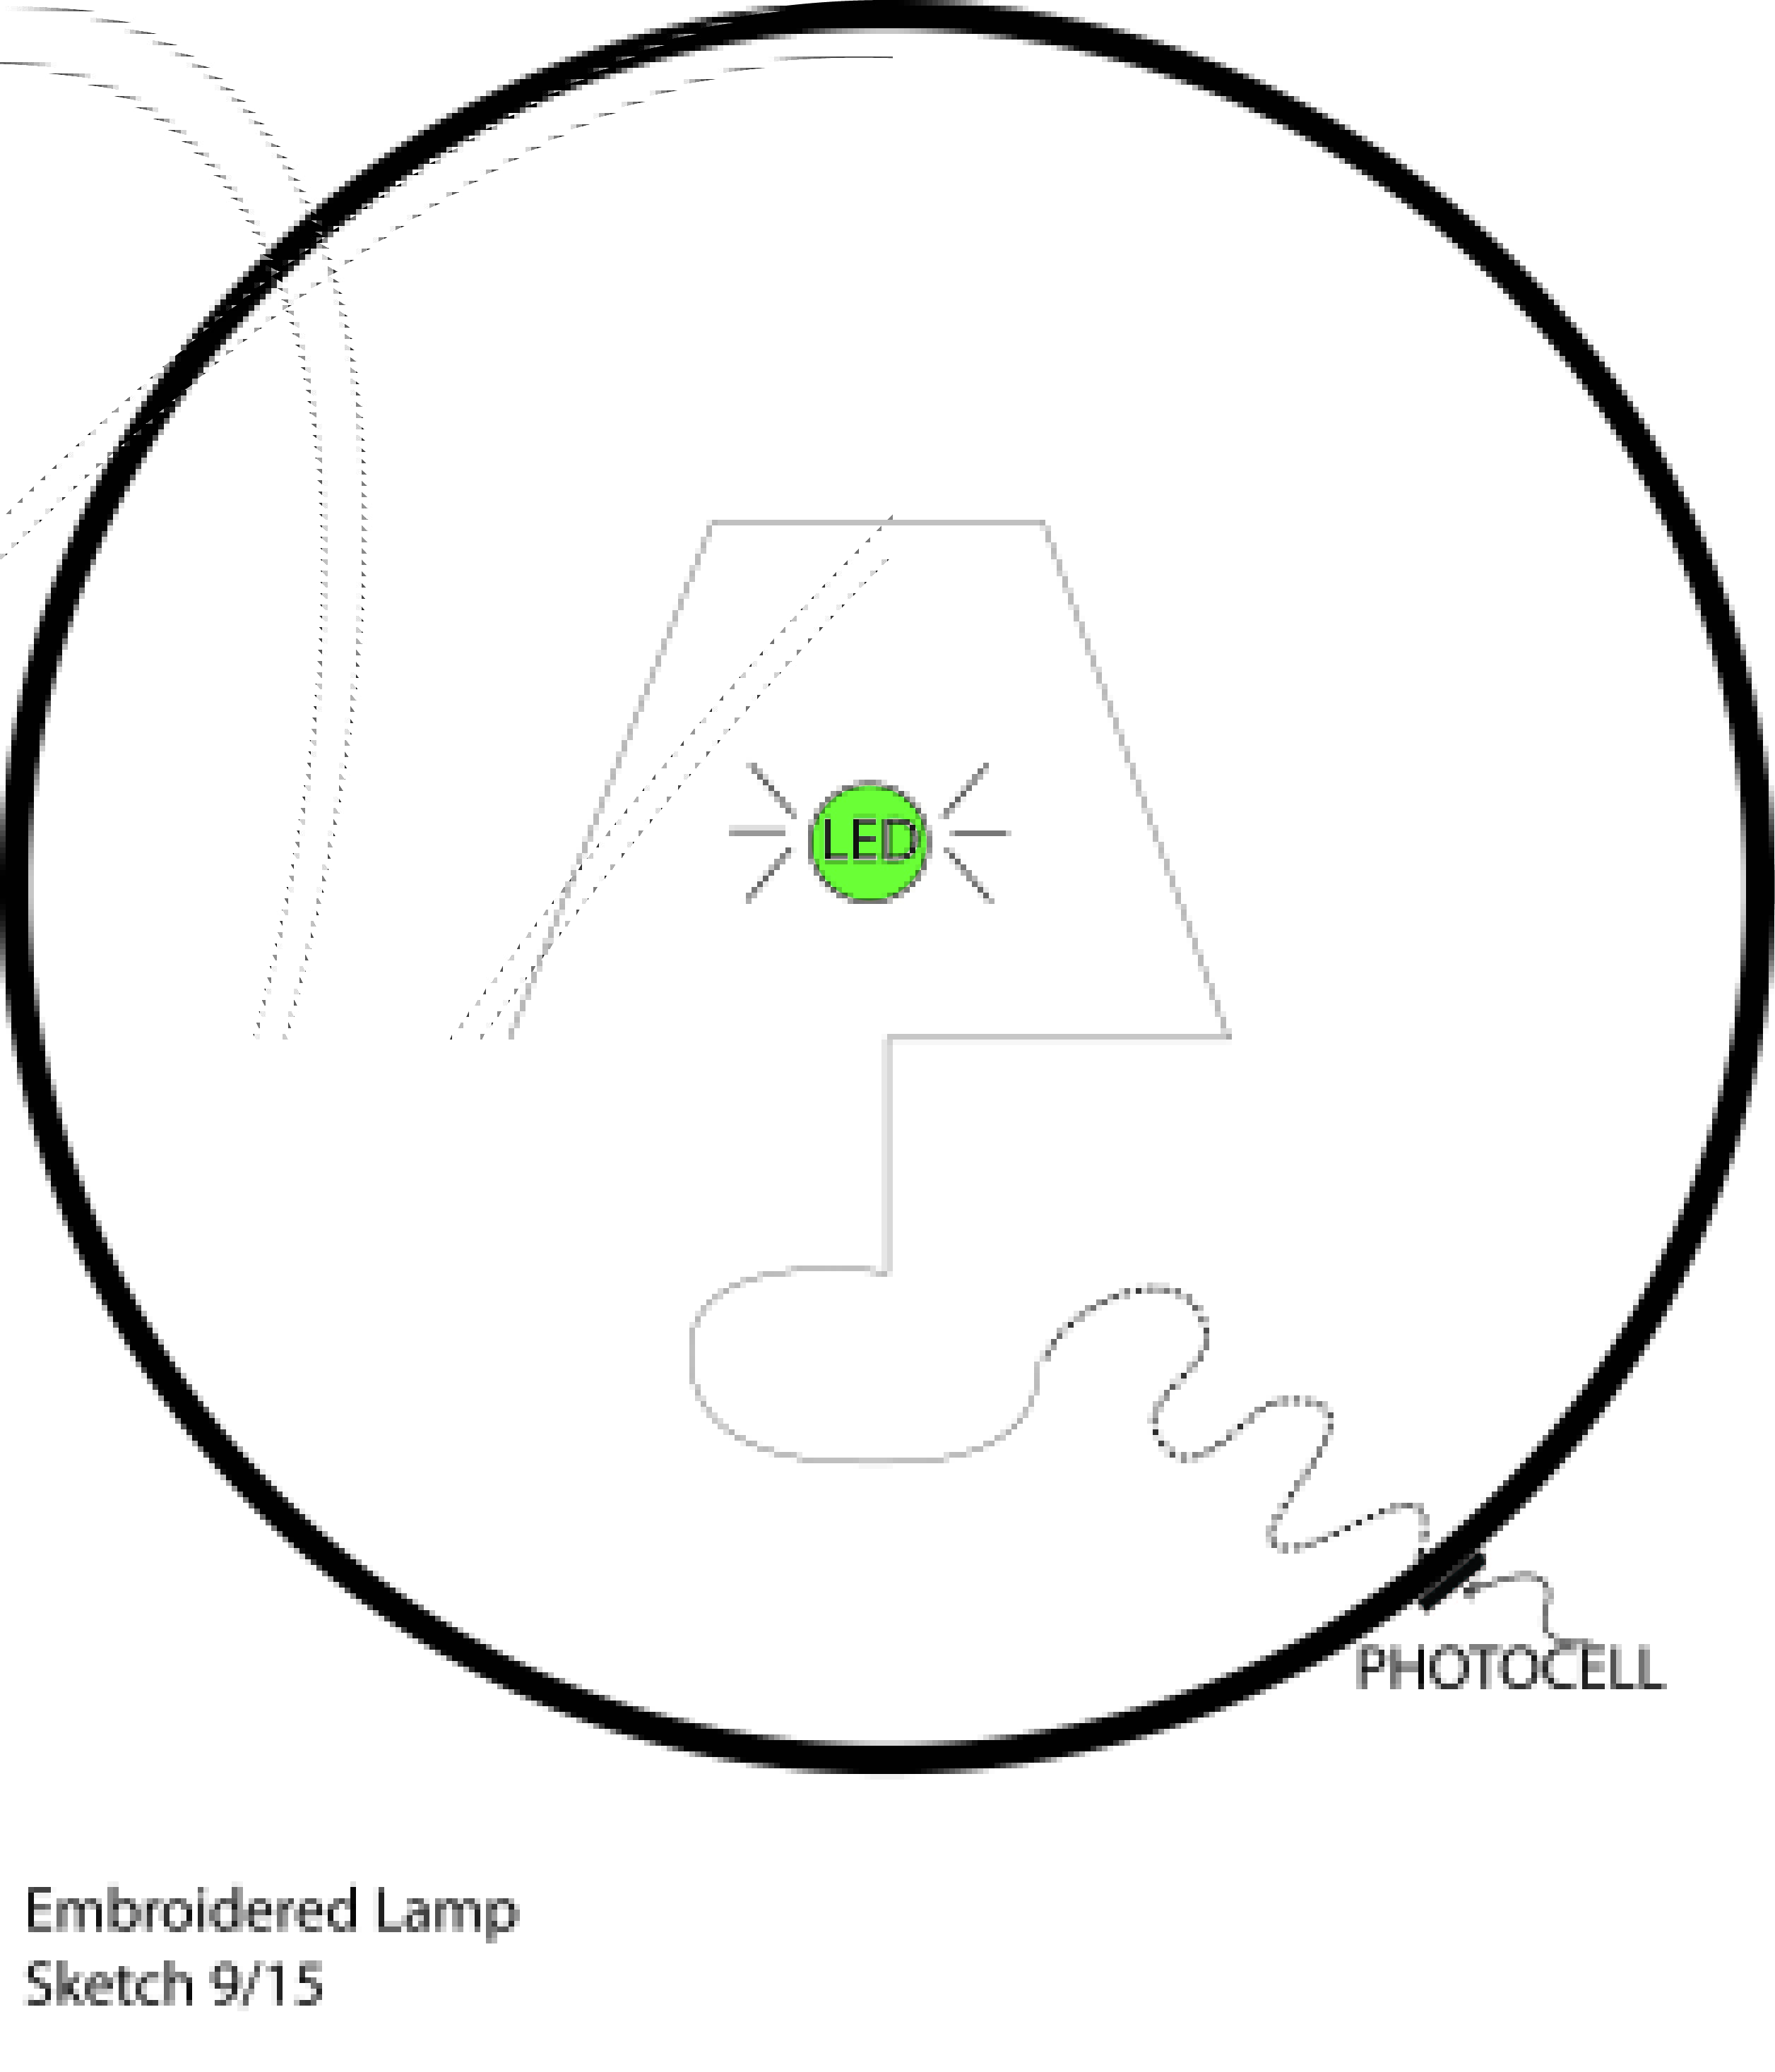
ORIGINAL IDEA…
For this project I am exploring using an LDR to make a light detector lamp. I am imagining a embroidered scene you can hang on a wall, which when the ambient light in the room fades, the LED “lamp” automatically turns on.
I have found this instructibles page that seems to explain the process fairly well.
Below is a quick sketch I put together today of the direction I had imagined this going.
I much prefer the new sketch over the original. It’s infinitely more personable since the button is now a wall switch. And it’s to scale, too! Nice touch!