For our first project I decided to teardown a Nintendo Entertainment System, which I found at the Lower East Side Ecology Center Reuse Store in Gowanus, what a great place!

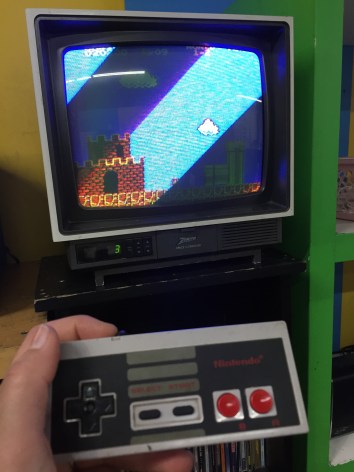
Aside from dropping off a bag full of old cables and some broken speakers; I had the privilege of walking around with one of the workers there, Carlos Cabrera. He showed me around the prop isles and some back isles where there were some things that he thought could be interesting to teardown. It was a hard choice, but I decided to go for a Nintendo, since it was the first video game I played with as a child. This one was damaged by a spill. Fun fact: the store has a functional one in the front that visitors may test out, I got to play Mario Bros for a couple of minutes =)
The teardown was fairly easy, I used 2 small screwdrivers and a pair of pliers. Clic on the pictures below to see the full progression with some explanations along the way.

Before starting

First few panels off, the bulk of the larger screws were removed by this point

Removing the mechanism that the games feed into, this was the part where dust would give us all problems when loading games

Connections to the circuit board dismanteled

Cables and buttons that lead to the outside of the box removed

This is the Radio Frequency Modulator (RFM) box, it is the part of the circuit board that takes information from the Picture processing Unit (PPU) & turns it into Audio

Inside the RFM, we can see some capacitors, they store electric charge. We also see various resistors, which are used to reduce the flow of electric current through the system.

Here we take a close up at the circuit board, the two large chips are the Picture Prossesing Units or PPUs, note that this unit was manufactured in 1987. Right on top of the date you will see what they call the “Expansion Slot” which was apparently never used

The small chip in the middle that starts with a “uPA…” is a Diode which is a semiconductor device that allows the flow of current in one direction only

Here I disassembled the mechanism for the Power and Reset buttons

Little tabs keep these pieces together, most tabs cracked off when disassembling

Springs are a main function in these switches

Here is a layout of all the small plastic & metal parts in the switch

These are the connectors for the two controllers, the controllers plug into the black large parts and the signal is fed throught the cables into the circuit board through the small green plastic part

And here are all the parts photographed together
One thing that I noticed while tearing down the Nintendo is what caused the unit to break. A liquid of some sort must have spilled on the unit, and seeped through the top vents into important parts of the circuit board. The gravity of the damage could have easily been avoided if the vents would have been designed on the sides or back of the unit. While researching, I also came across people who complained that the way the games hooked into the machine, it is delicate and prone to problems. Not only did dust interfere with the video game (most of us can remember having to blow on the game before inserting it!), but if any of the prongs were bent out of shape, the whole part had to be changed. In the last picture of my slide progression you can see it, it is the black plastic part right above the circuit board.
The experience of tearing down an electronic was pretty fun, researching the parts also yielded some interesting insights about this product, I am still in awe with the complexity of the circuit and I am looking forward to learning more about circuits and programing with Arduino. Thank you!
Like this:
Like Loading...

Author: Alexia Cohen
Alexia is a Belgian-Venezuelan-American designer living in New York City. She received a BFA from the Massachusetts College of Art and Design in Jewelry and Metalsmithing in 2006 with honors and distinction. Soon after graduating she established her studio and started exhibiting her Jewelry work in various galleries and trade shows across the U.S. After moving to NY in 2009, Alexia was hired as the Jewelry Studio Technician and as a Visiting Professor at Pratt Institute in Brooklyn. During her time at Pratt she had the opportunity to enroll in Industrial Design classes and eventually decided to pursue design more seriously by accepting a seat at the Products of Design MFA at the School of Visual Arts.
At PoD Alexia has had the opportunity to engage in projects involving design research, user experience, systems thinking, and sustainable practices—which combined with her entrepreneurial spirit, make her ready to tackle complex challenges with curiosity and ingenuity.
Making and experimentation often go beyond the studio space for her, lately the kitchen counter has seen some examples of wild fermentation through sourdough bread baking, and her hands have developed new muscles through a new-found love for rock climbing and adventure.
Alexia’s aspiration is to join a team of likeminded designers and professionals to further develop her design and leadership skills, looking towards a more resilient and sustainable future.
Interested in working with Alexia? please e-mail her at: cohen.alexia@gmail.com
View all posts by Alexia Cohen
Alexia this is great! Thanks for sharing your trip to the e-waste facility. Could you reflect on the designers’ decisions for some aspects of this object? Refer to the last bit in the assignment post “Select two design elements that interest you and describe why you think the designer made it that way.”