Final: Automatic Night Light


IMG_1314https://www.instructables.com/editInstructable/edit/E0X38G2JPINZ6L1/step/1

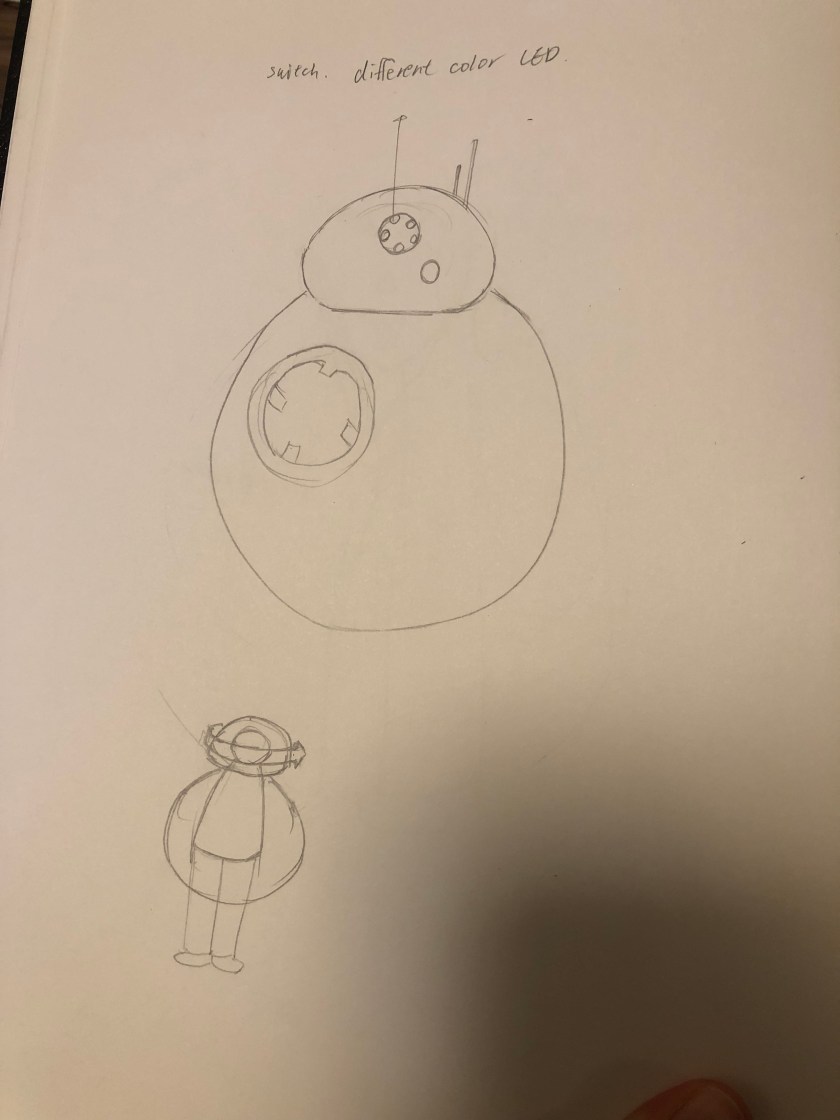
I made the Automatic Night Light named as SWIMCLOUD. It would detect the darkness and lights up by itself when people turn off the lights, so I do not need to turn on the night light by myself and do not need to afraid the darkness anymore.

IMG_3635

However, I used the transparent acrylic to build my model because of inspiration by below these photos. I think if I let people know what is the mechanism inside, and how it works, and it might raise the curious of this products and make it different from the common night light.

Then I laser cut the components which I want to build my model and used acrylic adhesive to stick it together.

For the circuit, I used the PIR sensor to detect the darkness on the Arduino board. And put cotton in the transparent cylinder to diffuse the lights, and make some change to let the lights suitable for the environment when people sleep.

Here is the circuit I built.

IMG_2787

And here are the process of model building.

IMG_3634IMG_3645IMG_3647IMG_3646


Here is the coding I used

#include <Adafruit_NeoPixel.h>
const int ldrPin = 5;
const int ledPin = 9;
const int brightness = 100;
#define PIN 9
Adafruit_NeoPixel strip = Adafruit_NeoPixel(8, PIN, NEO_GRBW + NEO_KHZ800);

int ldrState = 0;

void setup() {
Serial.begin( 9600 );
pinMode(ledPin, OUTPUT);
pinMode(ldrPin, INPUT);
strip.setBrightness(50);
strip.begin();
strip.show(); // Initialize all pixels to ‘off’
}

void loop() {
ldrState = analogRead(ldrPin);

if (ldrState <= brightness) {
colorWipe(strip.Color(0, 0, 0, 255), 50);
} else {
colorWipe(strip.Color(0, 0, 0, 0), 50);

}
Serial.print(“LDR Value = “);
Serial.println( ldrState );
delay(500);
}

// Fill the dots one after the other with a color
void colorWipe(uint32_t c, uint8_t wait) {
for(uint16_t i=0; i<strip.numPixels(); i++) {
strip.setPixelColor(i, c);
strip.show();
delay(wait);
}
}

Week 10 homework

Here is my first idea, name GoodNight.

GoodNight could detect the darkness of surroundings, so if I turn off the light, it will light up itself and show the time on the surfaces. So I do not need to turn on the other night light.IMG_2185


My second idea is a small fan. And it could detect the concentration of Carbon Dioxide in the house. If the Carbon Dioxide concentration is too high, and it would turn on the fan automatically. So I do not need to open the door after I cooked.

IMG_2186


The last idea is the simple toys for play. When I throw something onto the 9×9 board, and the board which is impacted would light up and show the scores. So when people stress out could play this game with their friends or classmates.

IMG_2184

Lightsaber

Here is Halloween Costume of the Sith with the lightsaber.

Actually, I used paper to diffuse the light, but when the parade, the costumes from other people are too bright and the effective of the lightsaber is not that much good. So I pull out the paper in the parade.

IMG_1698Processed with VSCO with fp8 preset

Process:

IMG_7760

IMG_3399 2IMG_6803

IMG_6662 2


Week7 Homework

My circuit elements are still on the way, so I just figuring the circuit on the simulations circuits.

So I tried to make my physical lightsaber first.

I used a transparent tube to build my lightsaber, and use the laser cutter to cut the little acrylic to correspond the shape to stick on the top lightsaber in case the element will slide away.

I also find materials to build the handle and connect with the main shape of the lightsaber, using the pad to stick it around to make it more comfortable to hold and more like a real lightsaber.

IMG_4516IMG_2678


Week 6 homework

My first idea for Halloween outfit is the devil mask, there are some scars on its surface, and the eyes I will use LED to change the brightness.


IMG_9900


My second idea is wearing the mask and have one light sword which can change the color. But I still figuring out where to put the circuits things is better.IMG_5081


The third idea is the robot BB8, and I will make a robot shape and put the LED inside its eyes, and change the color. And when I wear on it, it can rotate the head side, so make it more like a real robot.IMG_0525


Week 4 Homework: Target Monster

Target Monster Story:

His name is Target Monster because of his body shape, so he was used as bowling before.
And now he is used as Target, I thought it is much better than bowling one, he always feels bad so his face always like this.

Actually, sometimes I will feel uncomfortable to sleep in the whole dark place, but now I can light up this Target Monster and put it beside my bed, and I will get more comfortable when I sleeping!

Sketch

Plush Night Light Sketch


Process

42940119_2352369531656952_2387471821906640896_n42943861_239028610098883_5334593791040946176_n


Finish

42921957_387821191753896_1718664062943887360_n

Week 3 Homework

Digital Input


The Serial Monitor


Pressing Button Change Fading Animation Speed

 // constants won't change. They're used here to set pin numbers:
const int buttonPin = 2; // the number of the pushbutton pin
const int led = 9; // the number of the LED pin
int brightness = 0; // how bright the LED is
int fadeAmount = 5; // how many points to fade the LED by
// variables will change:
int buttonState = 0; // variable for reading the pushbutton status

void setup() {
// initialize the LED pin as an output:
pinMode(led, OUTPUT);
// initialize the pushbutton pin as an input:
pinMode(buttonPin, INPUT);
}

void loop() {
// read the state of the pushbutton value:
buttonState = digitalRead(buttonPin);

// check if the pushbutton is pressed. If it is, the buttonState is HIGH:
if (buttonState == HIGH) {
// turn LED on:
analogWrite(led, brightness);

// change the brightness for next time through the loop:
brightness = brightness + fadeAmount;

// reverse the direction of the fading at the ends of the fade:
if (brightness = 255) {
fadeAmount = -fadeAmount;
}
// wait for 30 milliseconds to see the dimming effect
delay(15);
} else {
// turn LED off:
analogWrite(led, brightness);

// change the brightness for next time through the loop:
brightness = brightness + fadeAmount;

// reverse the direction of the fading at the ends of the fade:
if (brightness = 255) {
fadeAmount = -fadeAmount;
}
// wait for 30 milliseconds to see the dimming effect
delay(50);
}
}