This Kinetic Wall Sculpture is a first study done for a future chandelier project that will involve moving parts controlled by an arduino. The wall mounted chandelier (completed project) will be able to change shapes and the brightness/color of the light depending on how user controls it with a remote. Targeted to customers who like to show off their home and objects in their living space to the guests, the chandelier will amuse and impress the guests while entertaining them as well. Although it will be a pricey piece to purchase, anyone can make their own by downloading files from Thingiverse and going through step-by-step process on Instructables.
All the parts were designed in computer using Solidworks and Illustrator.
My final project will be a transforming chandelier that hangs on the wall. My original idea was to have a form changing chandelier hanging from the ceiling with 3-dimensional form, but because of technical difficulties and my limitations on the skills I have right now, I wanted to figure out 2-d structure first so I can take it further later on for it to be 3-d.
My goal is to have at least 3 shapes available for transformation, which will be controlled with wireless remote like what Richard Clarkson is doing with his Cloud, using Xbee module. Remote will have 3 different settings for the 3 shapes, and one “auto” button for the chandelier to constantly change the form automatically. I did some drawings in illustrator for an example of how the form might change:
Moving parts = motors + gears, so I’ll be looking into some references online.
Aesthetically, the chandelier will have traditional forms, possibly showing some mechanical parts as well. I’m having a hard time figuring out the moving system in 2d right now, so I’ll be building models in cad to get some basic idea of how it should work.
The chandelier will be targeted to customers that like to show off their home to the guests that they invite and amuse them with their cool objects that decorate their environment. I want the chandelier to look like it would be sold at a luxury lighting design company, which will help me to decide what kind of material I’ll be using for the final model and how the structure is built.
My object is a flashlight that lights up when you squeeze (more you squeeze, brighter it gets). I decided to hack a flashlight and use the structure, led, and its lens inside.
Battery pack cable soldered to the battery connection structure of flashlight.
Arduino connected with led, and placed on a piece of laser-cut acrylic. LED/lens glued as well.
Parts of the flashlight.
Top cover laser-cut and sowed on to the whole structure.
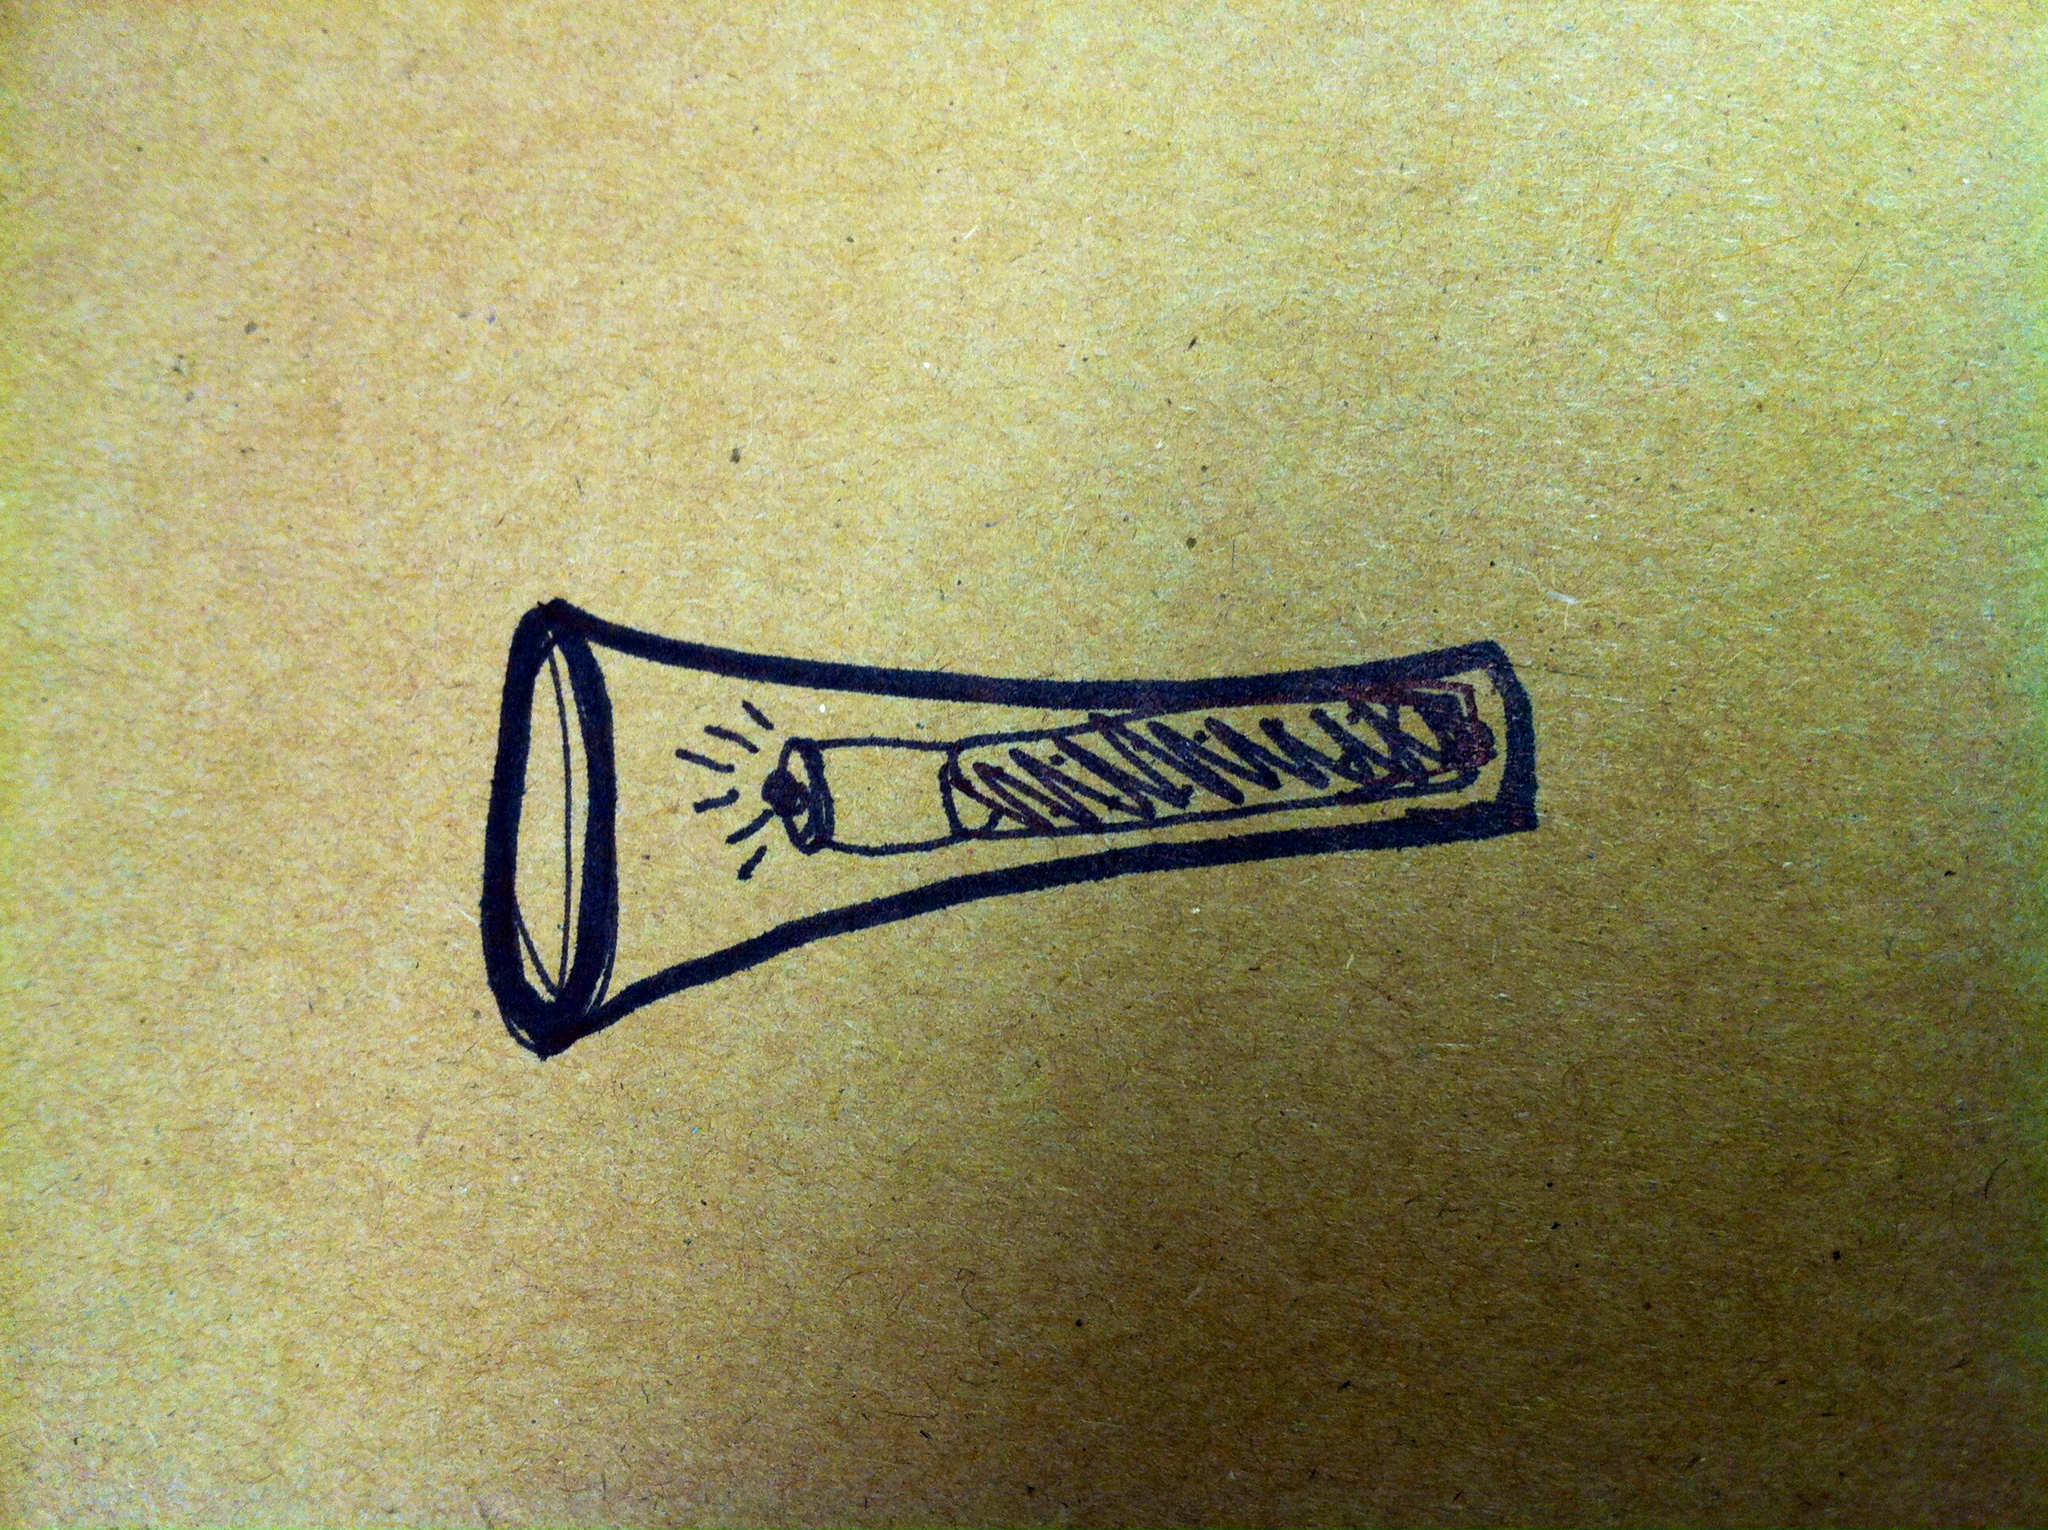
And here’s the sketch:
#include <Adafruit_NeoPixel.h> const int analogInPin = A9; // Analog input pin that the potentiometer is attached to Adafruit_NeoPixel strip = Adafruit_NeoPixel(10, 6, NEO_GRB + NEO_KHZ800); int sensorValue = 0; // value read from the pot
My word was Halloween and Animated Gif, but I wanted to change my word to Flash Light.
It would be made with soft material on the outside, so when I squeeze the handle, the light gets brighter or dimmer depending on how much pressure is being applied to the handle.
It’ll need some sort of structure inside to hold the led, arduino, and battery, and the fabric will act as a diffuser for the bright led.
I found a sketch that uses a LED and a photocell light sensor (detects amount of light) on Arduino UNO.
I had an Arduino Uno that I previously bought, so I decided to use that with my good luck troll.
Arduino wired with LEDs and a photocell sensor on bread board.
To place LEDs and the sensor in the troll, I had to torture him with some drilling and knifing.
After assembly, I took the wires from the bread board and rewired them to the parts the same way it was wired before. After wiring, shrink tube was used to clean up the wires.
And the troll is happy again with his new eyes and belly button!
This post will briefly explain how to make a flashing image of monsters.
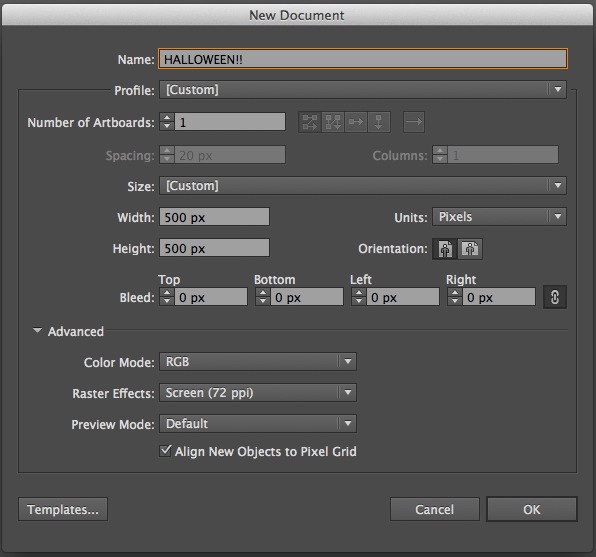
First, create a new file in Adobe Illustrator. I decided to make 500 x 500 pixel image with 72 dpi (for web) in RGB (for screen).
Next, make a circle as a template and create different characters in the illustrator using line, shape, and pen tool on the template. Here’s an example of a pumpkin:
When satisfied with the result, go to File > Export and save the image as JPEG. When you save, remember to keep the resolution in 72 ppi. Default is set to be in 300 ppi. >
Repeat above steps to create few characters. I made 10 different ones. Here’s what all of mine looks like:
Now I have 10 images ready to put together as an animated GIF. Open Photoshop, and go to File > Scripts > Load Files Into Stack. Click on Browse, and grab all the images to put together and hit OK.
When those files open in a stack, a new photoshop document with 10 layers will be created. Drag the layers up and down in the order of how the animation should run.
When All the layers are prepared, it’s time to put them in each frames. Go to Window > Timeline, or Window > Animation depending on your Photoshop version. A small window will pop up on the bottom of the screen. Click on the drop down menu on the upper right corner, and click Make Frames From Layers.
Here’s all the frames created from 10 layers. For each frame, you can change the duration time. I chose 0.07 second for each frame. Click on the Play button at the buttom to preview if you like the speed.
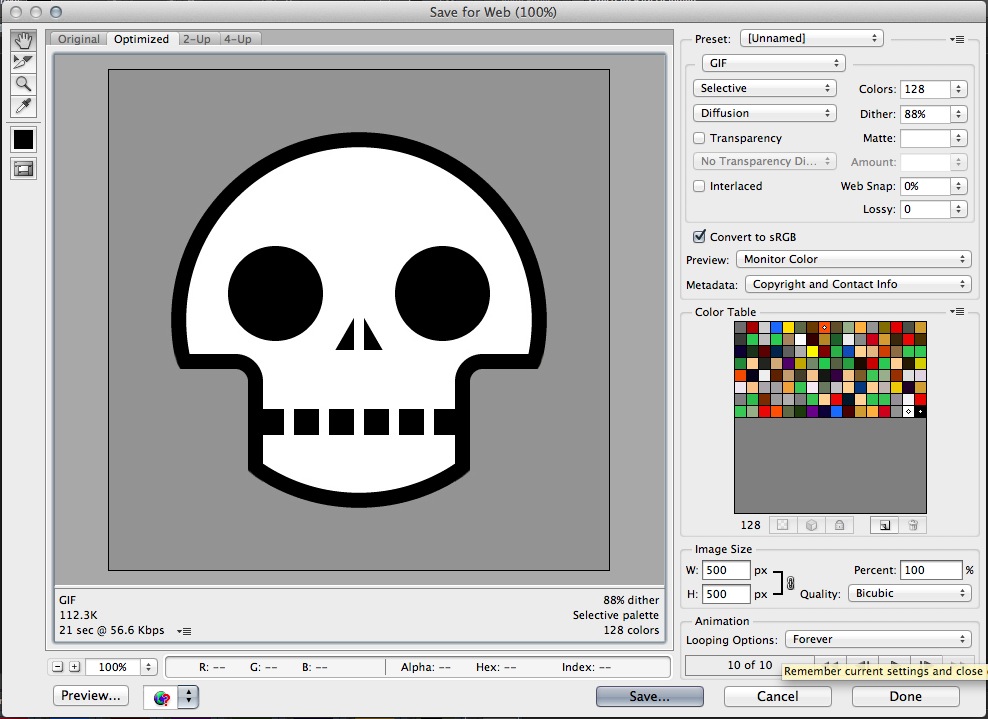
When satisfied with the result, go to File > Save for Web. Here, you can change the palette of colors – 32, 64, or 128 bit. This will determine the file size like how the changing of the output image size will do. Before pressing Save, it’s always good to click on Preview on the bottom left to final check everything. It will not only show you how the GIF is going to look like, but also its file size and other info. After checking, click on Save.
I’m Jung and I studied industrial design at Pratt.
I lived in Korea for about 14 years, and after that I was in Toronto for high school, and New York for college.
Most of my works are product and furniture designs and I’m excited to be back in the studio environment and to do some hands-on projects again in this class.


 Battery pack cable soldered to the battery connection structure of flashlight.


 Arduino wired with LEDs and a photocell sensor on bread board.