Steve Hamilton Final Project: Post-Meridien Redux

Post-Meridien: Redux  (Internet Enabled Dream Generator)

My final project involves updating an artifact I created for a live performance/installation at the New Museum way back in 2001.  I’d commissioned a composer to write a nocturne and hired a violinist from the Brooklyn Philharmonic Orchestra to perform it live for 4 hours while locked into a 4 by 4 by 8 foot tall black wooden box.  You could hear him playing from inside the box (there was no top so the sound came through pretty clearly) but you couldn’t see him.  There was a video feed to another part of the museum where you could see him playing but you couldn’t hear him.  The effect, although perhaps a little maddening, was also quite mysterious in the room with the big black box where the lights were kept low and twilight-y.  In the video he looked sort of sweaty and hot.  It was summer and the museum’s AC wasn’t working very well.  Plus he was locked up in a windowless black box, so there you have it.

Anyway, I found a small music box mechanism that played songs from 5 inch metal disks and I had one fabricated with the nocturne I’d commissioned on it and created this blue velvet lined wooden box and put a mirror on the floor and an inverted half silvered mirror on the top and ringed it with blue LEDs just under the half-silvered mirror.  The effect was of a bottomless series of blue LED rings and this small plunky music box music.  Back then I didn’t have the electrical chops to get the whole thing functioning and the piece has been collecting dust in my studio ever since.  Now that I’m developing some mad skillz with Arduino I decided to resurrect it and bring it to an even grander fruition than originally imagined.  Now it will not only play music and light up, still providing a deep, bottomless, LED lighted mystery, but it will start up only when approached and will have a pulsating blue button that when pressed will activate an internet-based algorithm that generates dreams and prints them out using a thermal ink receipt printer.  I know.  Right?

So how will I make this killer mod?  Well, here’s what I’m thinking I’ll need.

Starting with an Arduino Uno Microcontroller I’ll add . . .

Maxbotix Ultrasonic Rangefinder – LV-EZ1 [LV-EZ1] ID: 172 – $24.95 : Adafruit Industries, Unique & fun DIY electronics and kits

http://www.adafruit.com/products/172

MaxSonar-EZ1_MED

This will trigger the lights and music using the Arduino and some sort of transistor circuit that manages the auxiliary power source (because the Arduino alone can’t power all those LEDs and the music player) when somebody approaches the box.

I found this tutorial about managing large currents with a transistor . . .

http://itp.nyu.edu/physcomp/Tutorials/HighCurrentLoads

The Arduino will be outfitted with . . .

Adafruit CC3000 WiFi Shield with Onboard Ceramic Antenna ID: 1491 – $39.95 : Adafruit Industries, Unique & fun DIY electronics and kits

http://www.adafruit.com/products/1491

Arduino Internet Shield

or

Adafruit CC3000 WiFi Breakout with Onboard Ceramic Antenna ID: 1469 – $34.95 : Adafruit Industries, Unique & fun DIY electronics and kits

http://www.adafruit.com/products/1469

Arduino Internet Breakout

I’m not really sure what the difference between a breakout and a shield is so I’m not sure which one of these I need.  Hopefully it’s the shield because the breakout is not currently available.  Becky please advise.  Anyway, this will provide the Arduino with Internet Access via Wifi and enable the handshake that lets it activate the internet algorithm dream generator code.

Waterproof Metal Pushbutton with Blue LED Ring [16mm Blue Momentary] ID: 481 – $4.95 : Adafruit Industries, Unique & fun DIY electronics and kits

http://www.adafruit.com/products/481

metalbutton16mmblue_MED

This cool blue glowing button will be used to trigger the dream algorithm and will gently pulse all the time on the front of the box enticing people to approach it so the entire shebang gets activated.

Mini Thermal Receipt Printer Starter Pack ID: 600 – $61.95 : Adafruit Industries, Unique & fun DIY electronics and kits

http://www.adafruit.com/products/600#Description

thermalprintstarter_MED

This printer will print out the message algorithmically captured from the internet by the Arduino.

LoL Shield BLUE – A charlieplexed LED matrix kit for the Arduino [1.5] ID: 493 – $24.95 : Adafruit Industries, Unique & fun DIY electronics and kits

http://www.adafruit.com/products/493

bluelolshield_MED

I don’t think I’ll use this for anything but I thought about the possibility of having the dreams scanned out Jenny Holzer style using this LED Matrix instead of the printer.  But I think I’ll probably use the receipt printer so people can take their dreams home with them like the fortunes from Chinese cookies.

I’m still thinking about the structure and content of the algorithm to generate the dreams but I’m thinking a part of it may pull lines from Allan Ginsberg’s Howl Part 1, a poem  which even today rings forth with an hallucinatory energy that seems not just dreamlike but totally revolutionary.  It’s fierce.  I’d like the dreams to be thought provoking, poetic, and possibly politically significant.

I’ve been doing some research and discovered . . .

An alarm clock that wakes you up with harsh truths scraped from the world wide web

http://www.gizmag.com/alarmclock-wakes-truth/29669/

A Robo Poem generator

Robopoem – Computer poetry: automatic poems and song lyrics

And some interesting articles on the history of chance and cutup concepts in poetry making  and music . . .

Aleatoricism – Wikipedia, the free encyclopedia

Indeterminacy (music) – Wikipedia, the free encyclopedia

Cut-up technique – Wikipedia, the free encyclopedia

Dissociated press – Wikipedia, the free encyclopedia

Hand Shake Ring

So we decided to try incorporated a reed switch into a wearable article. We thought about how to activate the switch through the interaction of two people. We were sick and tired of those old fashioned, analog handshakes and hi-fives, and so the led ring was born.  We needed to make two rings, one for the led and switch, and another for the magnet that activates it.
暴风截图2013102950438071

May made a fabric ring

暴风截图2013102950558613

Wolfgang made a wooden one

暴风截图2013102950916620

Lusha and Vidhi tackled the electronics

暴风截图2013102951236172

we hooked it up to the battery and it worked great, like a super cheap, code-free proximity sensor. The battery’s not so pretty, but it could get redesigned with a coin cell maybe. The next model would also need to protect the reed switch a little better. The reed switch is basically just a tiny glass tube with tinier pieces of metal in it and it’s pretty fragile.

 暴风截图2013102950679030

We made a spy movie out of it: http://www.youtube.com/watch?v=DUL_8lPHycw


Lock & Key Video

New York is a big city where anything can happen… and as a women, it can get dangerous. This lock and key allows you to keep your belongings safe while also being able to see it in dark environments where young women are most likely to be haphazardly digging through their bags.

Here is a video that I filmed and produced to reflect an example of a situation where a woman needs a light up lock and key to prevent anxiety in her life:

http://www.youtube.com/watch?v=ZLMOshA7a2k


Here is my storyboard that guided storyline of my video:

IMG_4294

Lock and Key Switch + Switch Tests

For my creative switch, I made a key going into a lock activate an LED.  I hooked up the LED to an arduino board and connected wires to both the lock and the key. The open circuit closes when the key goes into the lock. This would be great to use as an extra security measure to guarantee that your lock is locked. It’s perfect for people who are paranoid about keeping their stuff safe. Watch the video below:

Below are the videos for the 4 switch tests:

Button test:

Debounce:

DigitalInputPullup:

StateChangeDetection:

Artificial Snake Pet Night-light

IMG_0077

IMG_0081

IMG_0082

IMG_3813

I got the idea to create an artificial snake night-light because I was born in the year of the snake, and in China snakes represent mystery and delight, which hold a special meaning for me. Furthermore, with its interactive light-up function, the snake can light-up when I go dancing!

I began my project by using what we learned in class.  I based my project on the “skirt” Arduino code. I adjusted the sensitivity of the sensor to recognize movement more quickly and light up in a random pattern.

Once I was sure that the lights worked, I began soldering solid wires to my flora board and connecting them to eight pixel LED lights. This was a challenge because at times I did not know which were positive and negative. When I finally got the pixels working I placed rubber shrink wrap around each of the wires to hold the connection.

IMG_1953

Next I went through the scraps in the VFL and found a nice shiny fabric.  I sewed the pieces together by hand to resemble the body and head of a snake. This took me fifteen hours in total to get the stitching correct!  But the body was too loose and I wanted it to coil like a snake.  Next I found several thick wires and pushed them through the body of the snake and then by hand shaped the snake body into several coils.

IMG_1954

IMG_1964

Once I had the shape correct, I began to sew the flora board to the inside coils of the body of the snake using conductive thread. Then I began to individually solder the wires to each of the eight pixels.  This was a messy process and I got frustrated by all of the wires. Once I finished soldering all of the wires to each of the eight pixels, I began to layer them against the body of the snake. As I wrapped the wires around the snake I sewed each of the pixels to the body of the snake.  The pixels are held in place with the stitching techniques that we learned in class.

IMG_2145

IMG_2152

The last step was to sew in the motion sensor. The snake is designed to be worn as a bracelet.  Once the battery pack is plugged in and you wave your arm the snake will light up!

Enjoy the video!

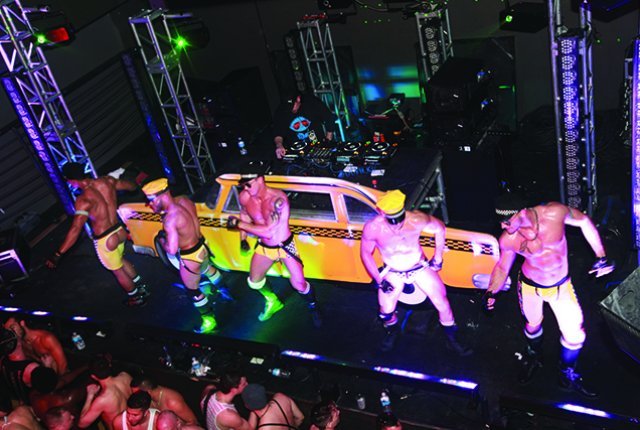
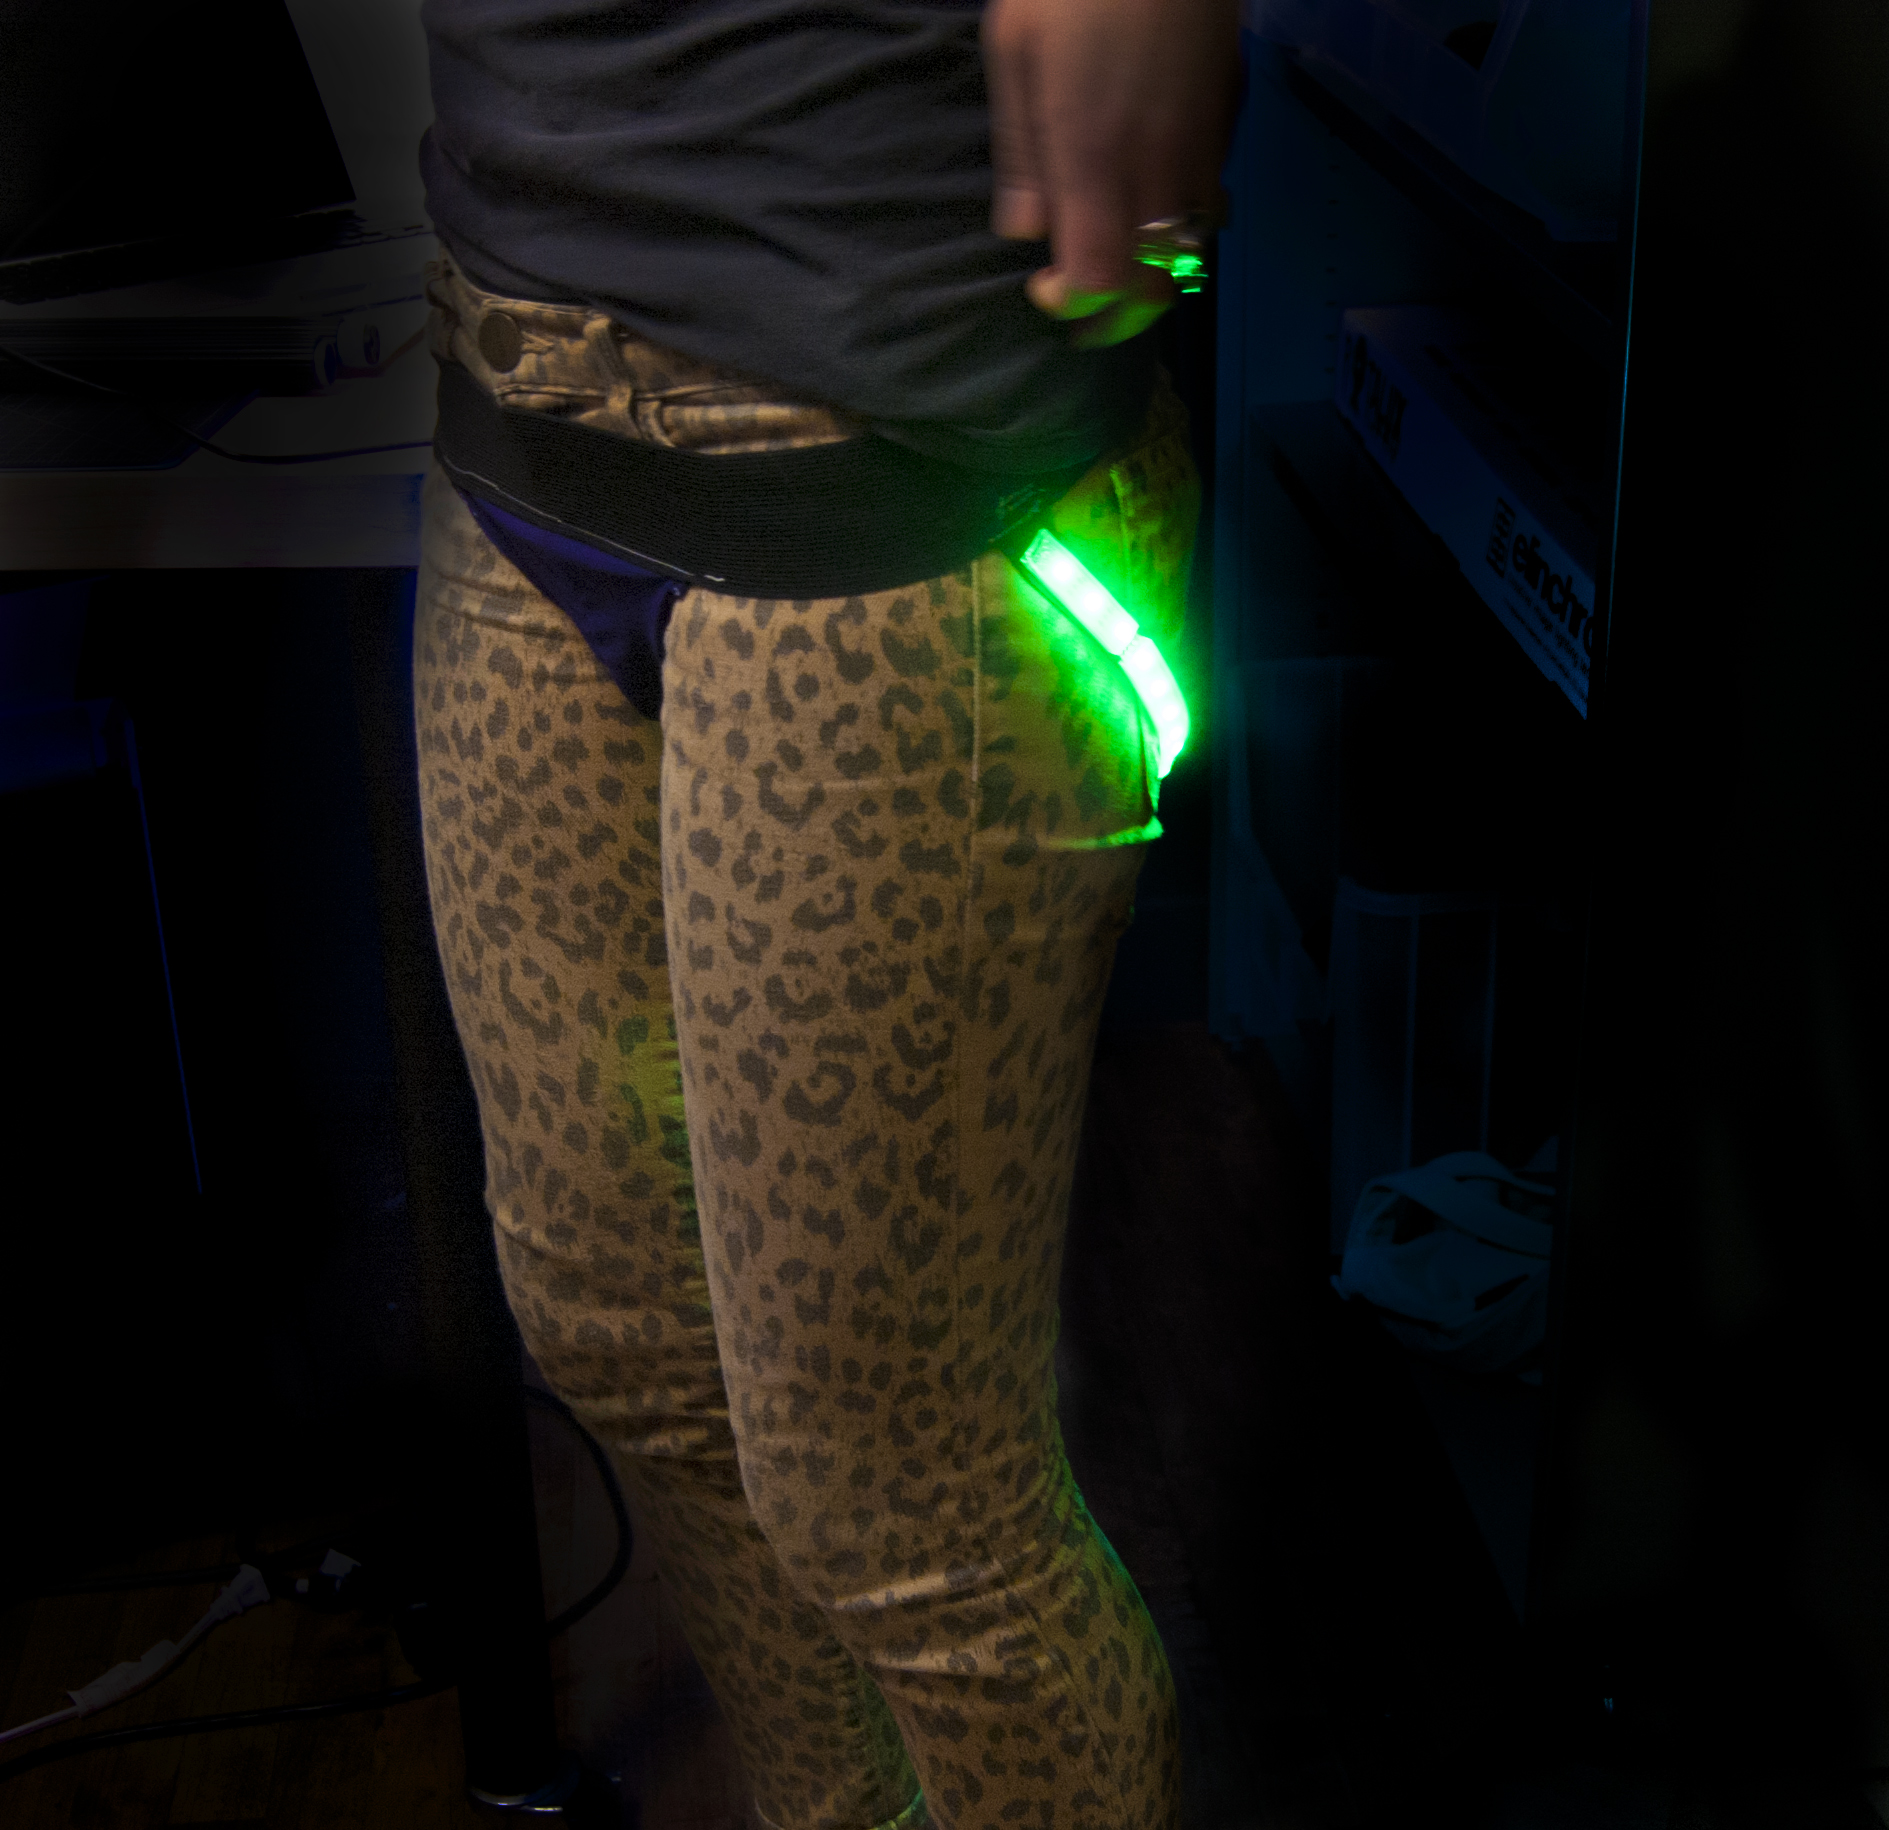
Light-up Neopixel Jockstrap

The Light-up LED Jockstrap is an exploration of fetish wear meets NYC party life.  Its sure to make you stand out in a crowd of sweaty half naked men and grab the attention of whoever is going to grab you.

2013-08-13-ModusVivendiFurJockstrap06 +WEB%20IMG_3361_0=

Final

Its Construction:

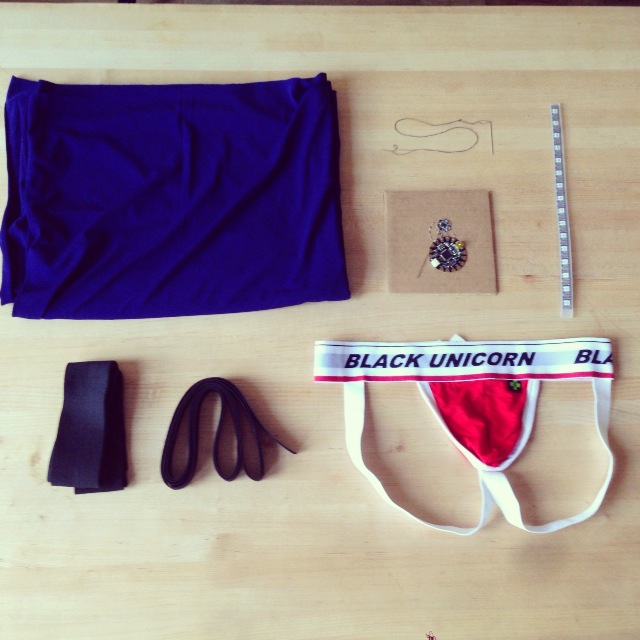
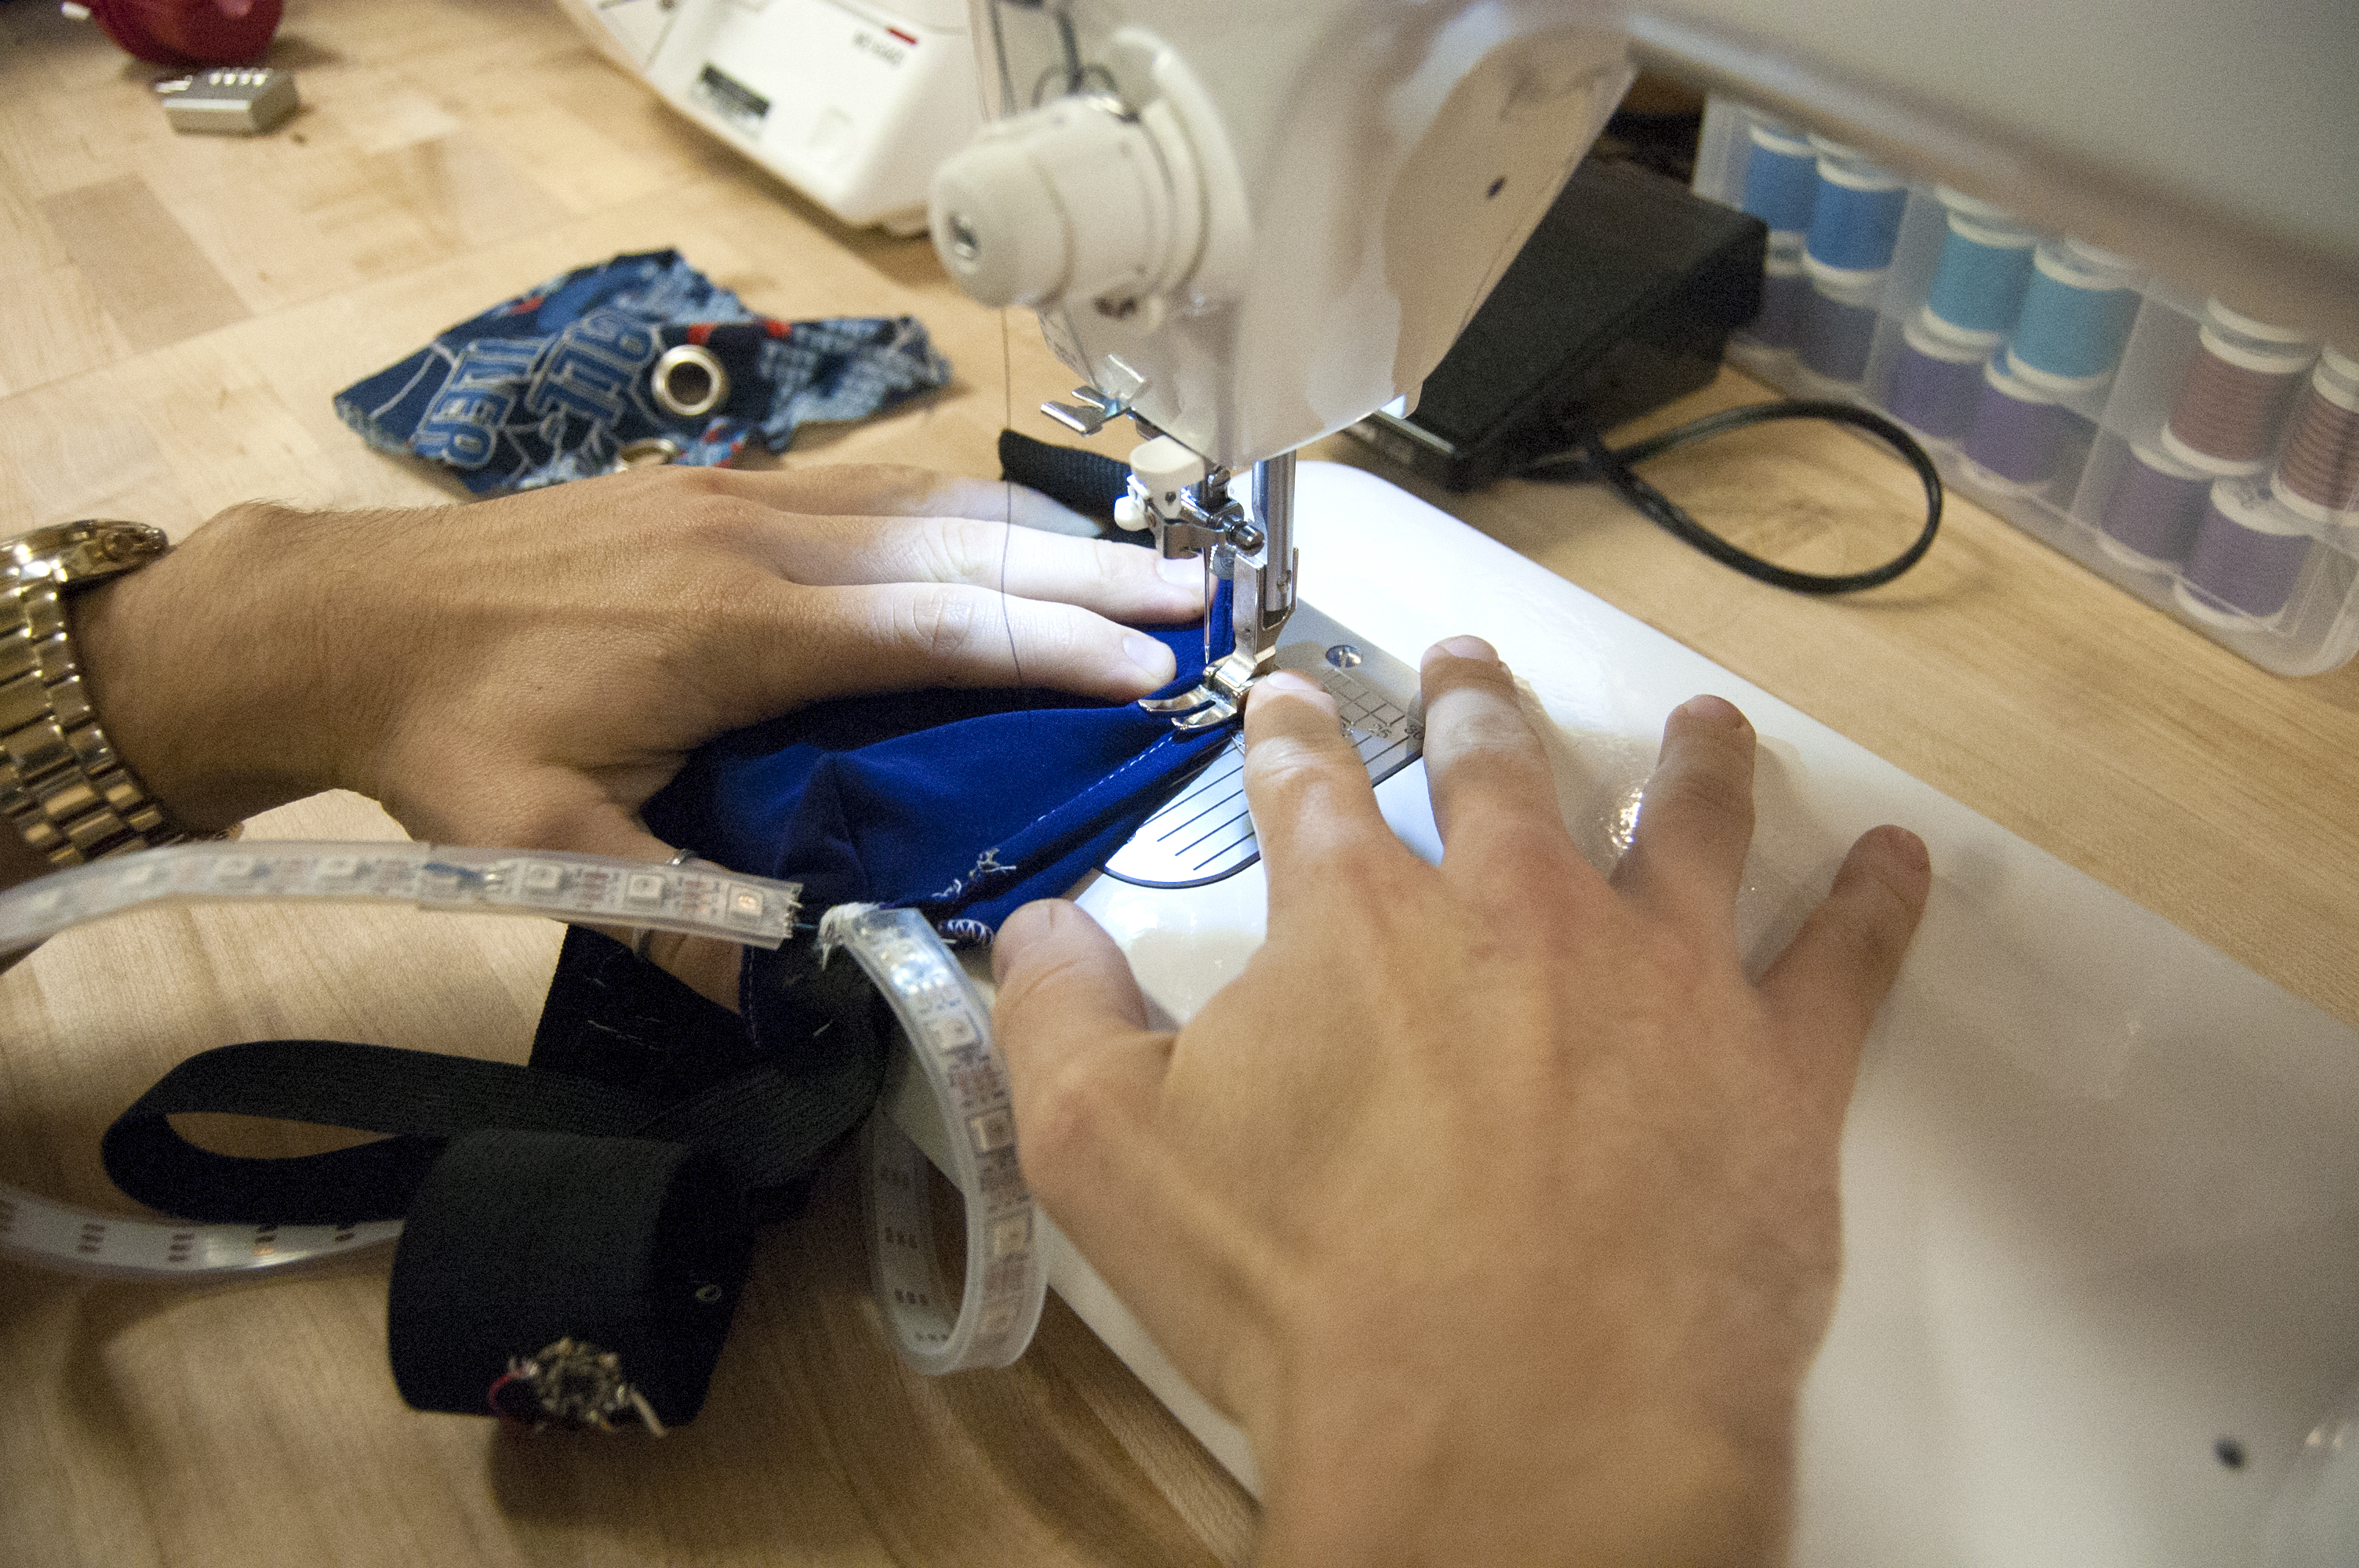
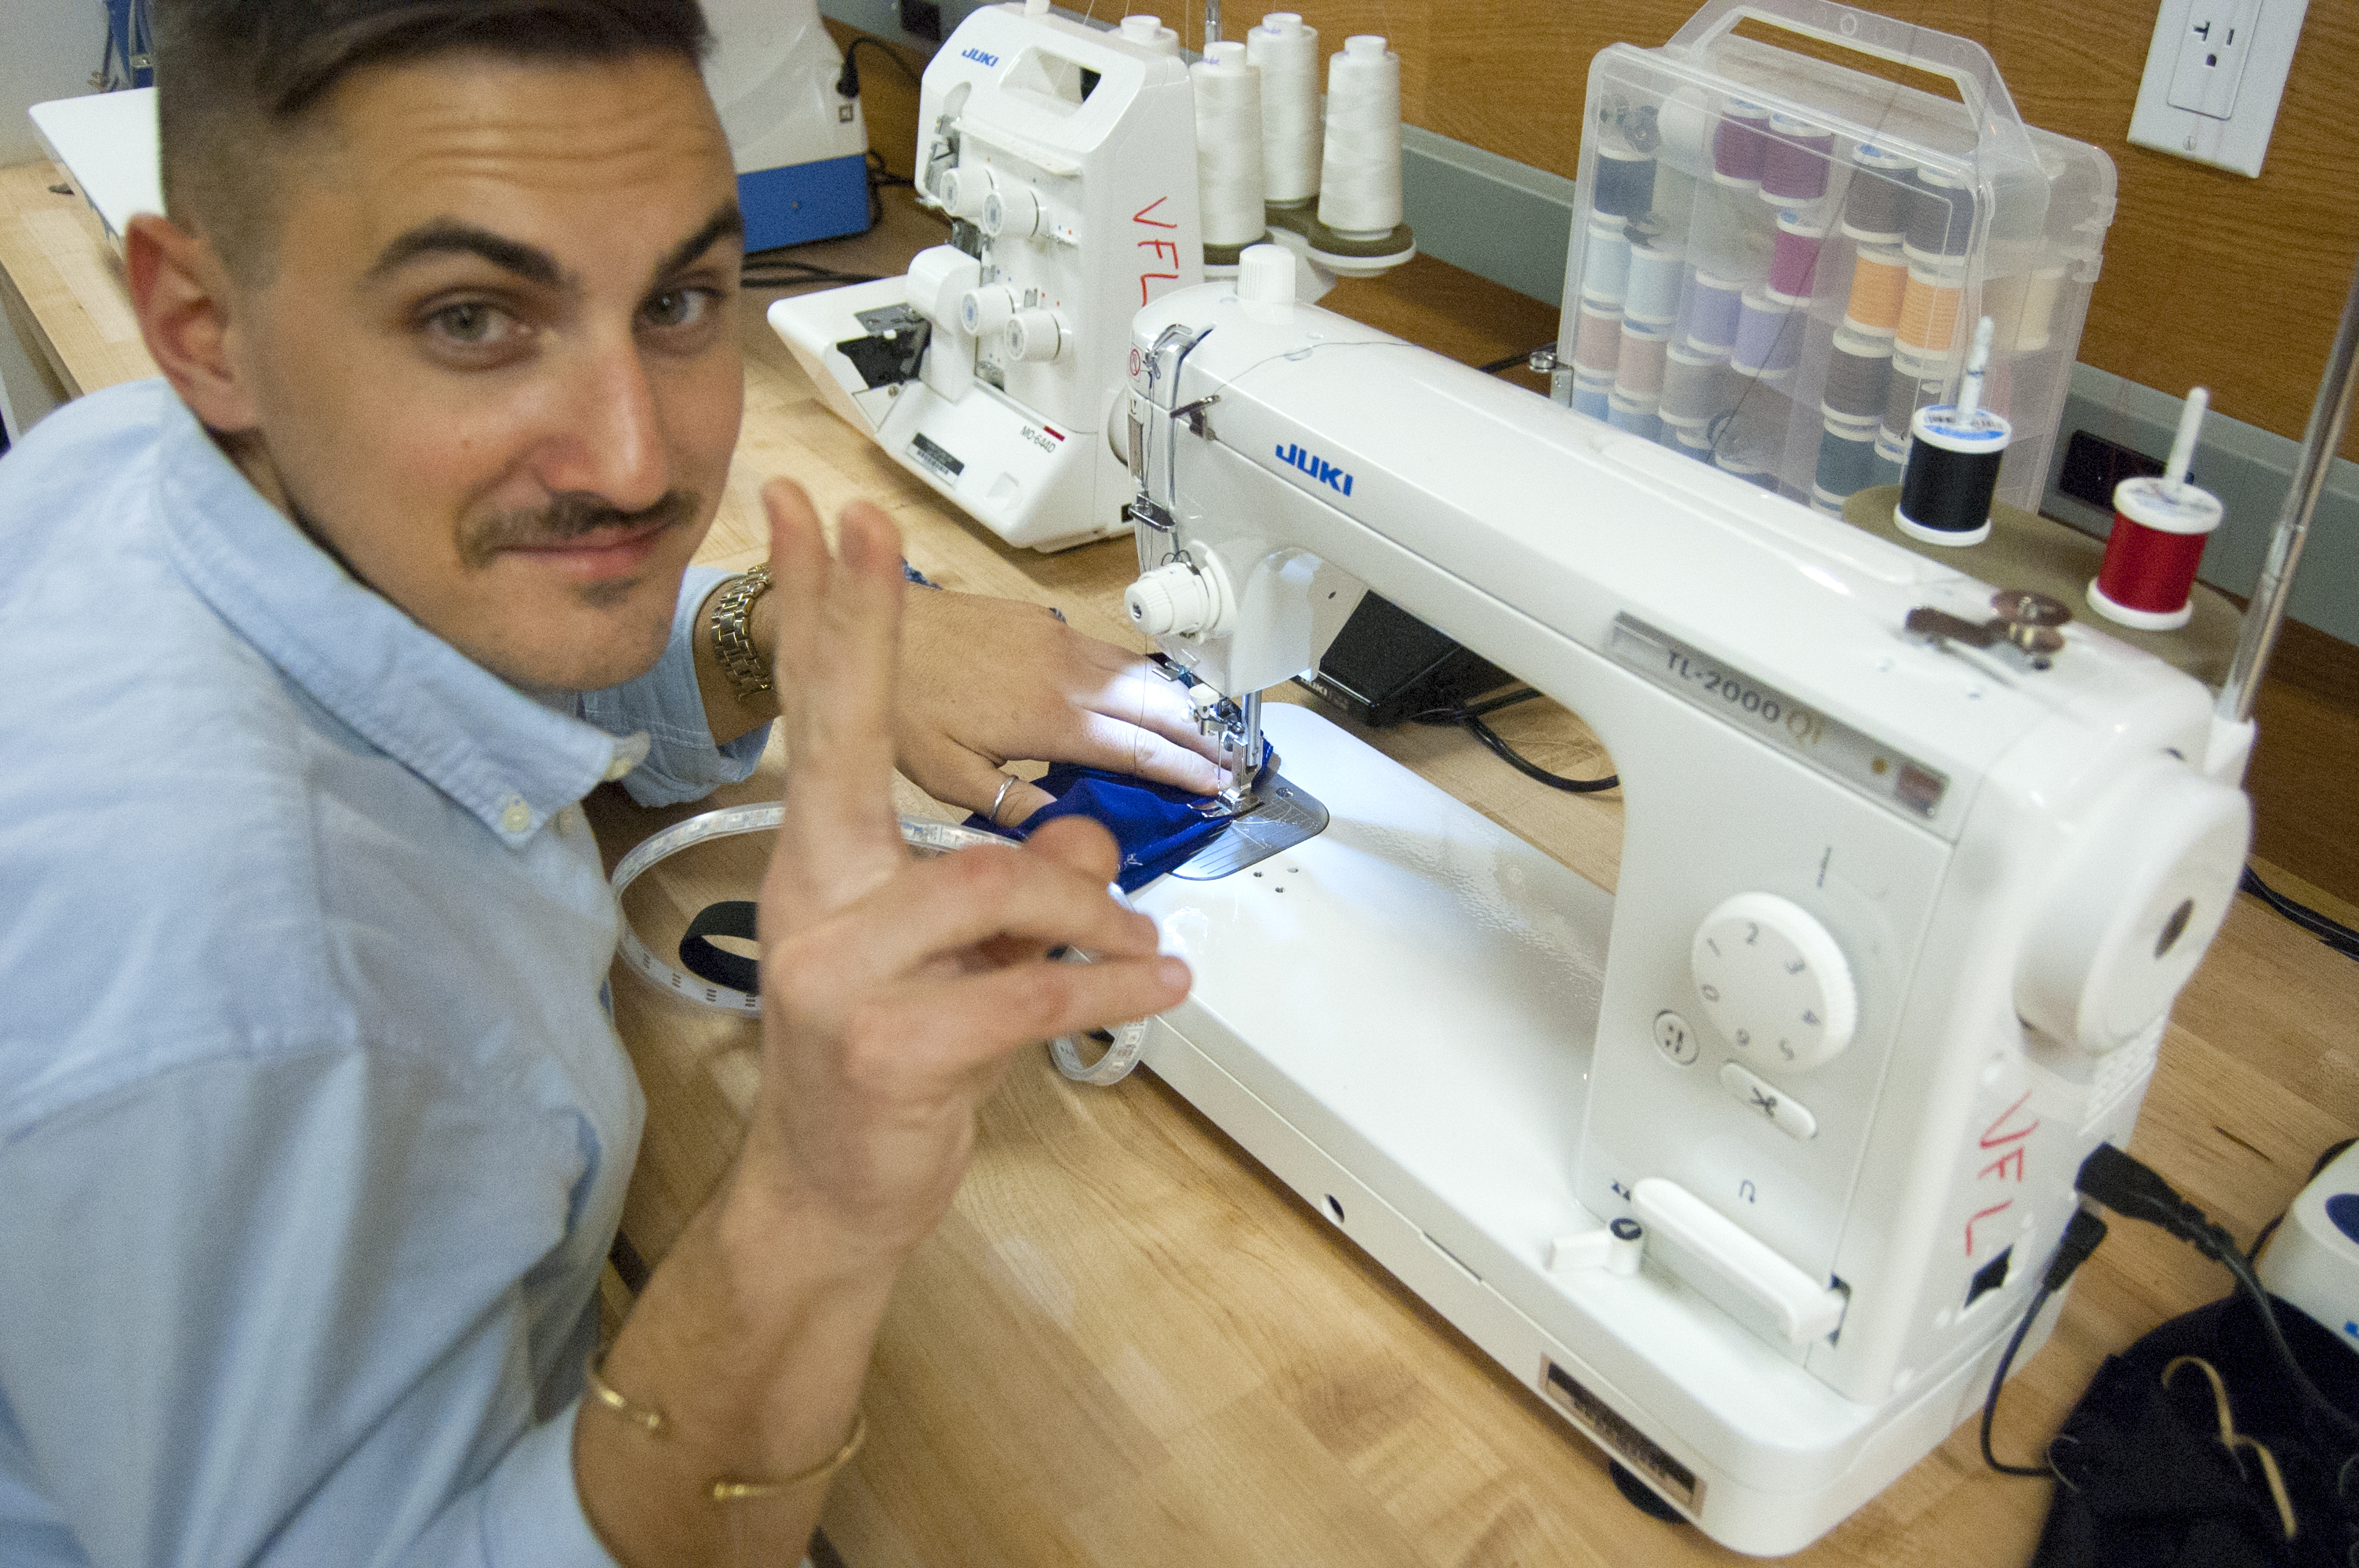
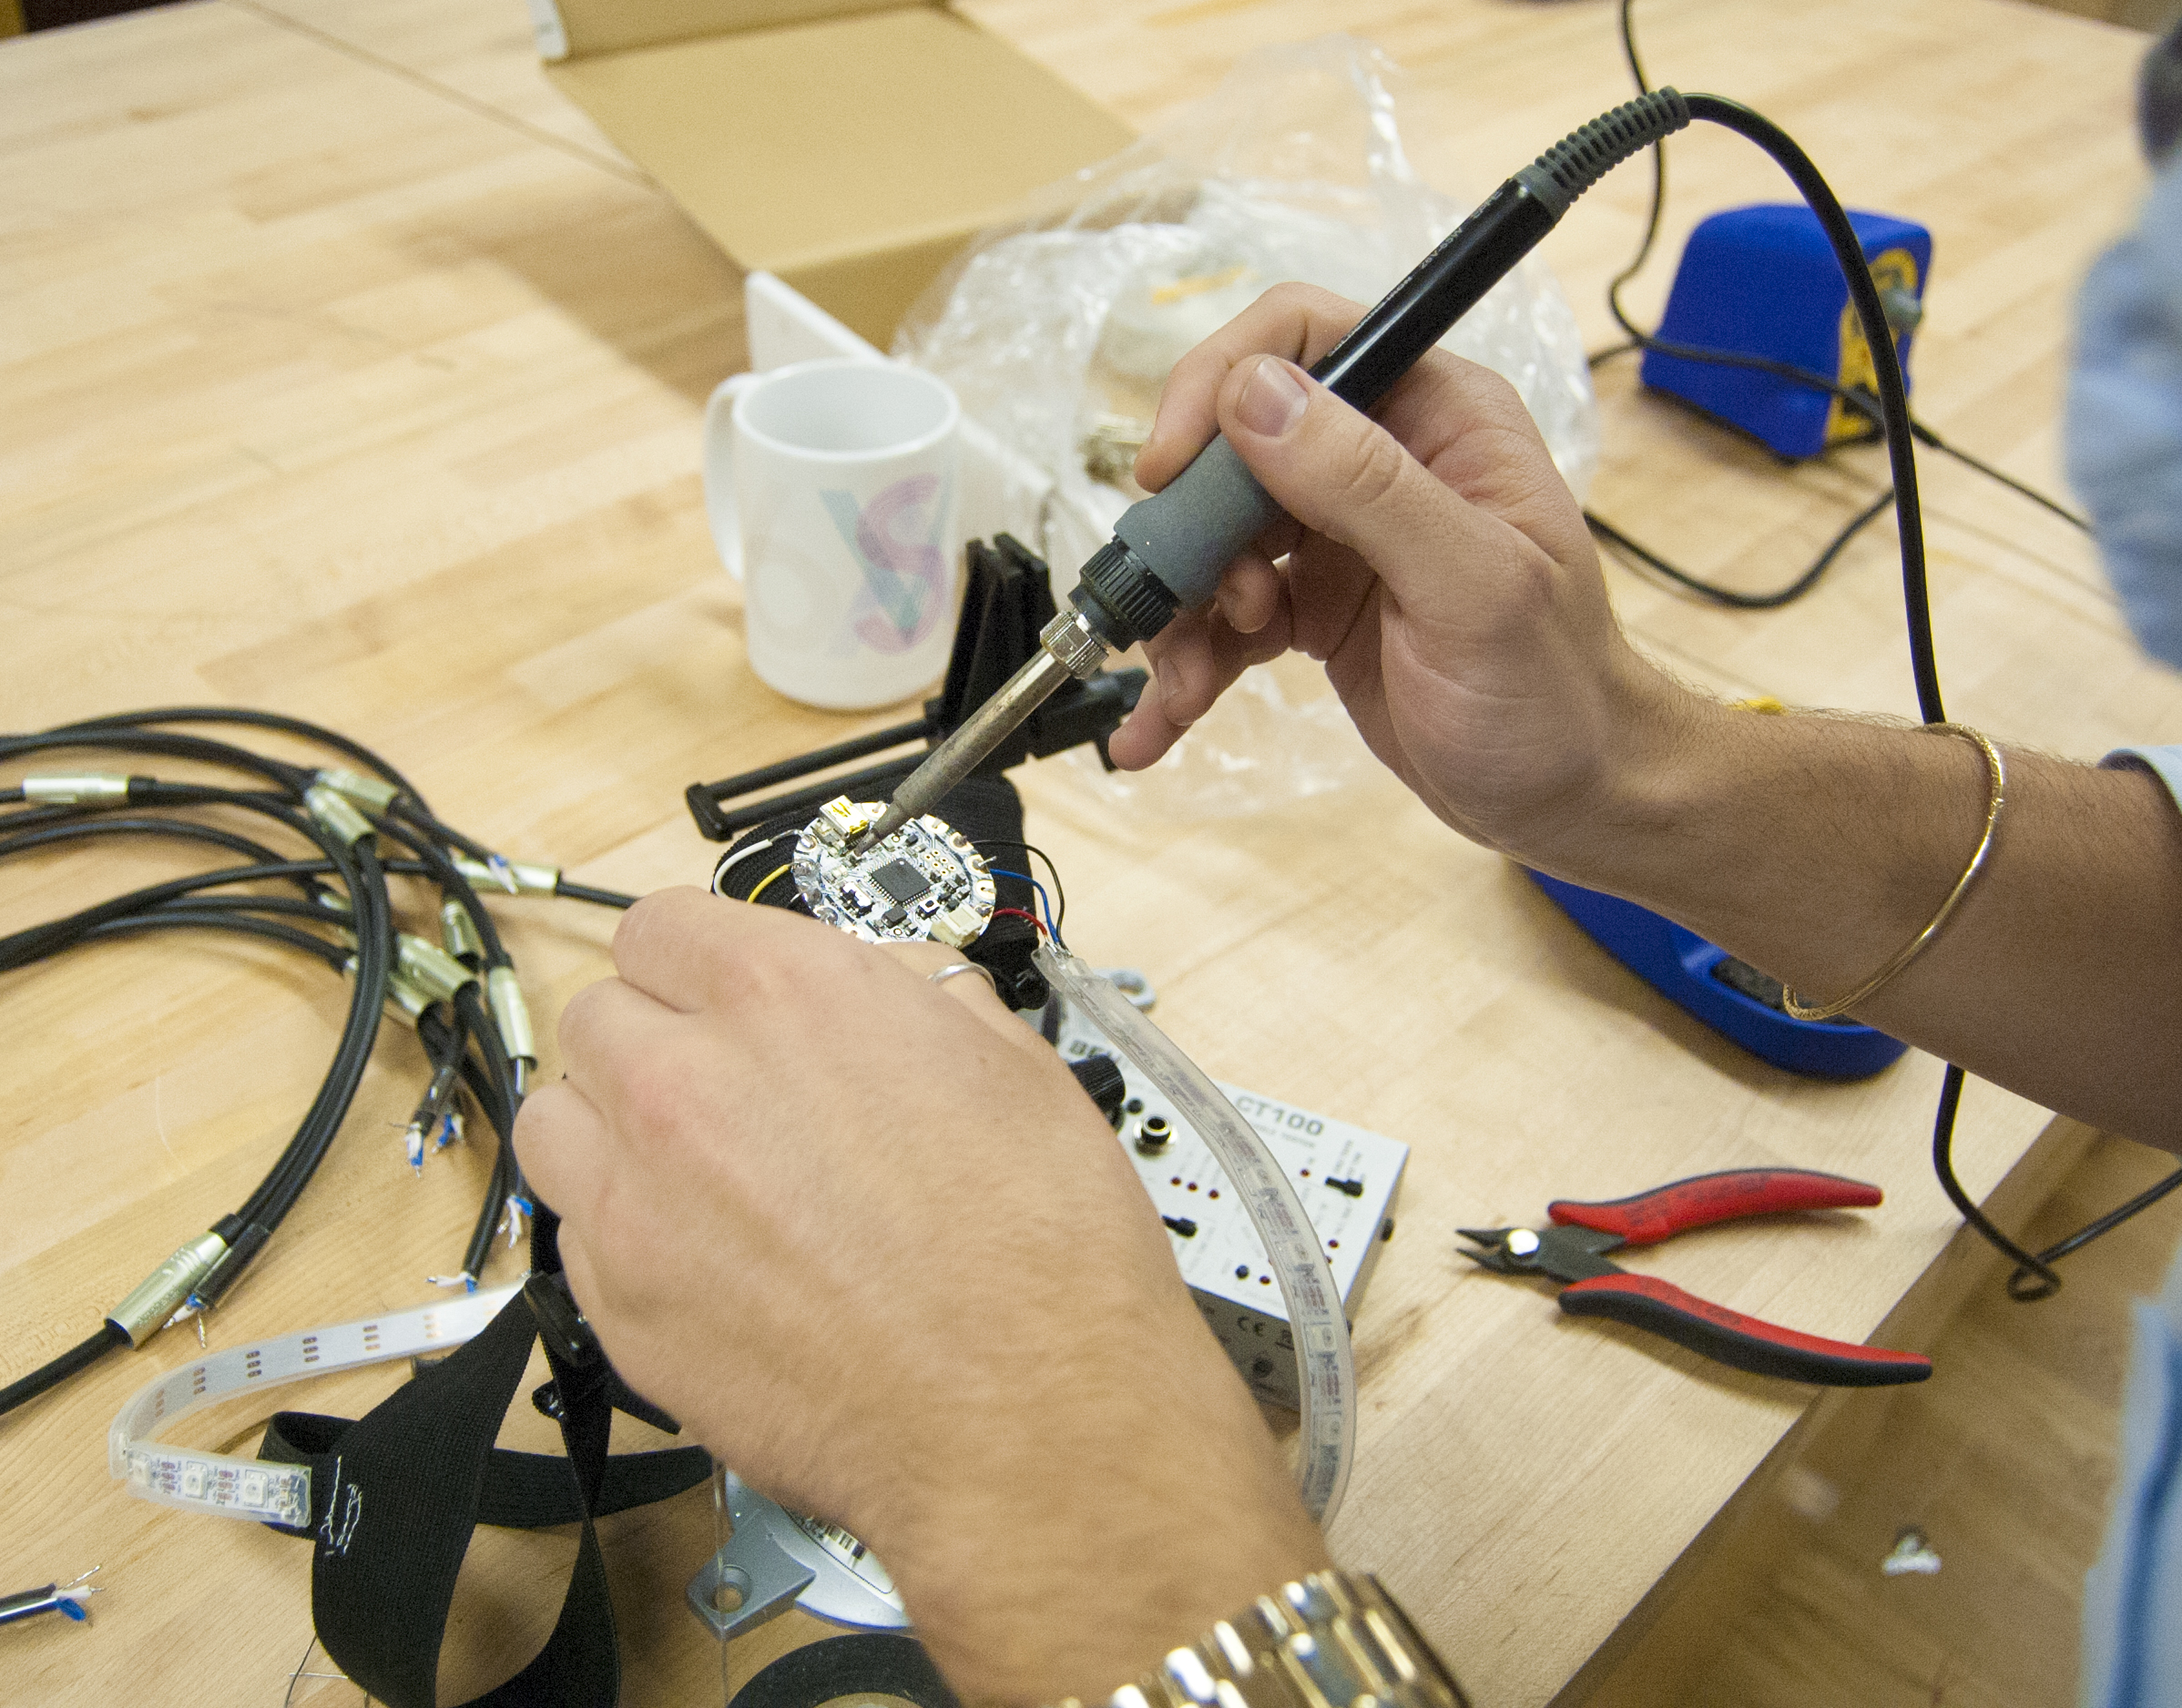
The light-up LED Jockstrap is made of a hand sewn elastic and lycra jock strap that was then fitted with an Adafruit Flora board and an an accelerometer that controls the two neopixel strips that either light up continuously  or fire off random bursts of pixels.

Jock Strap materials

Process3

Process4

Process 2

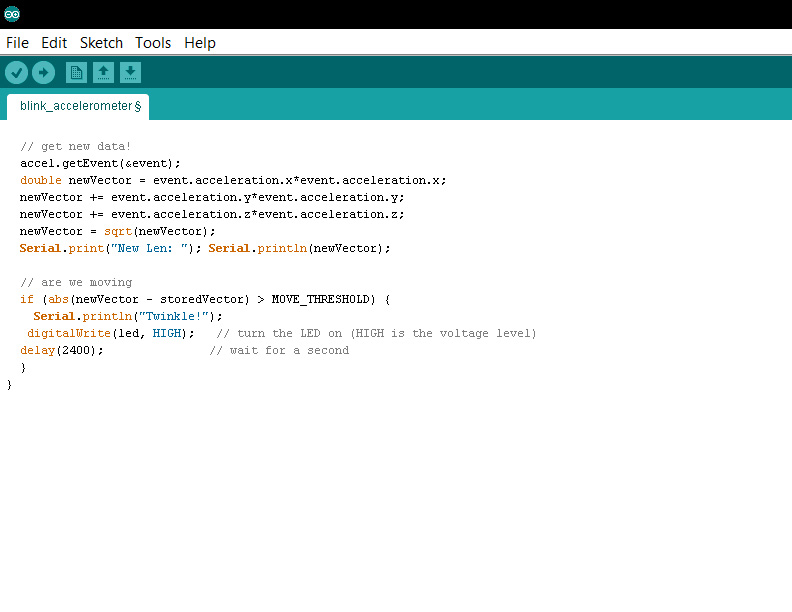
The Codes:

#include <Wire.h>
#include <Adafruit_Sensor.h>
#include <Adafruit_LSM303.h>
#include <Adafruit_NeoPixel.h>

// Parameter 1 = number of pixels in strip
// Parameter 2 = pin number (most are valid)
// Parameter 3 = pixel type flags, add together as needed:
// NEO_RGB Pixels are wired for RGB bitstream
// NEO_GRB Pixels are wired for GRB bitstream
// NEO_KHZ400 400 KHz bitstream (e.g. FLORA pixels)
// NEO_KHZ800 800 KHz bitstream (e.g. High Density LED strip)
Adafruit_NeoPixel strip = Adafruit_NeoPixel(50, 6, NEO_GRB + NEO_KHZ800);
Adafruit_LSM303_Accel accel = Adafruit_LSM303_Accel(54321);

// Here is where you can put in your favorite colors that will appear!
// just add new {nnn, nnn, nnn}, lines. They will be picked out randomly
// R G B
uint8_t myFavoriteColors[][3] = {{0, 0, 200}, // purple
{200, 200, 200}, // red
{0, 200, 0}, // white
};
// don’t edit the line below
#define FAVCOLORS sizeof(myFavoriteColors) / 3

// mess with this number to adjust TWINklitude 🙂
// lower number = more sensitive
#define MOVE_THRESHOLD 3

void setup()
{
Serial.begin(9600);

// Try to initialise and warn if we couldn’t detect the chip
if (!accel.begin())
{
Serial.println(“Oops … unable to initialize the LSM303. Check your wiring!”);
while (1);
}
strip.begin();
strip.show(); // Initialize all pixels to ‘off’
}

void loop()
{
/* Get a new sensor event */
sensors_event_t event;
accel.getEvent(&event);
Serial.print(“Accel X: “); Serial.print(event.acceleration.x); Serial.print(” “);
Serial.print(“Y: “); Serial.print(event.acceleration.y); Serial.print(” “);
Serial.print(“Z: “); Serial.print(event.acceleration.z); Serial.print(” “);

// Get the magnitude (length) of the 3 axis vector
// http://en.wikipedia.org/wiki/Euclidean_vector#Length
double storedVector = event.acceleration.x*event.acceleration.x;
storedVector += event.acceleration.y*event.acceleration.y;
storedVector += event.acceleration.z*event.acceleration.z;
storedVector = sqrt(storedVector);
Serial.print(“Len: “); Serial.println(storedVector);

// wait a bit
delay(100);

// get new data!
accel.getEvent(&event);
double newVector = event.acceleration.x*event.acceleration.x;
newVector += event.acceleration.y*event.acceleration.y;
newVector += event.acceleration.z*event.acceleration.z;
newVector = sqrt(newVector);
Serial.print(“New Len: “); Serial.println(newVector);

// are we moving
if (abs(newVector – storedVector) > MOVE_THRESHOLD) {
Serial.println(“Twinkle!”);
flashRandom(7, 7); // first number is ‘wait’ delay, shorter num == shorter twinkle
flashRandom(5, 50); // second number is how many neopixels to simultaneously light up
flashRandom(1, 19);
}

}

void flashRandom(int wait, uint8_t howmany) {

for(uint16_t i=0; i<howmany; i++) {
// pick a random favorite color!
int c = random(FAVCOLORS);
int red = myFavoriteColors[c][0];
int green = myFavoriteColors[c][1];
int blue = myFavoriteColors[c][2];

// get a random pixel from the list
int j = random(strip.numPixels());
//Serial.print(“Lighting up “); Serial.println(j);

// now we will ‘fade’ it in 5 steps
for (int x=0; x < 5; x++) {
int r = red * (x+1); r /= 5;
int g = green * (x+1); g /= 5;
int b = blue * (x+1); b /= 5;

strip.setPixelColor(j, strip.Color(r, g, b));
strip.show();
delay(wait);
}
// & fade out in 5 steps
for (int x=5; x >= 0; x–) {
int r = red * x; r /= 5;
int g = green * x; g /= 5;
int b = blue * x; b /= 5;

strip.setPixelColor(j, strip.Color(r, g, b));
strip.show();
delay(wait);
}
}
// LEDs will be off when done (they are faded to 0)
}

The final product and video:

http://www.youtube.com/watch?v=39rctb7HE7w&feature=youtu.beDSC_0274DSC_0285DSC_0177 DSC_0184DSC_0287 

So take off all your clothes, and put on a Light-up Jockstrap and go dance all night!

Galactic Apartment Bowling

My original two words were ‘fuzzy’ and ‘terrarium’.  My initial plan was to move forward with the word terrarium and create a terrarium mobile.  After exploring wiring possibilities, I realized that I would not be able to execute the mobile quite the way I was envisioning.  I decided to move forward with the word ‘fuzzy’ and the result was Galactic Apartment Bowling!

GalacticBowling-1030630

I set out to create a fuzzy game that people can enjoy from inside their cramped apartments. The game consists of a small bowing ball and a single pin.  The pin is wired with a string of LEDs and a FLORA accelerometer.  When the pin is struck, the accelerometer reads the variation in movement and lights up the LEDs.  To make the one pin bowling game more difficult and engaging the bowling ball is weighted to give it a wonky roll.  This project allows the user to experience the fun and excitement of galactic bowling in limited small spaces.

I began my making process by creating a sewing pattern for the bowling pin and ball:

untitled-7232

untitled-7242

I sewed two complete layers for the pin, an inner layer out of muslin and an exterior sleeve out of felt.  I made the inner layer as a structure where I could sew on the electronic components. This allowed me to hide the components and keep the outer layer nice and clean. The white felt turned out to be too sheer so I ironed on a layer of fusible interfacing as a backing.  I weighted the bowing ball with an interior pouch of rice to give it a wobbly roll.

untitled-7240

untitled-7264

untitled-7249

untitled-7263

I then set out to create my circuit and write the code. This is where I came into the most difficulty.  I successfully used conductive thread to attach the accelerometer to the Flora board. Initially, I had planned to sew individual NeoPixels throughout the bowing pin with conductive thread.  I planned on using the Sparkle Skirt code to create a variation of color and sparkle delay when the pin is struck with the ball.  After much frustration and no success trying to lay out a circuit and get my code up and running with the NeoPixels, I made the decision to use traditional LEDs.  I soldered together a strand of LEDs and altered the Blink and Sparkle Skirt code to have the accelerometer read the movement and then flash the LEDs.

untitled-7255

untitled-7260

The result was not as dazzling as I had originally hoped it would be, but the circuit works and Galactic Bowling is a success.

Bright Bag

camouflage luggage tags

My two words I chose at the beginning of this class was camouflage & luggage tags. I am choosing to go with luggage, dropping the tags, and create a glowing bag. That can be used an accessible light when in the dark.


I wanted to make sure my code and cir-cut board was to my liking before sewing my bag. This was probably the hardest part, I used a bread board to prototype my connections and manipulated the blink and sparkle code to make the lights come on when shook.

1

code

IMG_4787

When the flora board and codes were to my liking I started sewing, and I learned how to make a bag with a toggle.

IMG_4789

Automatic Fuzzy Pillow Light

Automatic Light Pillow

A travel size pillow that contain two LED lights for reading.

I observed that most people that own a travel pillow like to read. Often these people are in transit and don’t have good reading light. This pillow is intended for those that like to read in the dark.

Sketches

2013-10-08 12.17.482013-10-07 11.06.17

I began the project by creating two sketches.  The first is a concept sketch where I tinkered with a form factor design and I figured out what electronic components I would need to bring this idea to life.  The second sketch was why electronic component sketch.  I outlined how I wanted the circuits to flow and designed a template for how I would fit the cables into the housing.

Wiring and Testing

Next I bought several types of LED light, a breadboard to test proof of concept2013-10-07 12.37.58 2013-10-07 13.29.05

Sewing

2013-10-08 12.03.45 2013-10-08 12.03.56

Then I went to Mood Designer Fabrics in the Garment District with an actual travel pillow.  I matched the fleece and spandex material and bought 1 yard of each. Then I created an outline of the pillow, cut out the material and then sewed them together.  Finally I stuffed the pillow and added all of the electronic components.

Next Steps

Given more time, I would like to use a laser cutter to cut out the material precisely and them take the materials to a seamstress to sew the seams together properly.  I would also like to create an enclosed housing fixture for my flora board and battery pack so that I can swap out the components as need be.

I’d also like to explore using proximity sensors that automatically recognize gesture behaviors like the opening of a book or the turning of pages as a trigger for the LED lights

Thanks!

George