Midnight Candelabra Chandelier

For my plush night light, I used my previous word “chandelier” to come up with a night light that can both act as a hanging light and a portable light source for trips to the bathroom during the night. When I wake up at night, it is too dark to traverse the hallways safely to the bathroom without a light source.  As a result, I often bring my phone with me to use as a guiding light.  Interestingly, I found that I am not alone, and many people experience this inconvenience too. I decided to solve this problem with my plush candelabra chandelier. When you wake up in the middle of the night, you can pull down on the hanging candelabra, detach it, and use it as a light source while walking around in your home at night.  I named it the “Midnight Candelabra” since it is used in the late hours of the evening.

chandelier candelabra

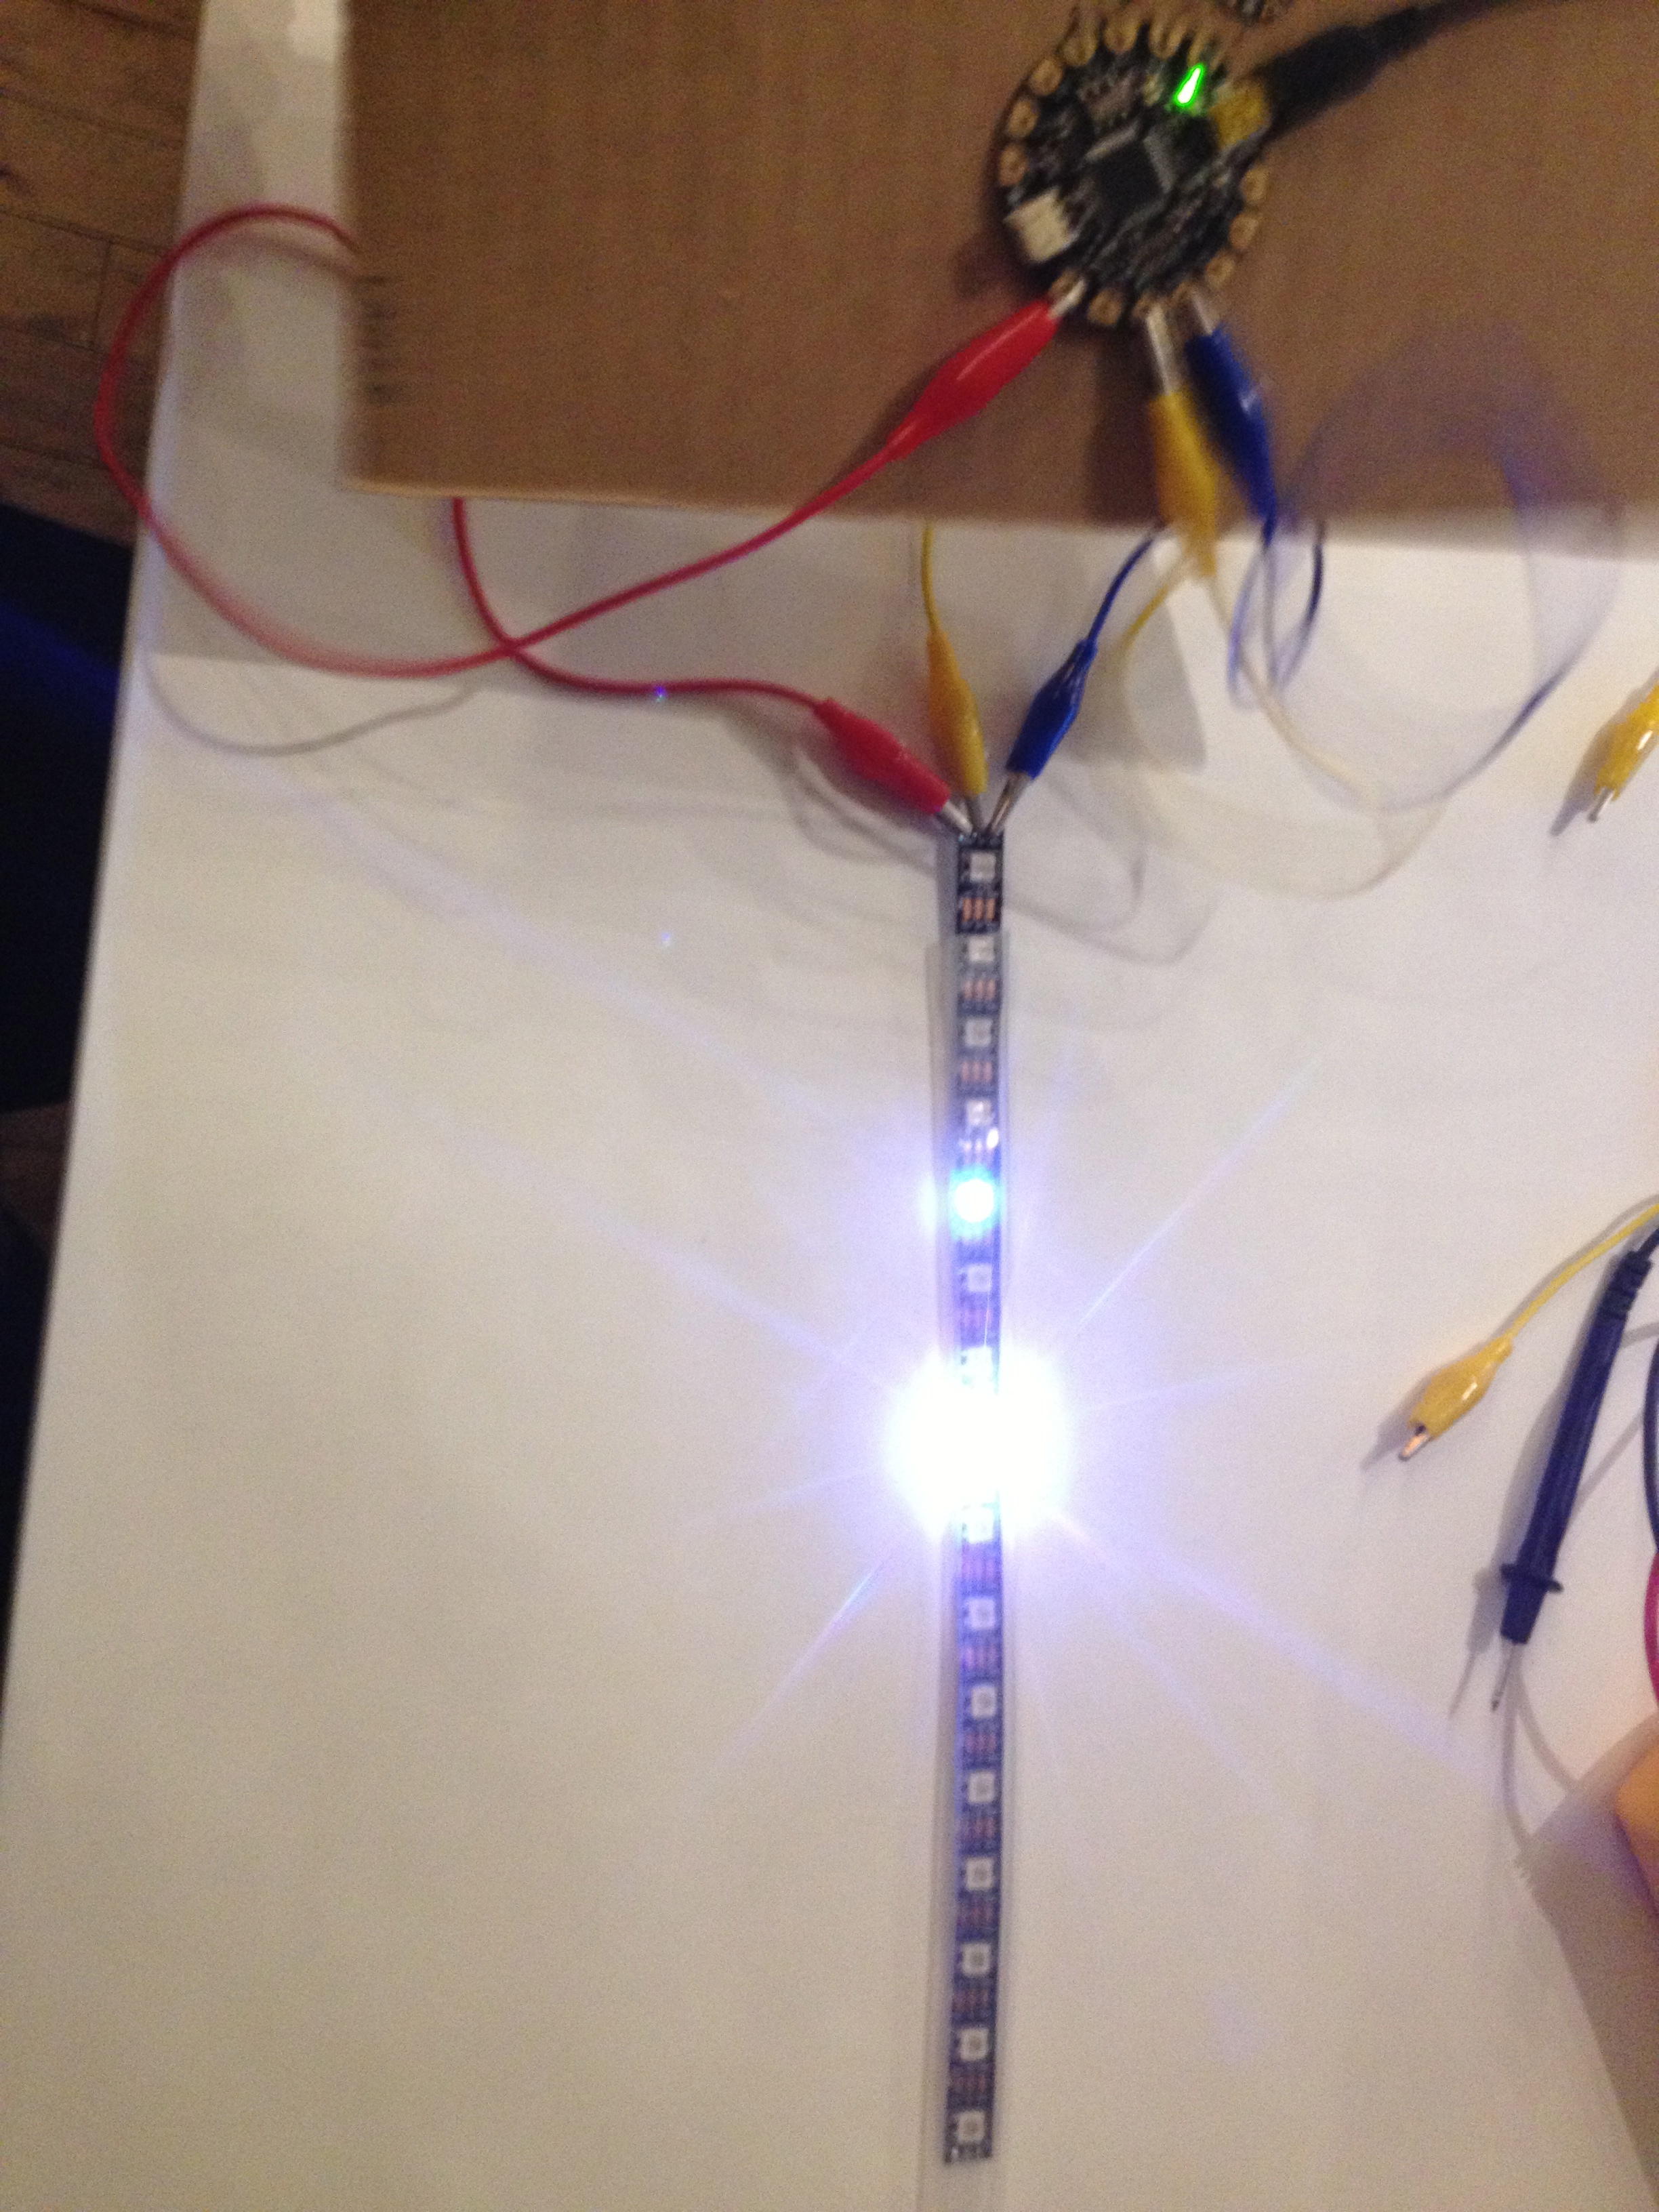
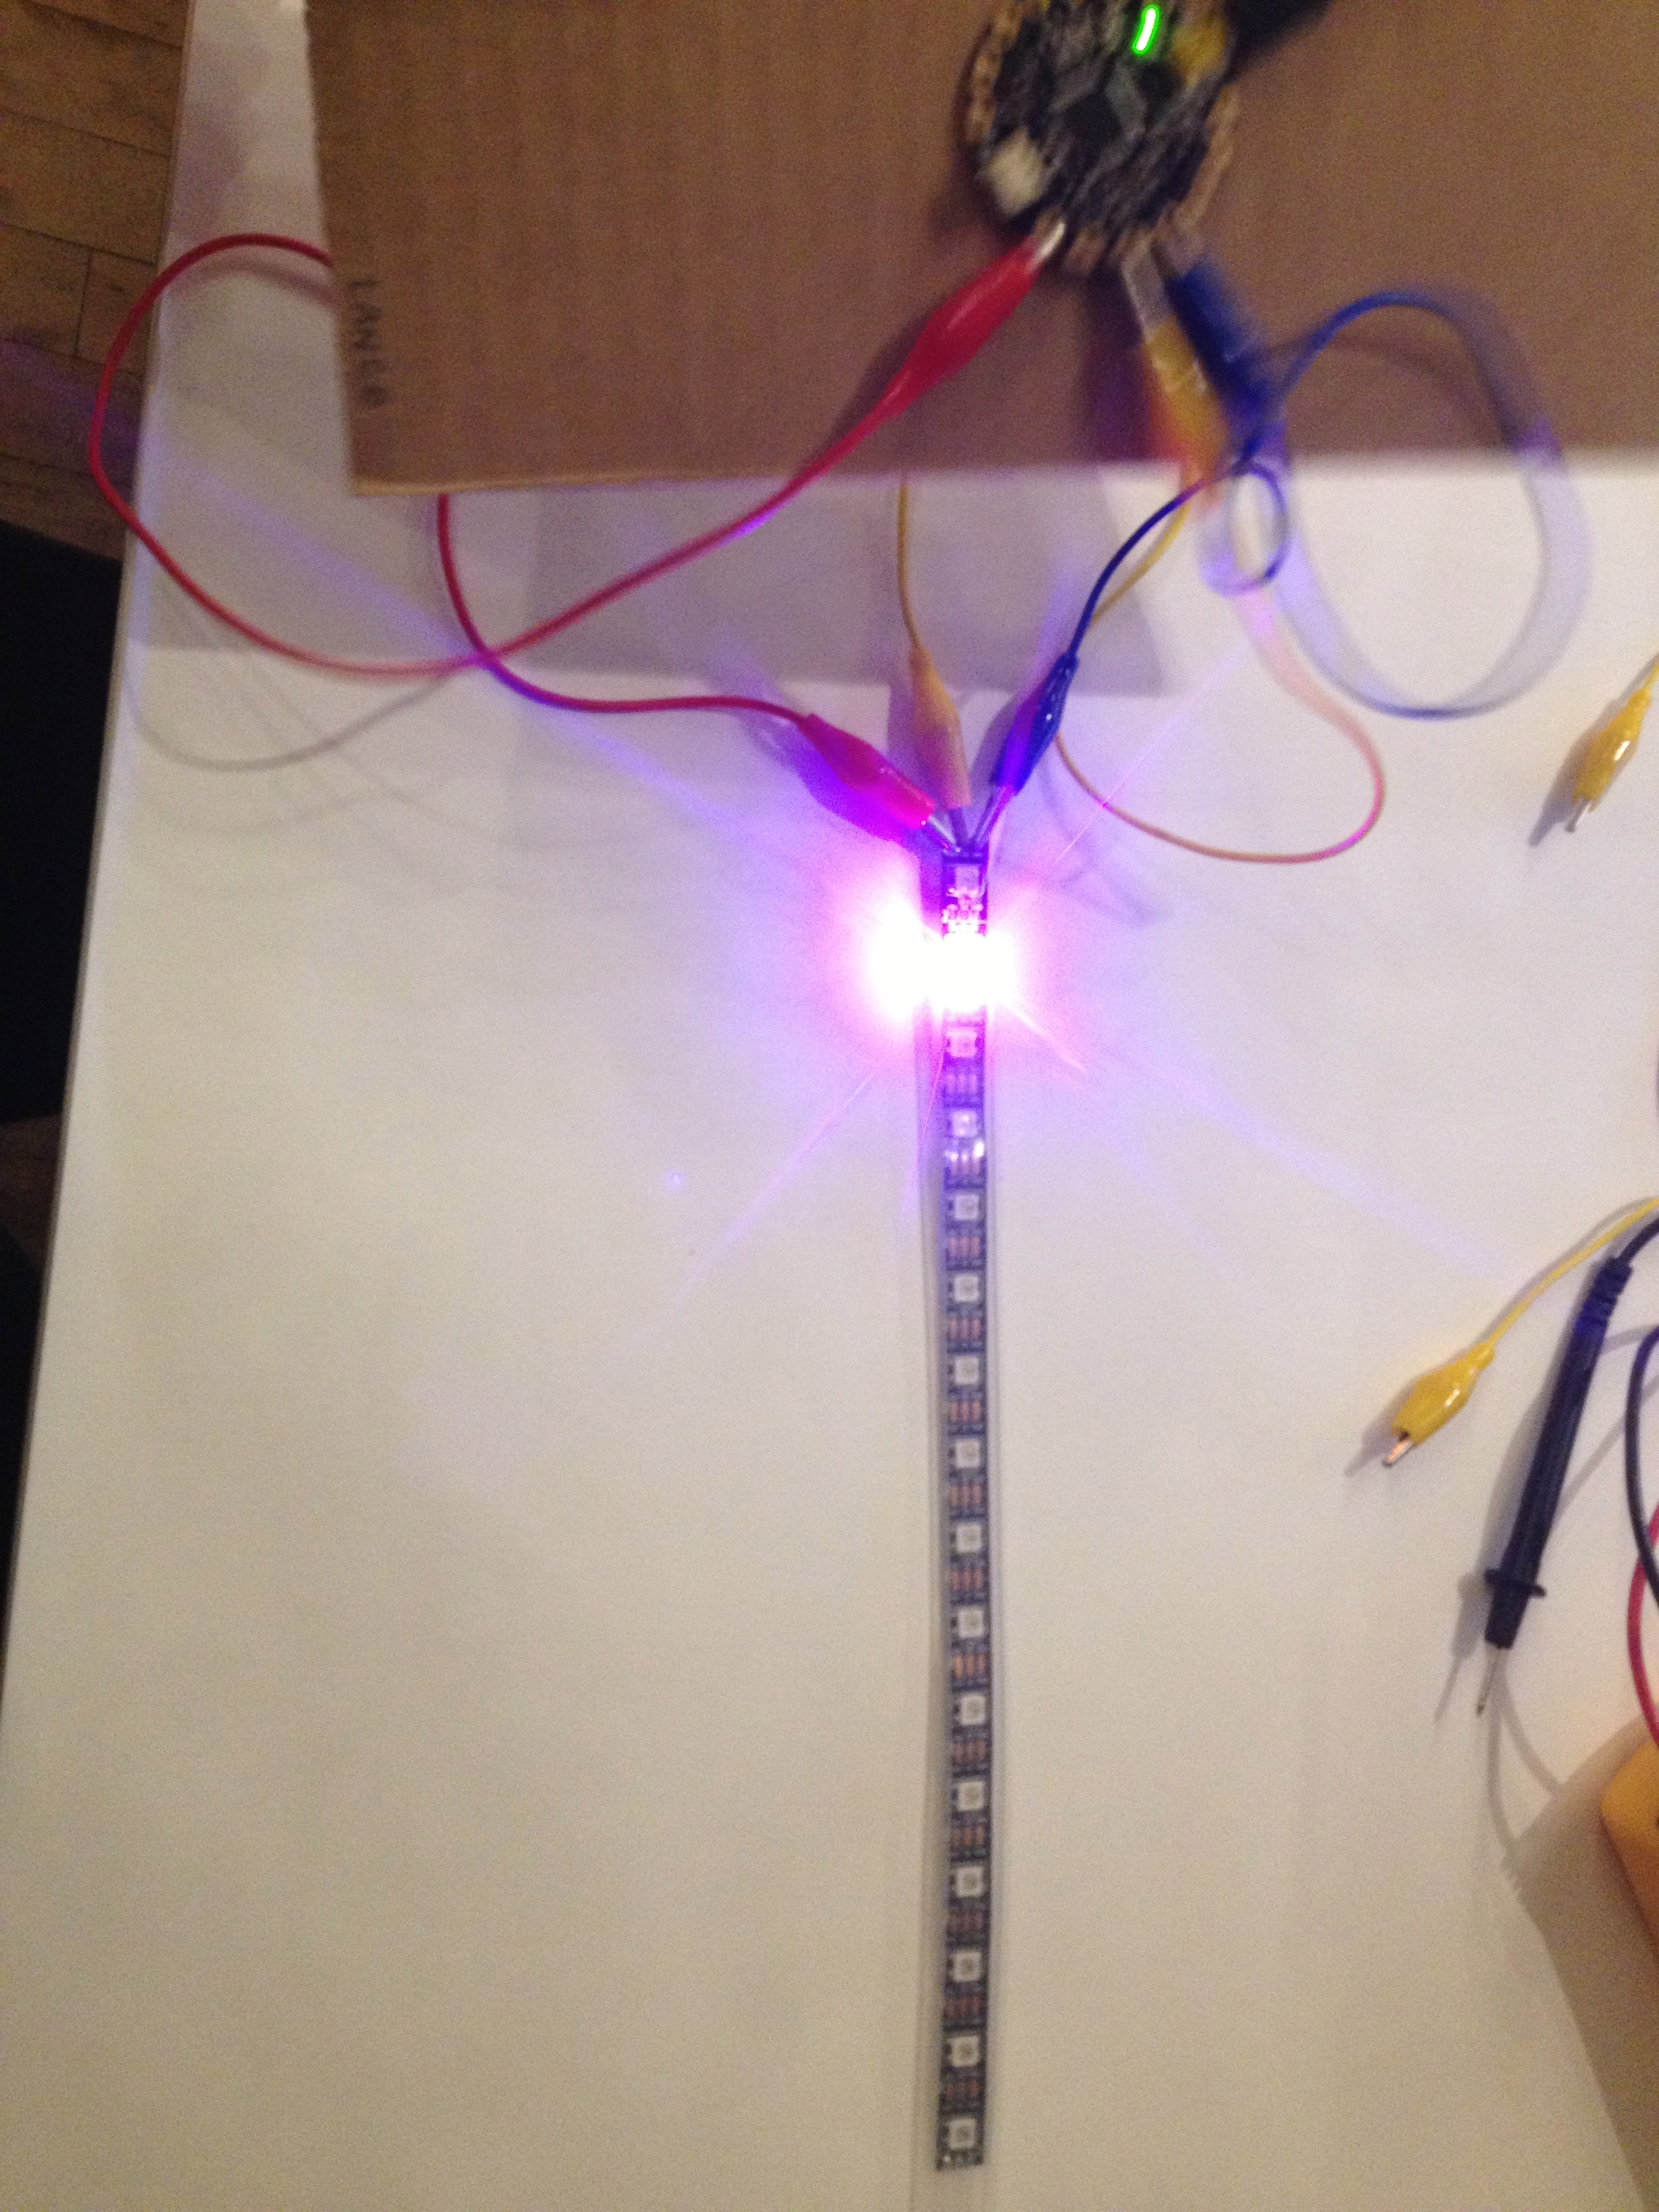
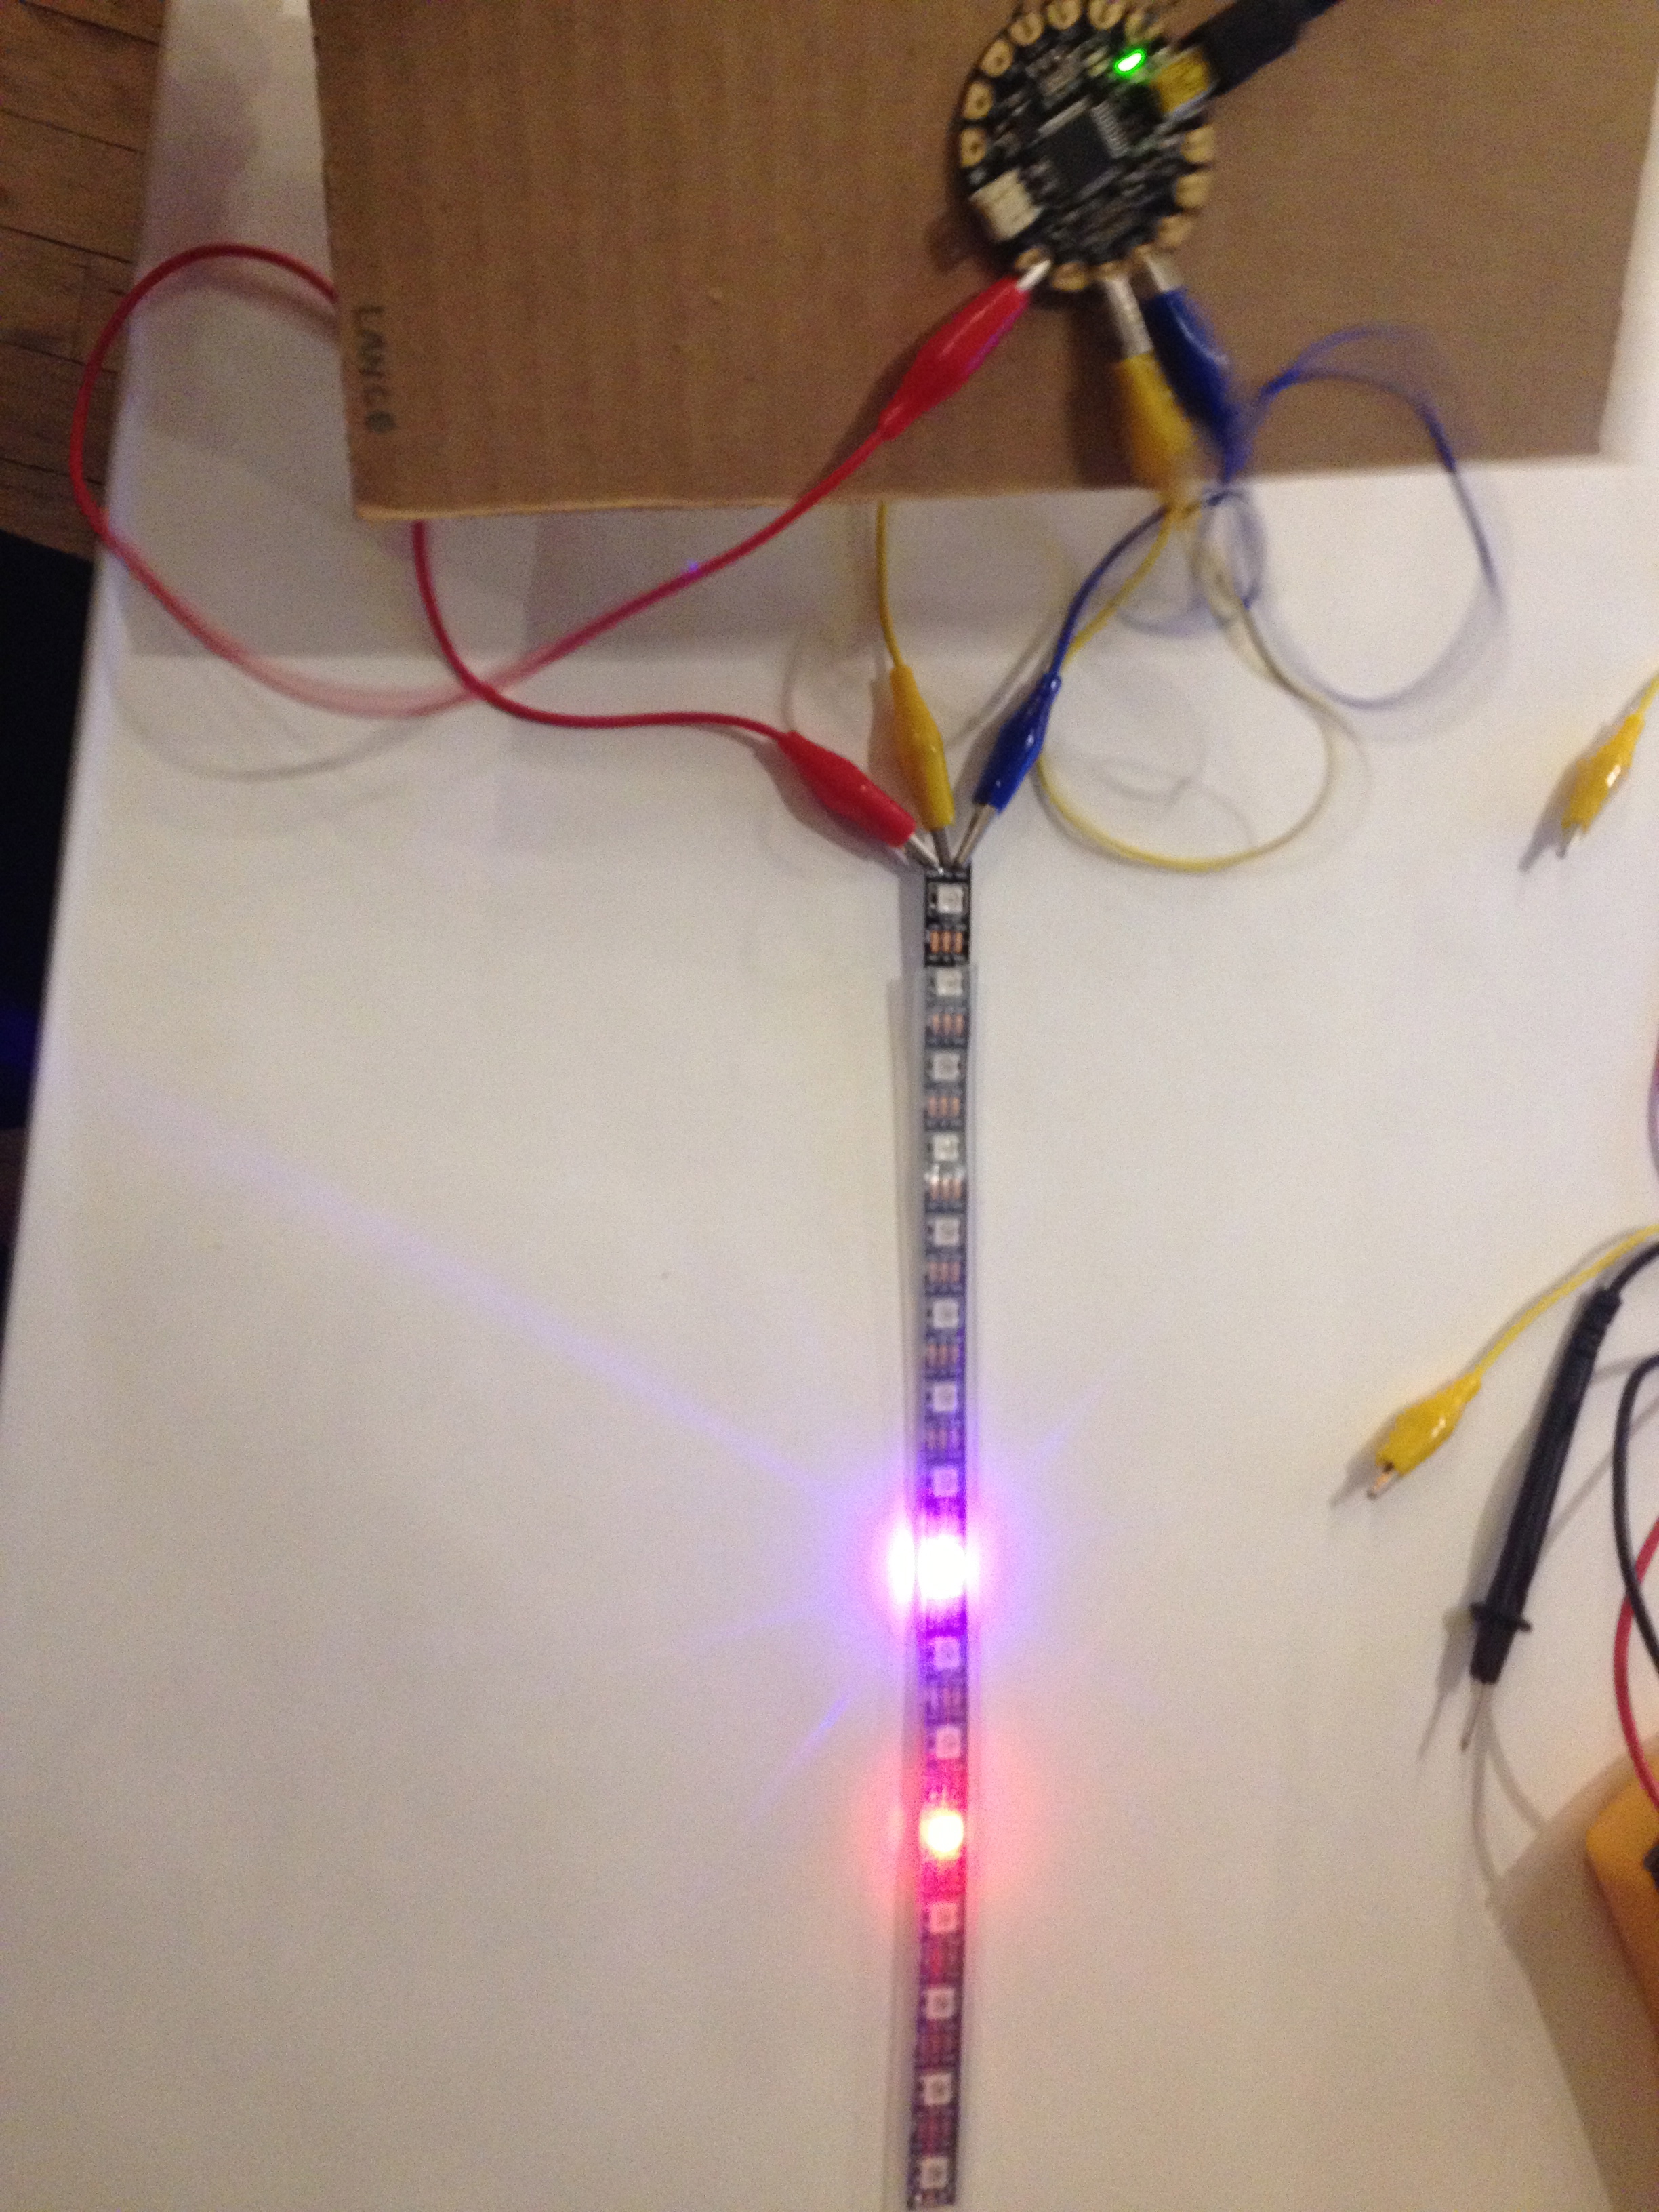
Although it was not a smooth ride to the finish line, I was able to get my candelabra to light up in a different way than I initially set out to.  My initial plan was to be able to squeeze the handle to activate the LEDs using a conductive steel fiber.  I felted the fiber to create a conductive sensor that is activated by squeezing it.  However, I could not get the piece to consistently activate the code so I had to brainstorm other solutions to light my LEDs.

IMG_4051

In the meantime, I hooked up my board and wires to a potentiometer to help determine that my code was working properly. I decided another good option would be to use a button switch which could be activated by squeezing the handle of the candelabra.  Once I soldered all my wires and LED’s together, the push button would not activate.  Although all my connections, code, and soldering were correct, the button still would not budge.  I tried 2 different types of buttons which still would not activate the LEDs.  As a result, I had to let go of my idea of activating it by squeezing the handle and use the battery pack as a switch instead.  If I were to move forward with this project, I would explore other sensor options that would allow me to keep the electronic guts inside the plush candelabra.

IMG_4053  IMG_4050

Here is my final code:

const int button = 10; // Analog input pin that the potentiometer is attached to
int sensorValue; // value read from the sensor

const int ledPin = 6;
void setup() {
Serial.begin(9600);
pinMode(button, INPUT);
//pinMode(9, INPUT_PULLUP);
pinMode(ledPin, OUTPUT);

}

void loop() {

sensorValue = digitalRead(button);
Serial.print(“sensor = “);
Serial.println(sensorValue);
digitalWrite(ledPin, LOW);

if (sensorValue == 1)
{ //change the value depending on the sensor’s read in serial monitor
Serial.println(“leds triggered”);
digitalWrite(ledPin, HIGH);
delay(5000);

}
delay(100);
}

The Fortress of Studitude (Plushy Night Light by Steve Hamilton)

The Fortress of Studitude is named after Superman’s “Secret Citadel” up in the Arctic where he would escape from his day to day life as a Superhero (The Fortress of Solitude).  My Fortress of Studitude provides a lighted “reading chamber” attached to a plushy backrest where I can study late into the night without bright light keeping my sleeping wife Jocelyn awake.

The “Fortress” includes a switch which allows you to switch the reading light on, a dimmer to adjust the lighting (providing restful and respiteful mood lighting during the occasional movie viewing “energy reset”), and most importantly the ability to switch on the “disco party light mode” for when you’ve run out of X and you still want to “study like you just don’t care!”

Image
I started with this plushy black velveteen backrest on sale at Bed, Bath and Beyond. Starting with the Bed, taking it way Beyond!

I created the hoops for the hood out of some plastic strips used for porch screens that Lowe’s had marked down from 3.97 to only 25 cents each (way better than the 9 dollar pieces of steel that I spent about 30 minutes unsuccessfully trying to drill a hole into).

IMG_0905
I used T Bolts to connect the ribs to the wooden dowel I’d cut for support but the pressure exerted by the bent plastic strips caused them to pop out.
Another trip to Home Depot yielded these spiny screw end caps that take a threaded 1/4" bolt.
Another trip to Home Depot yielded these spiny screw end caps that take a threaded 1/4″ bolt.

I’m pretty sure there’s some sort of geometry that would have told me exactly how large to make the panels and also what the arc of the cut fabric should be to get it to make the perfect shroud but I think I was out sick that day and I missed the lesson.  I used one of my plastic ribs to eyeball and trace the arc.

IMG_0913

It's important to maintain a positive attitude despite the slowly budding realization that you've bitten off a sewing project of epic proportions that's far beyond your capabilities.
It’s important to maintain a positive attitude despite the slowly budding realization that you’ve bitten off a sewing project of epic proportions that’s far beyond your capabilities.
I needed sleeves for the ribs to slide into.  These were tricky and made of a slippery fabric that came from Jocelyn's scrap bin.  I finished sewing the first wo panels together and installed the first sleeve around Midnight.  It worked!  The rib slid in with only minor difficulty.
I needed sleeves for the ribs to slide into. These were tricky and made of a slippery fabric that came from Jocelyn’s scrap bin. I finished sewing the first two panels together and completed the first sleeve around Midnight. It worked! The rib slid in with only minor difficulty.

After sewing most of the night I cut the last panel early Monday morning.  I’ve mapped out my circuit with a physical switch and a little laser cut plexiglass panel.  Now it’s time to get started on the electronics.  Yikes!  Running out of time.


Although a little bit of "seamstress exposure" can be nice, "Tailor's Crack" is an eyesore that should be avoided at all costs.  My stretch blue Ex Officio boxer briefs hold steady at the hips despite my jeans slipping down a bit.  Close call!
Although a little flash from my seamstress wife can be nice on occasion, “Tailor’s Crack” is an eyesore that should be avoided at all costs. My stretchy blue Ex Officio boxer briefs hold steady at the hips despite my jeans slipping down a bit. Close call!

Worked on the electronics this afternoon and am considering some modifications.  After IDEO class I got back on the textile tip and put the final touches on the infrastructure.  As of 11pm Monday night the base of “The Fortress” is complete.

Jocelyn takes the fortress for a test drive.  There's a bit of a gap at the bottom because I ran out of fabric.  I'm going to add a black "skirt" to fill the gap.
Jocelyn takes the fortress for a test drive. There’s a bit of a gap at the bottom because I ran out of fabric. I’m going to add a black “skirt” to fill the gap.

The last bit was to hand stitch the structure onto the plushy backrest.  I was planning to trim the sides to the length of the curved braces but I actually liked the way the fabric bunched adding to the “Victorianly decadent” feeling overall.

IMG_0935

Artificial Pet + Flash Night Light

Hi, everyone,

IMG_1204
I have changed my words to artificial pet, so my object name is artificial pet flash night light.  My idea is a monkey shape toy that can seat on your shoulder and hang on to your neck.  The details of the monkey are simplified.  The light will be inside of the body, It will light up when a person walks with it on their shoulder.  I will use the code we have learned “sparkle dress” for my toy.
I would like to make the toy so the monkey’s head can turn. I will figure out this part.
Thank you!

Radiantly Clutch.

Hello, 

My two words I chose at the beginning of this class was camouflage & luggage tags. I am choosing to go with luggage, dropping the tags, and create a glowing mohair bag. 

Celine-Green-Mohair-Fortune-Cookie-Shoulder-Bag-Winter-2013


But in my research I found a glowing bag was already on the market. 

22511_4_468.jpeg


I know everything has been done before, but I think i have a better idea with creating a mohair clutch that you can throw into any bag and take it out when going to a dark bar or club and have a nightlife light. 

Celine-Mohair-Berlingot-Twisted-Clutch-Bag-Winter-2013


I would like the bag to grow brighter the more you shake it.  The sparkle dress code, might be the way to go with this project. What are your thoughts? 

– Brandon

Twinkle Twinkle

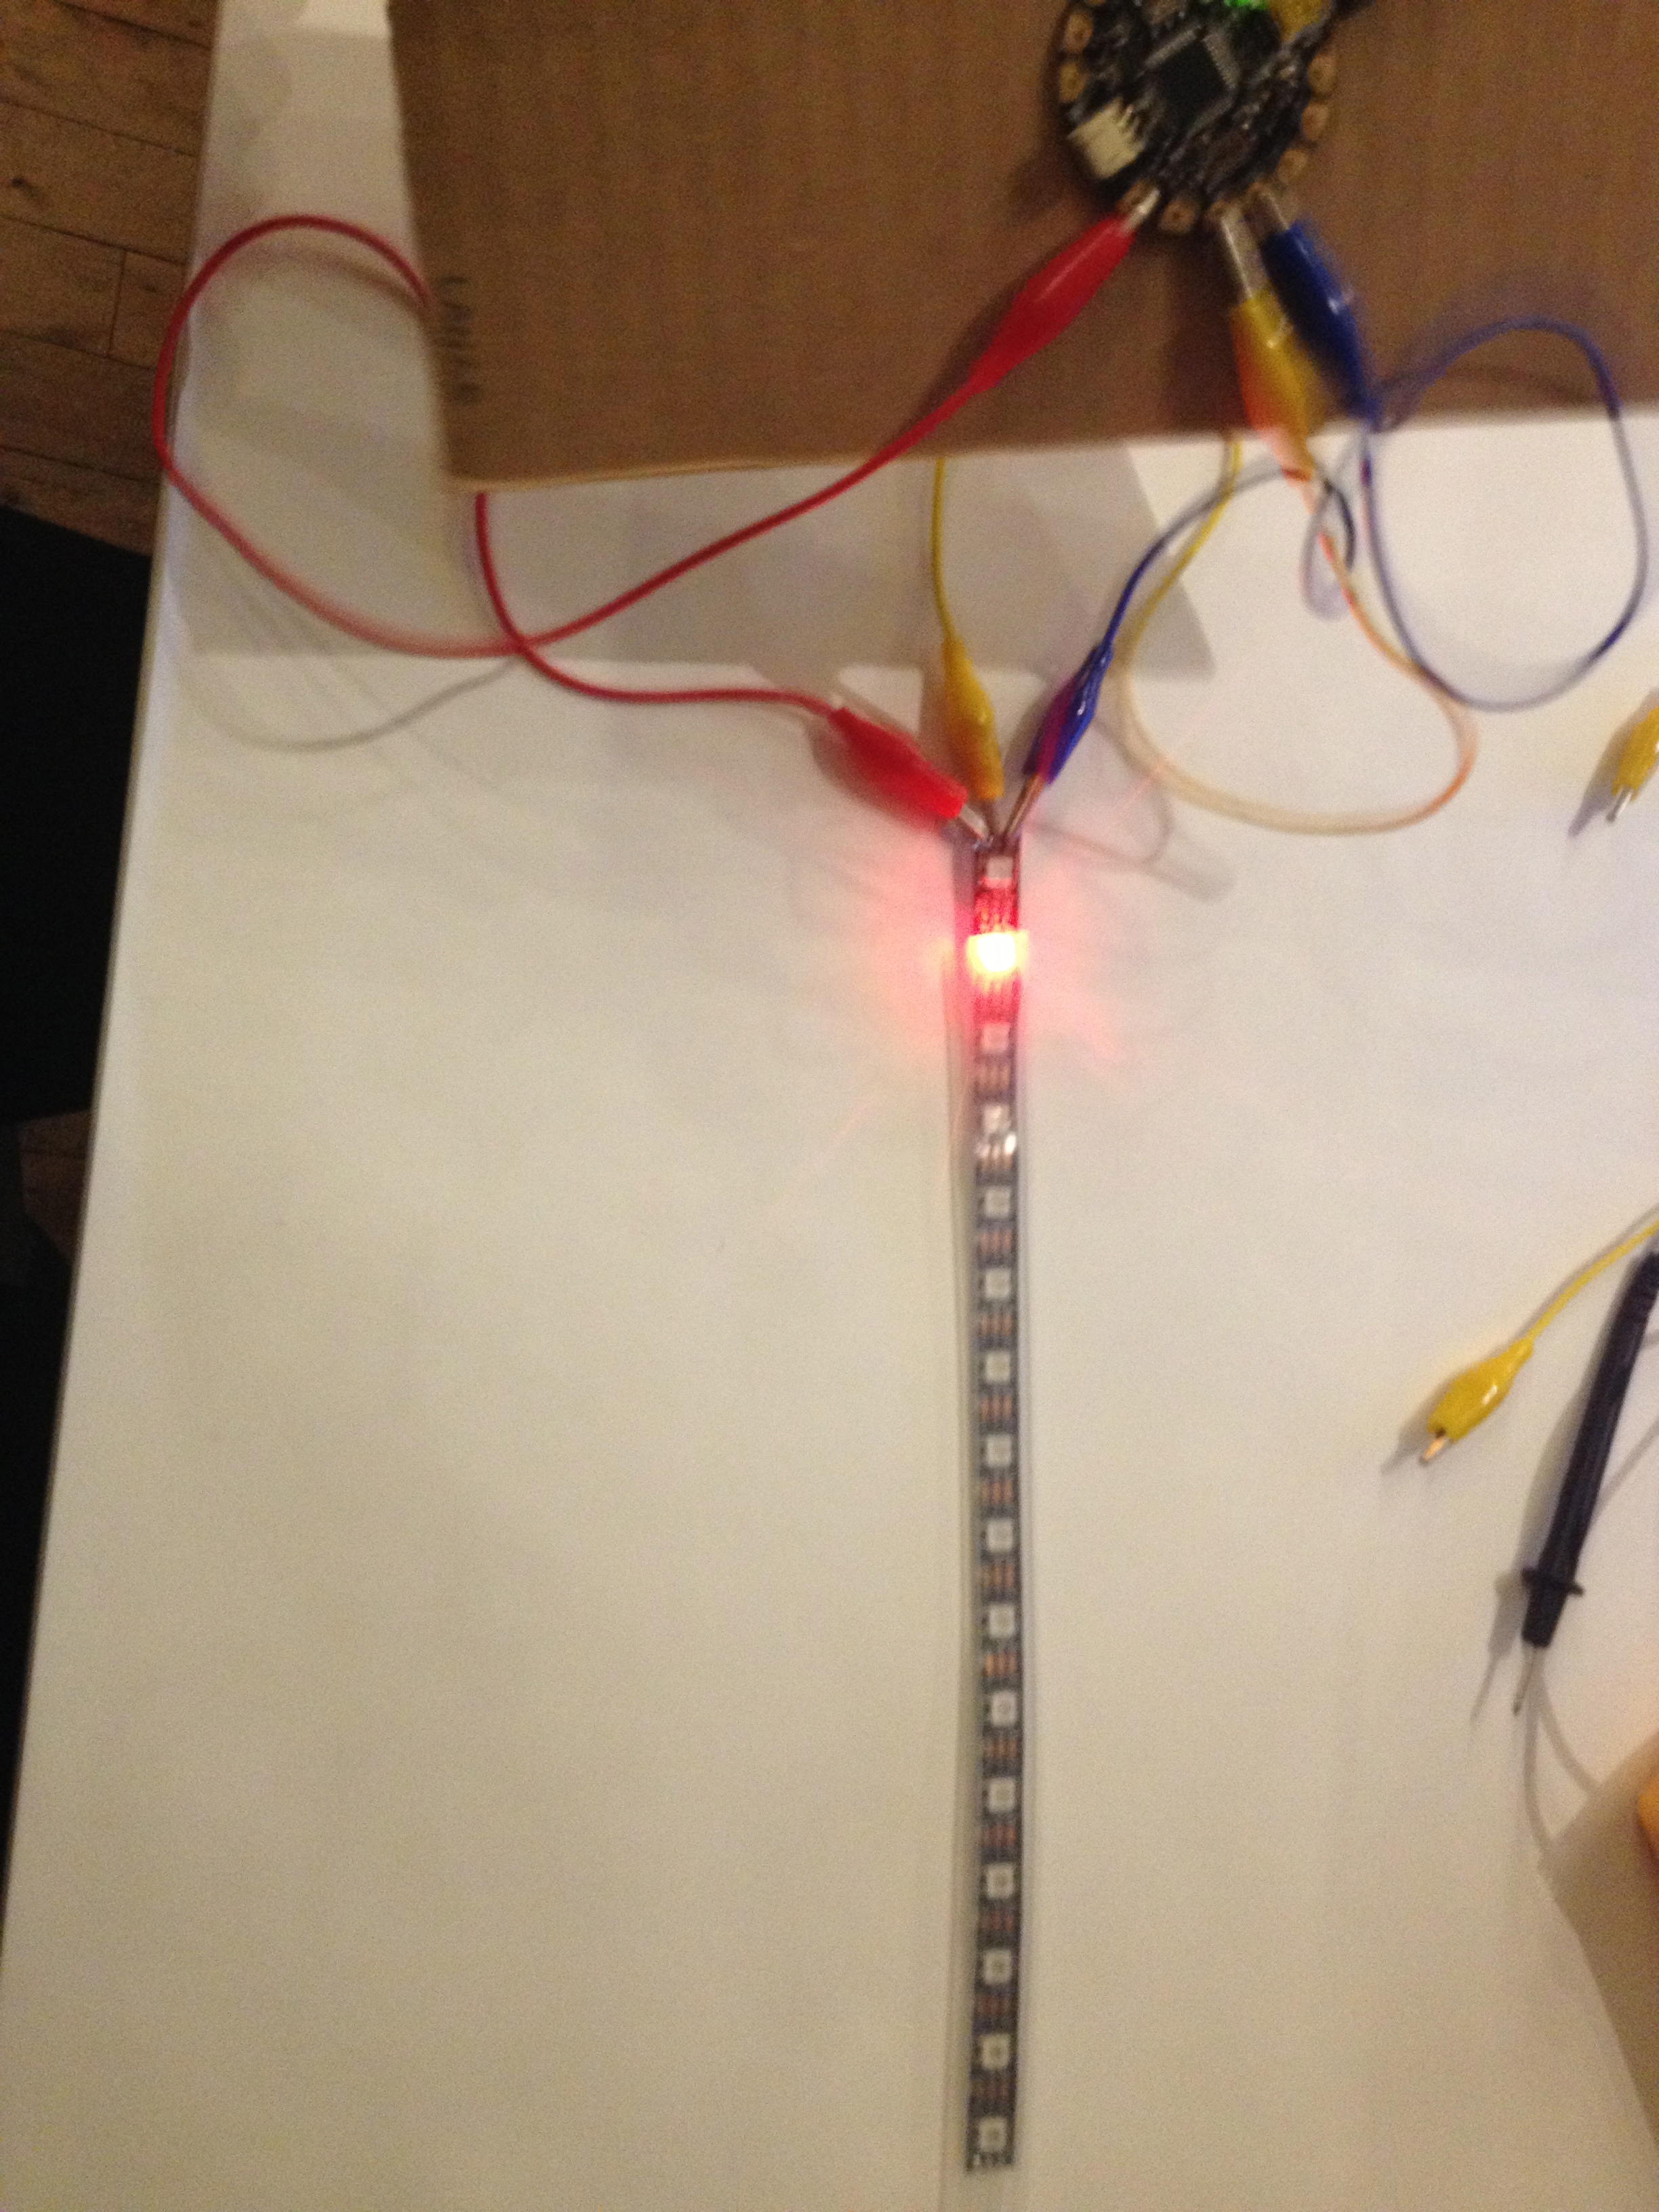
To make the motion sensor code work, I began by figuring out how to get one Neopixel to light up while shaking the Flora board. While my Strand Test lit up the Neopixel, I was unable to get the motion sensor to work using the Sparkle Skirt Code. However, when I opened my Serial Monitor, it indicated that there was “Twinkle!” when I shook the Flora board. The Neopixel just stayed lit.

IMG_3877

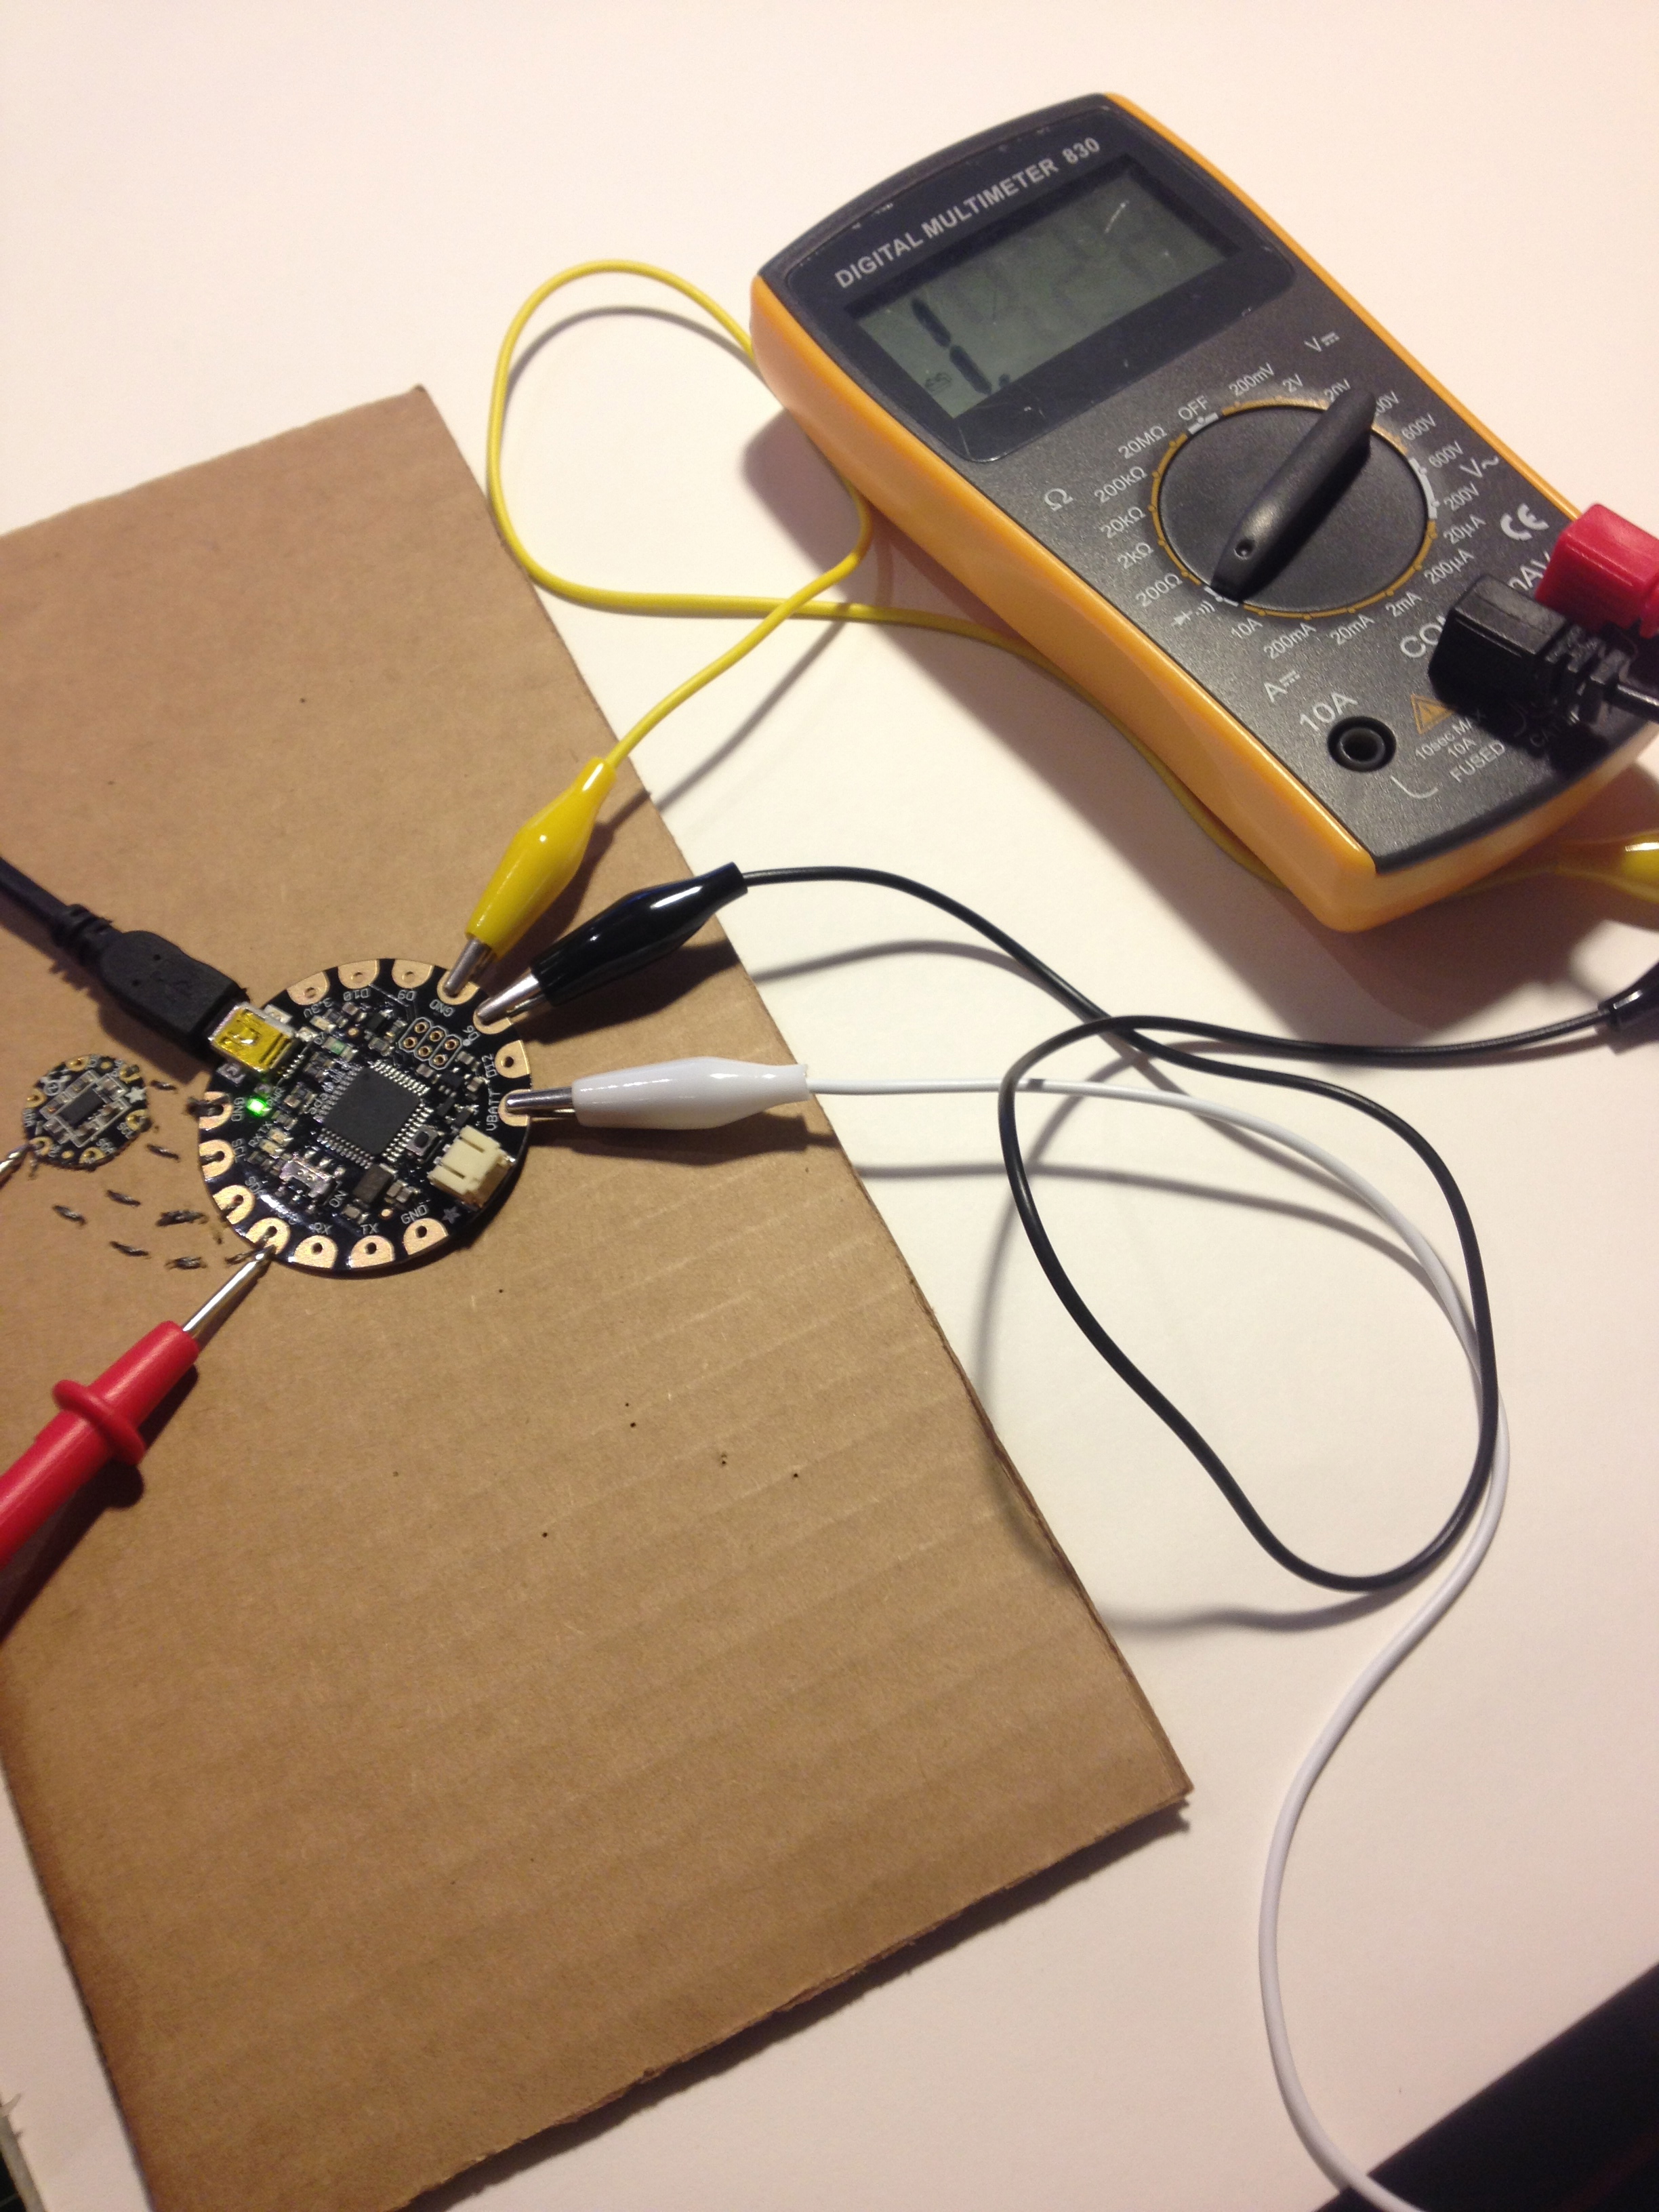
In order to fix the problem, I checked the resistance with a multimeter.  I found that my D6 connection did not work and changed alligator clips.  After that, I was able to successfully make the motion sensor to work.  Here is a video demonstrating the motion sensor working.

IMG_3878 2

I played around with the different frequencies and made it so that the colors would consistently flash rather than sporadically.

Screen Shot 2013-09-23 at 3.10.30 PM


For my plush night light, I would like to use the word “chandelier” and make a night light that hangs from the ceiling. I want the user to be able to squeeze the object and either bring it to the bathroom with them or leave it hanging to light up the area around the bed. It is intended to make going to the bathroom in the middle of the night easier. I am not sure what shape I want the object to take form but I do want the user to be able to turn on the light by squeezing it.

It just won’t sparkle.. :(

IMG_3672

IMG_3671


After sewing the neo pixel on the cardboard, I checked with Strand Test sketch to see the LED lighting up, and it worked.


But when I uploaded the sketch from adafruit, it just wouldn’t light up.

When I shake it, the serial monitor will show “Twinkile!” which I assume it is signaling the LED to sparkle, but nothing happens.

I tried with a different LED, which still seems to have the same problem.

Screen Shot 2013-09-22 at 7.54.13 PM


I’ll play around with it more, and see if I can get it to work.