Project description:
My topic is digital faith, how is the digital changing the way we believe?Will our faith continue to exist in a more digital age, and will people create new digital gods? Or make a pilgrimage to a digital screen?
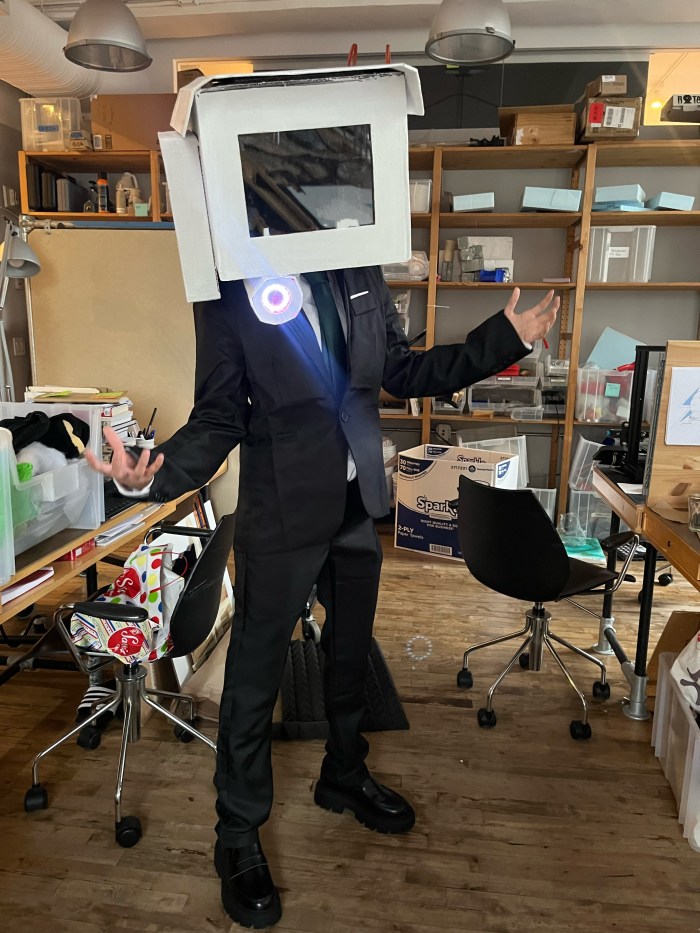
I made up a digital Buddha.Insert the electronic incense into the incense burner, and the machine will print the result of your request.
Video:
Parts, Tools, Supplies:
Arduino uno/ Print module / Power supply 12v /Photoelectric module/ Soldering iron & solder / Wire strippers/ USB A-B cable/Dupont wire
Code:

Circuit Diagram:

Design style:

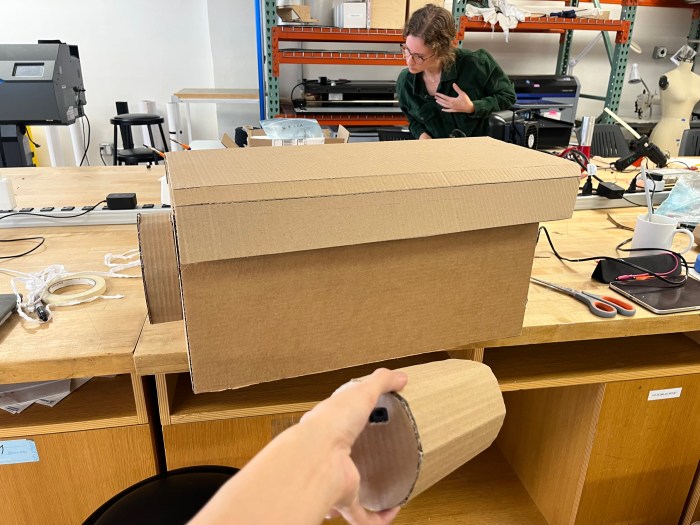
Production process:
- Design the shape of electronic Buddha and Incantation paper,and make each part of the entity
- Welding screen and put the electronic Buddha on my screen
- Weld each part according to the circuit diagram(connected each component (Photoelectric module and Print module) to the circuit board with wires respectively)
- Enter the code
- Debug the picture code and debug its rendering effect in the print module
- Test the code
- Upload the final code
- Use wood to make boxes for sticking incense and to make boxes for printing parts
- Assemble the circuit into the case of each component
①Fabrication circuit


②Manufacture wooden box


Final product diagram:


Instructable link: