Darkie – Monica’s Plush Night Light

Were you ever scared of the dark?

Chances are that you were. Fear of the dark is specially common in children ages 3-6 when “children are old enough to use their imagination but have not fully developed the ability to distinguish fantasy from reality” 1.
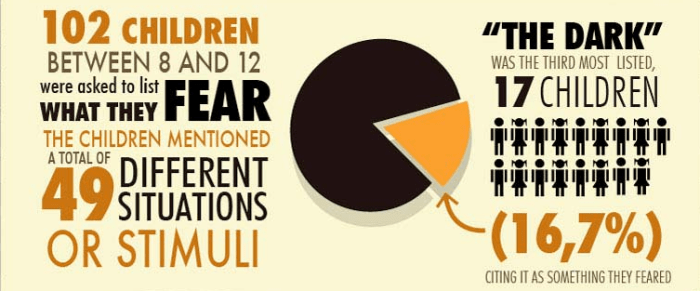
Source: Fear of Darkness Infographic
What if children could see the dark in a new light?

Enter Darkie, a night light plushy in the shape of a cute little monster. When on, Darkie reveals its lit big red heart, aimed at increasing feelings of comfort and trust with children. Darkie will be especially helpful in the early-childhood years when children are transitioning into sleeping independently from their parents.

Darkie loves to be hugged

Darkie can in used in bed with the user, or sit on the night stand and be ready to be grabbed when the child needs to run to the bathroom or a fluffy companion to go to the parents’ room.

While Darkie doesn’t claim to solve or prevent fear of darkness in children, it does aim to act as an approachable, positive and tangible representation of darkness and thus might ease feelings of fear in children.

Process

Diffusion experimentation with single LED
4-LED circuit for Darkie
Soldering and placing the shrink-tube in place
Soldered circuit working!
Cut loofah in the shape of a heart with inserted circuit
Machine-sewn plush body
Filling Darkie up

Specifications

Toy: Velvet upholstery fabric, mesh, stuffing, goggly eyes, sponge. Electronics: 4 soldered red LEDs with AAA battery pack

My Journey

I began wanting to make a toy in the shape of a person, but early prototyping wasn’t very successful. I decided to keep the idea of the lit heart. After a hard but ultimately successful time soldering the LED circuit, I discovered that I could get great light diffusion and make a heart shape by sticking the LEDs into a loofah. Then the question was how to get the heart into a plushy… I didn’t know what I was going to make.

It was only at the fabric store that I realized what my plush toy would actually be: a little darkness monster with a heart! This seemed like a much better and clear idea than my original.

Takeaways from this project
  • It was hard to get the LED to work, but when they do, it’s really fun!
  • Making, cutting and sew the pattern is not a quick gig. (I thought I would be able to do it in 40 mins but actually took me 2+ hours, at full productivity mode.
  • I realized I should have sewn the ears onto the main body before closing up the main body. That would have made the seam between parts way better.
  • Conveying the darkness int he final photos was hard, and I’m not sure if the choice of background was good.

“Septopus” – Liam’s Plush Toy

A Night Light for sea health education

Why

  • This Octopus is part of a product line of friendly sea creatures that allow for kids to develop an appreciation for sea life and the ocean health at large
  • His blue lights and missing tentacle represent his decline in our oceans health
  • Each purchase would include a card with facts about the specific creature and tips on how the child could lend a hand in helping our oceans

Process

Newton the Night Newt – erika

Newton the Night Newt comes out at night because he has special light-up abilities. He does best in nature, burrowing around leaves, logs and his favorite, moss. His true gift is providing any kid night time solace when darkness seems menacing and lonely.

FABRIC SHOPPING AT MOOD FABRICS

Process:

While I was shopping at Mood Fabrics, I considered using neoprene, felt, and waffle weave jersey fabric, however I settled on polyester because felt more sturdy and indicative of a night light object rather than a cuddly plush toy. After hand sewing this plush toy, I noticed irregularities and messy seams after flipping it right side up and stuffing it. Nihaa suggested using piping to cover up the seams, which I thought of hand-making using the remaining fabric wrapped around pipe cleaners, but ultimately settled on using dark gray yarn for extra patterning and to cover up the seams. I also used a zipper for easy access to the battery pack, and 6 LED lights.

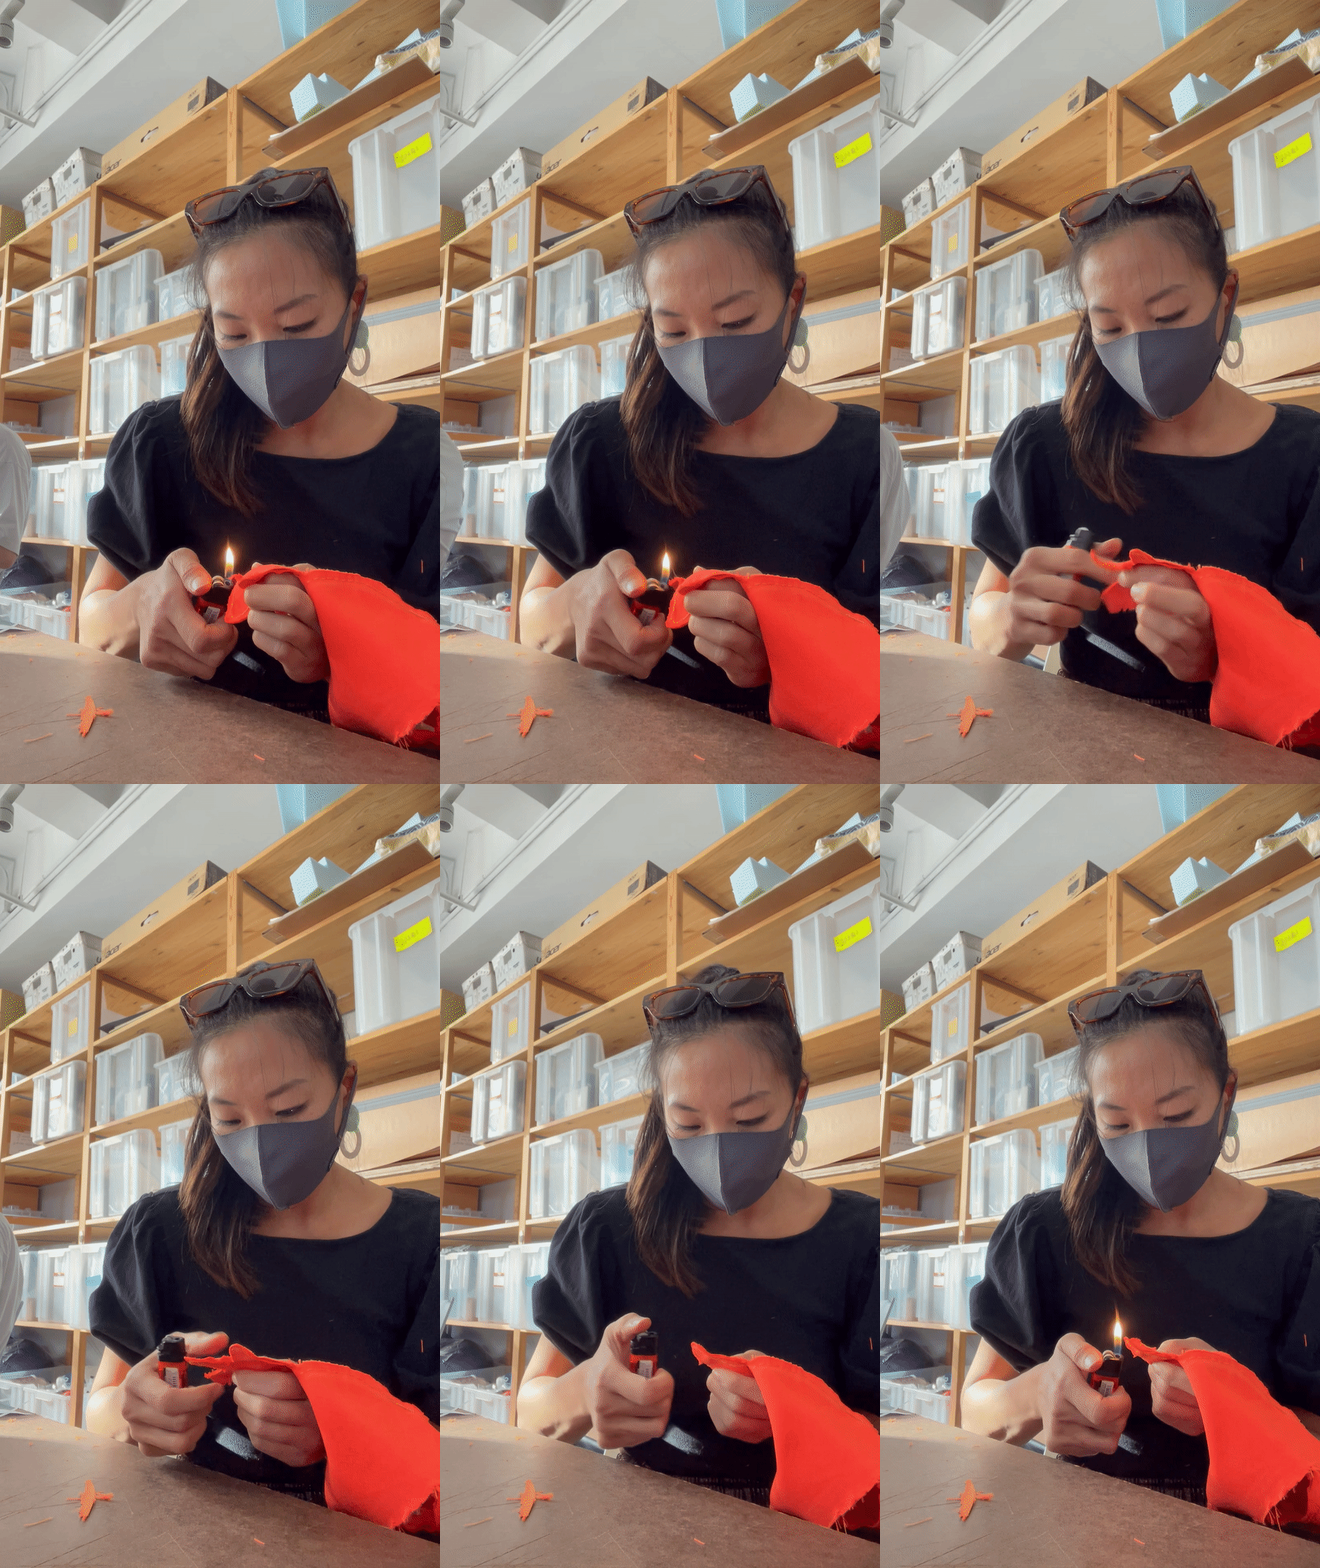
One thing that did surprise me was working with the fraying of the material and realizing that it impacted the cleanliness of the seams. I tried burning the ends which was a technique I learned sewing pointe shoe ribbons, which worked temporarily. Another thing that surprised me was the material’s inability to take fabric glue. The fabric glue absorbed straight into the polyester and had no stickiness to it.

Newton says hey.

Achi’s Plush Toy

AKA Chubby the Ghost

Chubby the ghost is the perfect toy to get your spook on this Halloween season! He’s meant to light up during the night to attract other creepy lovable ghosts in order to have the perfect mega ghost party!! In the previous post I mentioned how this toy is meant for creepy kids who like to get their spook on during Halloween and can’t wait to meet other ghosts.

Materials:

  1. Sherpa
  2. Felt
  3. Cotton Stuffing
  4. 2 Red LEDs
  5. 3 AAA Batteries

Process:

Final Model:

Night Eyes by Sarah

These plush toy eyeglasses are a cuddle friendly night light. They are meant to be used by people who have poor vision or just have a hard time navigating in the dark. The idea originated from difficulty finding my own eye glasses at night. The arms of the plush toy have a thin wire inside so it can be propped besides your bed during day and folded and cuddled at night. The toy is meant to be less harsh than turning on your bedside lamp. This plush toy can help you get around without disturbing your sleeping partner. The user should feel more confident in their night time navigating

Materials
Pink cashmere mix fabric for the of the body eyeglasses
White Nylon for the lenses
6 5mm blue LED lights
Thin wire – inside the arms of the eyeglasses
Foam board -is used as insert to keep the LEDs in place/for diffusion
Poly fil – toy stuffing for cushion and diffusion
2x 2032 3V batteries & battery pack
Wires
Solder
6x 100Ohms resistors

Project Journey
The original design for the eyeglasses was fairly straight forward. I would say the prototype I made really informed my final version. I learned I needed to make the edges of my glasses much thicker and the plush toy larger overall. I also learned cutting the seams of curved edges helps get a clean curve which is why the final version is much more defined.

Soldering was definitely a challenge as I had several LEDS attached to one battery pack. Also because I needed 3 sets of lights in two different locations my circuit became difficult and prone to breaking. In the future I would create a small case inside the toy to protect the electrical work from being damaged.

First pattern for prototype
Prototype

Circuit design
Final fabric pattern
First sewn pieces
LED battery pack
Test for foam board insert that holds LEDs in place and diffuses light

Cheryl’s Plush Night Light

This little plush toy is for kids who are afraid of dark. The little dino is a perfect toy for kids to cuddle with in the dark. The wings is bright enough to give kids comfort and a sense of companionship in night time, while the LED brightness is not over exposed to the point of discomfort for kids. I really enjoyed the sewing process and I think one of the most challenging part was soldering the LED.

Process photos

For the little dino’s head, I sewed yarn between the two head pieces to emphasize the spikes.

I chose to make the wings with light muslin fabric so that its thin enough for the light to diffuse through.

Next I sewed the body, wings, and head together.

I did not sew the wings entirely, I left a slit that is wide enough for the LED to go through.

I hand sewed the legs and arms onto the little dino’s body.

FINAL DINO!!

Green Guy Night Light

Product Description

The Green (best color ever) Guy Night Light is made for children who are afraid of the dark. His LEDs shine in three different colors: white, red and blue; and they showcase the location of vital organs within the body. One can also say that this is an educational tool that promotes body awareness. These are both great problems to solve and console the user.

Materials

The Green Guy Night Light is simple in construction and is made up of the following materials:

  1. Green Corduroy (body fabric)
  2. Black Zipper (LED and stuffing enclosure)
  3. Black Thread
  4. Cotton Stuffing
  5. 3xAAA batteries
  6. 3xLEDs (white, red, blue)

Product Journey

This product was extremely fun to make as I’ve never sewn a plush toy before, nor had I used LEDs. I found it easy to sew the corduroy as it is a light fabric and the machine had no problem going over it. The most challenging part was definitely the LEDs and the indication of the organs (which I have yet to make a successful solution) through chipboard within the body. Lastly, I was most surprised to see how long it was going to take to do the LEDs.

For Future Iterations

Next, I would definitely like to refine the product by indicating which organs are being shown through embroidery (hand or machine). I had not thought of this until I had sewn the body and seen that the chipboard was not enough.

Process

Original sewn sketch from class

Sketches after class for the first prototype

Pattern and sketch prototype with class scraps

Finished Product

Anne’s Plush Night Light

This caterpillar night light is for children. I modeled it on the shape of a neck roll pillow. It is for when a child wakes up in the middle of the night. It is soft and big enough that it can double as a small pillow and does not take fine motor skills to turn it on. The light is meant to be soft enough to not disturb any other sleepers.

It was an interesting challenge to work with the light as well as the plush negative or light knock-out stripes.

This is the pattern:

In progress images and first circuit. The circuit was modified to include two more LED’s for the antennae:

Here is the circuit diagram:

Building the circuit and diffusing the light was challenging. The ping pong balls helped amplify the light and the tubing helped work the light into the antennae.

The materials for the plush night light include:

  • muslin and plush
  • ping pong balls
  • poly-fill
  • 2 pipe cleaners
  • 6 ping pong balls
  • 10 LEDs
  • 10 100Ω resistors
  • switch
  • battery pack
  • 3 AAA batteries

Here is the first prototype:

Here are the early brainstorming sketches:

Yellow Bunny Night Light

The first intention was made a cuddle cushion for kid, I love the material I chose so I feel like it could be interesting to sit in living room.
This is the prototype to test the size. I didn’t realize that this might be a little bit too small at that time.
Test material for the brightness. Looking good!
After I finished sewing I figured two things. One is this size is kinda small for cuddling but perfect as a carry purse maybe. The second thing is, this fabric is so good for making a Pikachu! I should make the ears in a straight line!! It will be so cute to carry a Night light Pikachu purse on the street, I might fix this after this class.
I have really poor knowledge on physics, so I had a lot of problem of making a reasonable circuit. I was thinking about to design the lights but I didn’t realize the power will just be the battery box. But anyway, after I looked around classmate’s work I finally get the idea of this. Unfortunately, this circuit does not light up as it supposed to be, I wish it’s not because I designed it wrong, it perhaps because my clumsy soldering skills. I will definitely practice more!