Blink . . . blink . . . blink . . .
https://vimeo.com/user13077047/review/77416847/aeafc6ee7f


This Arduino challenge required us to sew, which is a craft I find quite enjoyable.

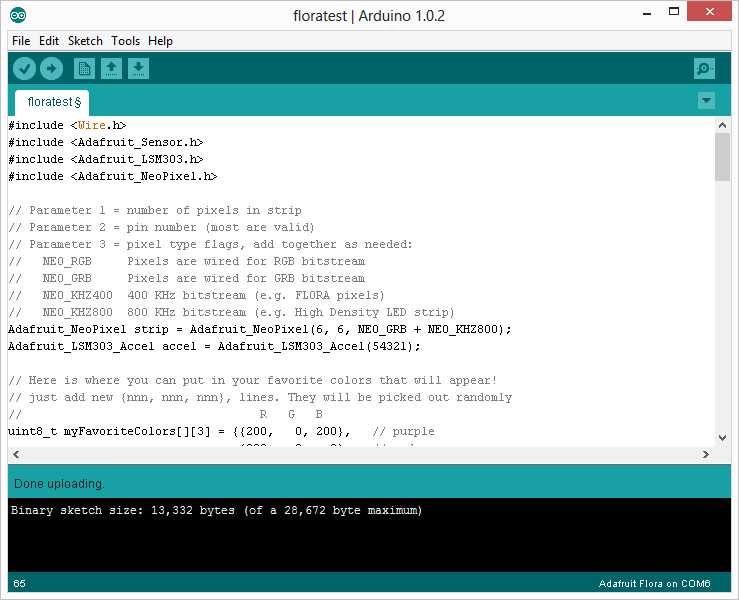
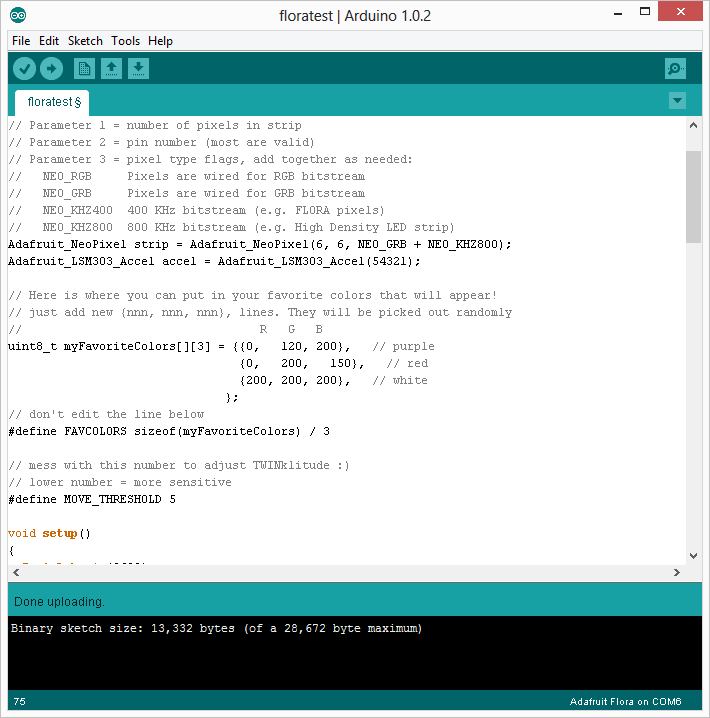
After sewing on the flora board and the other circuit board own I uploaded the second sparkle skirt code onto the flora board. I adjusted the thrust and the number of pixels that I wanted to light up. Below is a video of the final result.
https://www.youtube.com/watch?v=gCHy_EDKbtI
I plan to use this to make a back pack style “Plush Water Carrier Night Light” for glamping or glamorous night hiking.
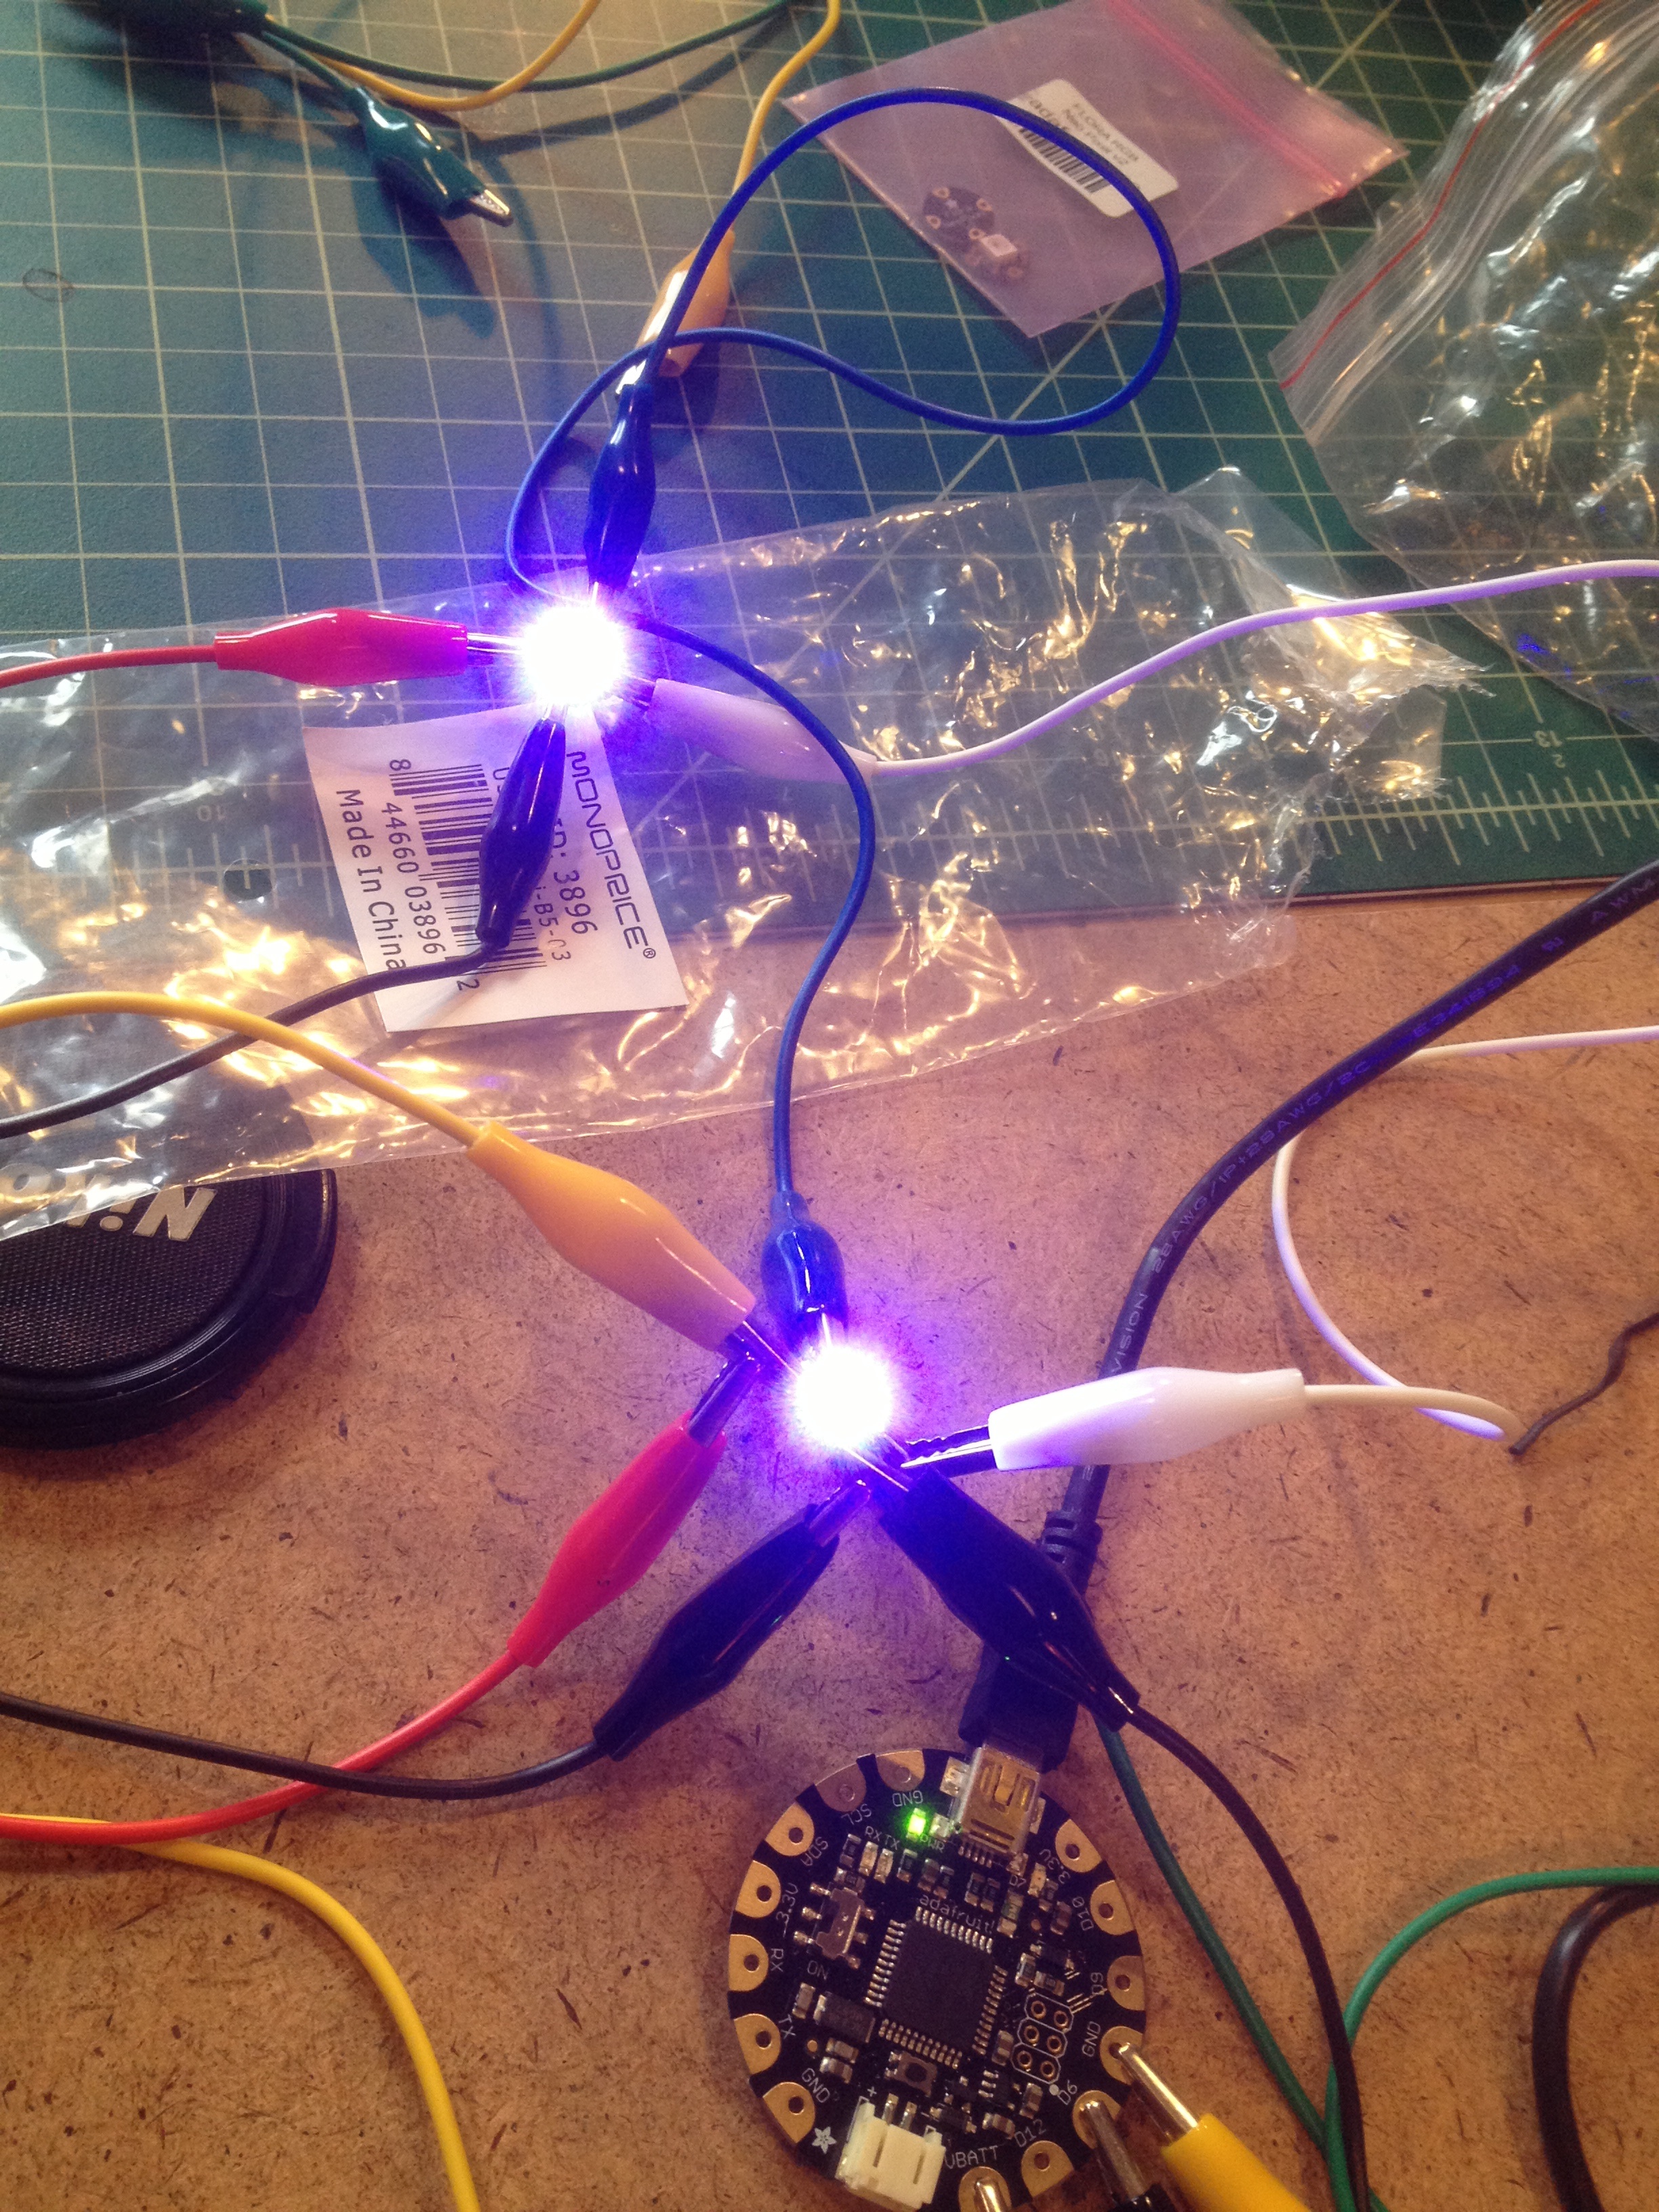
Hmmm. I took my sewed up sparkle skirt cardboard that was working perfectly last week in class apart before taking a stab at re-assembling it with alligator clips and adding an LED. I knew this circuit would be perfect for one of the versions of a plush night light which would work with motion activated LEDs packed into a plushy foam lined tin can dragged behind your bicycle to create the noisiest bike night light ever.
I wanted to start from scratch in order to get practice with this. I got everything hooked up and with the original code from last week I was getting the numbers to change when running the test.

Sort of a mess on the dining room table but luckily Jocelyn had already gone up to bed.
This was particularly helpful because I was using her fancy deco era (or maybe it’s Victorian?) magnifying glass to see what I was connecting too. It worked really well!


I then reloaded the sparkle skirt code from the website and I got an error PIN 6 not defined. I went back to the code from our original LED testing and I copied a line of code from it that defined Pin 6 but then I got an error that “lsm was not declared in this scope”. I tried deleting lines of code that had lsm to see if I’d get a different error but there were lsm lines throughout so that was a bust. I tried reloading it and I tried going back to the code from our neopixel experiments and copying some pieces of that in but it still wouldn’t work.
I’m stuck because I don’t know what LSM means or does so I have to do more research.
I made this excellent drawing of my two ideas for a Plush Tin Can Night Light Lamp which conceptually contained at least two redundancies in it. So I parsed out and embraced one redundancy in each of these pieces I plan to make for next week.

Plush Tin Can Night Light
A plushy sewn insert protects the delicate motion sensing LED electronics inside an empty Bustelo coffee can. The can is either dragged by a rope behind your bike or slid onto one of those detachable fenders you can get for you bike. The bouncing of the can causes the LED to flash brightly and frantically and sporadically making sure you’re super visible at night. If you drag it by the rope you get the added benefit of a loud obnoxious sound making you even easier to spot out on the NYC streets.
The plushy’s on the inside!

Plush Lamp Night Light
A cushy pillow has LEDs built in that provide reading light for bedtime. When you doze off while reading the beginners guide to programming in processing and your cheek touches one of two touch capacitive cloth inserts flanking your head it switches the unit from reading mode to comfortable mood lighting mode for a restful ease into your evening REM sleep.
I want to use the flash light as my new word.
There was a small discussion of arduino direct by Wolfgang last Friday night in POD studio. Big thanks to Wolfgang! I enjoy the moment, everyone around the table to do the arduino!
Firstly, I try to use the sparkle-skirt code to make the motion sensor code work. But, It never light! And I try to use other people`s board which can light! That means I need to resew the board and motion sensor again!


Thank you my fellow– Lance to makes some notes in my paperboard which let me know the meaning of different parts. And thanks to dear May to help me together to make a quick resew!
 GIF!!!
Finally, Shake~Shake!
Here is the vedio address in vimeo:
Hi all!
This weeks challenge was a tough one! It took me a while to figure out what I was doing. The code was uploading fine once my computer found “Leonardo” 😛
However, it seemed that no amount of shaking was going to light up any LED’s on this cardboard. My stitched weren’t the best or tightest however I knew that the connection was strong from last class. It wasn’t until I spoke to some of my classes that I realized the “Thresh-hold” was set too high and that if I dropped it down to a low number it would make the sensor very sensitive. Below are photos and videos of the LED lighting up! 😀 Finally!


 These are some ugly stitches 😀
Hi,
I started with connecting an RGB LED light to my sewed Flora board.
Then I checked the LED with floratest, to see if my connection is right or not.. and it lighted up!

Then I searched for the sparkling skirt’s code on adafruit and found it, then pasted it.
However, when I tried to upload the code, I got several “serial port COM4 is already in use” errors unfortunately.. Plugging out and then in again worked somehow and I also restarted the Flora.. But it makes me anxious not to know whats going on indeed. Anyway, I uploaded the code successfully and animated the code..
Important notice: move_threshold is quite important! I forgot to change it to 5 from 45 and I had problems with lighting up the LEDs.. Then thanks to Wolfgang, I understood what I forgot..
Here is the video
http://www.youtube.com/watch?v=_KsDC2GXOeY
here is the code
and I changed the colors to my favorite colors..
here is the code and my favorite colors video:
http://www.youtube.com/watch?v=Jr1DS70xIQE
Actually I was planning to change the codes in a way that I can match different colors with different movements.. Such as going left = blue, going right = red.. And I thought that the thing that Becky taught at the class -regarding changing “if” codes- would be helpful, but I was confused with the codes.. I hope I can get it this week.
I ended up doing the Chameleon Scarf demo since I had sewn in the Flora color sensor. I added and sewed in another LED so it can register and show the color the sensor read. The connection was strong, and the light was able to pick up 2 out of the 5 test. Some of colors weren’t strong enough for the sensor to register and convert the colors into.
I will try to work on the accelerator, since it won’t register any data now. I’m trouble shooting.
here is the screen shot of code for the Chameleon scarf.

Here are the successful test from running the program. I did understand a bit more of the conversations. Like sum can be written like + .. we learned this during class, but it clicked more during this test run.


: )
Fun with the NeoPixels
I didn’t get too fancy with the NeoPixels but I did try to get all of mine connected in series. Unfortunately I could only get the first one to work after hooking all that up. I double checked all the connections and everything seemed lined up correctly. + to + and – to – and all the arrows pointing in a row. I decided it must be a jumper wire so I unhooked the three additional NeoPix that I’d connected to the functioning one and began connecting them out one at a time (note to self this is probably a good practice for the future) and when I didn’t get that 2nd one to light up I began swapping jumpers.

I totally lucked out that the first one I tried seemed to be faulty. This is the second jumper wire I’ve discovered like this and I’m wondering if with the multimeter I could test the wires for continuity. (I set the jumpers aside but tied them in a loose knot so I know not to use them unless I figure out how to fix them.)

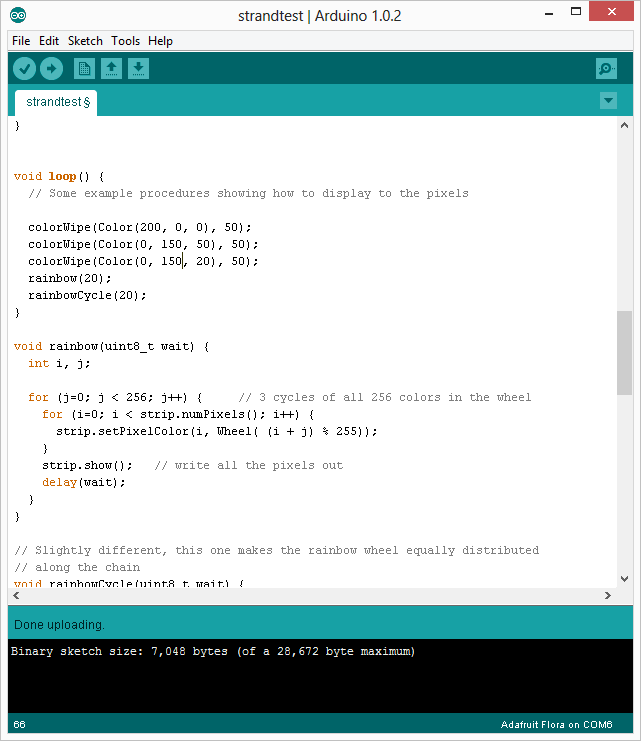
I began switching numbers around and was able to figure out what all the parameters did. First it displays each specified color at the brightness determined on the scale of 0 to 255 for a time determined by the 4th number in each series. When I made the number smaller the delay was a shorter time. (Not sure what unit of time this number represents. I assumed it was milliseconds but it seem longer than this.)

I was confused by the difference between rainbow and rainbow cycle. I changed the parameters and deleted one and then the other line. It seems like the cycle is a longer smoother thing. The number which follows seems to make it happen faster or slower.
I decided to try adding the switch to my device so I could turn it on and off while I was rewriting code without plugging and unplugging the USB cable. The switch worked but I got this error message on my computer.

I’m not sure why adding a switch would cause the whole system to draw more power. I noticed that in the Getting Started with Arduino book there’s a resister included in the switch circuit. Maybe that’s why? Need to find out more about this.

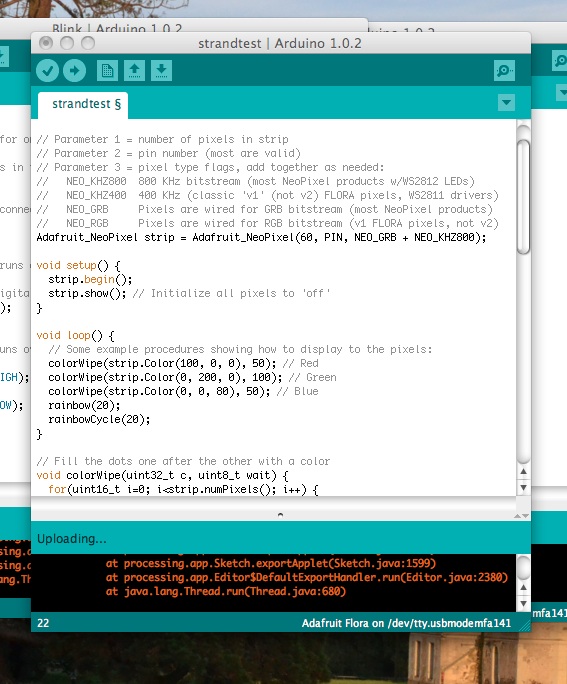
After the last class which I couldn’t work my arduino stuff on my laptop, we tried to figure out the problem with Borris. Having tried many different things we achieved to make a blink -without knowing what we did- Then I thought all the problems are solved with my laptop and arduino.. But they aren’t.. I think the main problem is about “strandtest” because I imported strandtest manually to my library and it doesn’t work properly.
Here is my trials and failures:
First I started the Arduino application, and then connected the cords with a single RGB LED. Then I ran floratest and played with colors and delays.. Here are pics and videos:


http://www.youtube.com/watch?v=sNNbRuc3R_k&feature=youtu.be
Then, when I tried to make some trials with strandtest I couldn’t achieve it. Although I learned how to import things to library (we are not supposed to import files to the arduino file in program files, we should import them into the documents/arduino/libraries) And the second rule is legal file name, we should avoid using “-” in file names, but “_” works.
Here is my first attempt, to simply figure out how to put them in order. I had a bad alligator clip, but found the bad one and continued.


Here is my second attempt. I was happy to figure out setting up the second LED pretty fast by taking a look at the tutorials. I messed around with the colors, but had trouble getting it to change speeds or intervals. Fun trying to figure out how to read this.