



This object translates vibration into visual output through a grid of mirrored disks. It is configured similarly to an LED display but instead of LEDs turning off and on, the mirrors can be activated to distort the reflected image. This final prototype, reflects a great deal of experimentation with material and construction. There is further potential for expanding the concept to a larger scale. A larger grid of these “pixels” would allow for more complex animations and could also incorporate sound and movement-reactive features for a more immersive and engaging experience.


 The pixels are made up of a mirrored acrylic mounted to a piece of thin steel wire which is attached to a mini vibe motor at the other end. The transitions between these parts are facilitated by additional pieces of laser cut acrylic.

 These parts are mounted to a piece of 1/4″ rubber adhered to the back of the panel. The wires are inserted through holes pierced in the rubber which holds them firmly while not dampening the vibration.
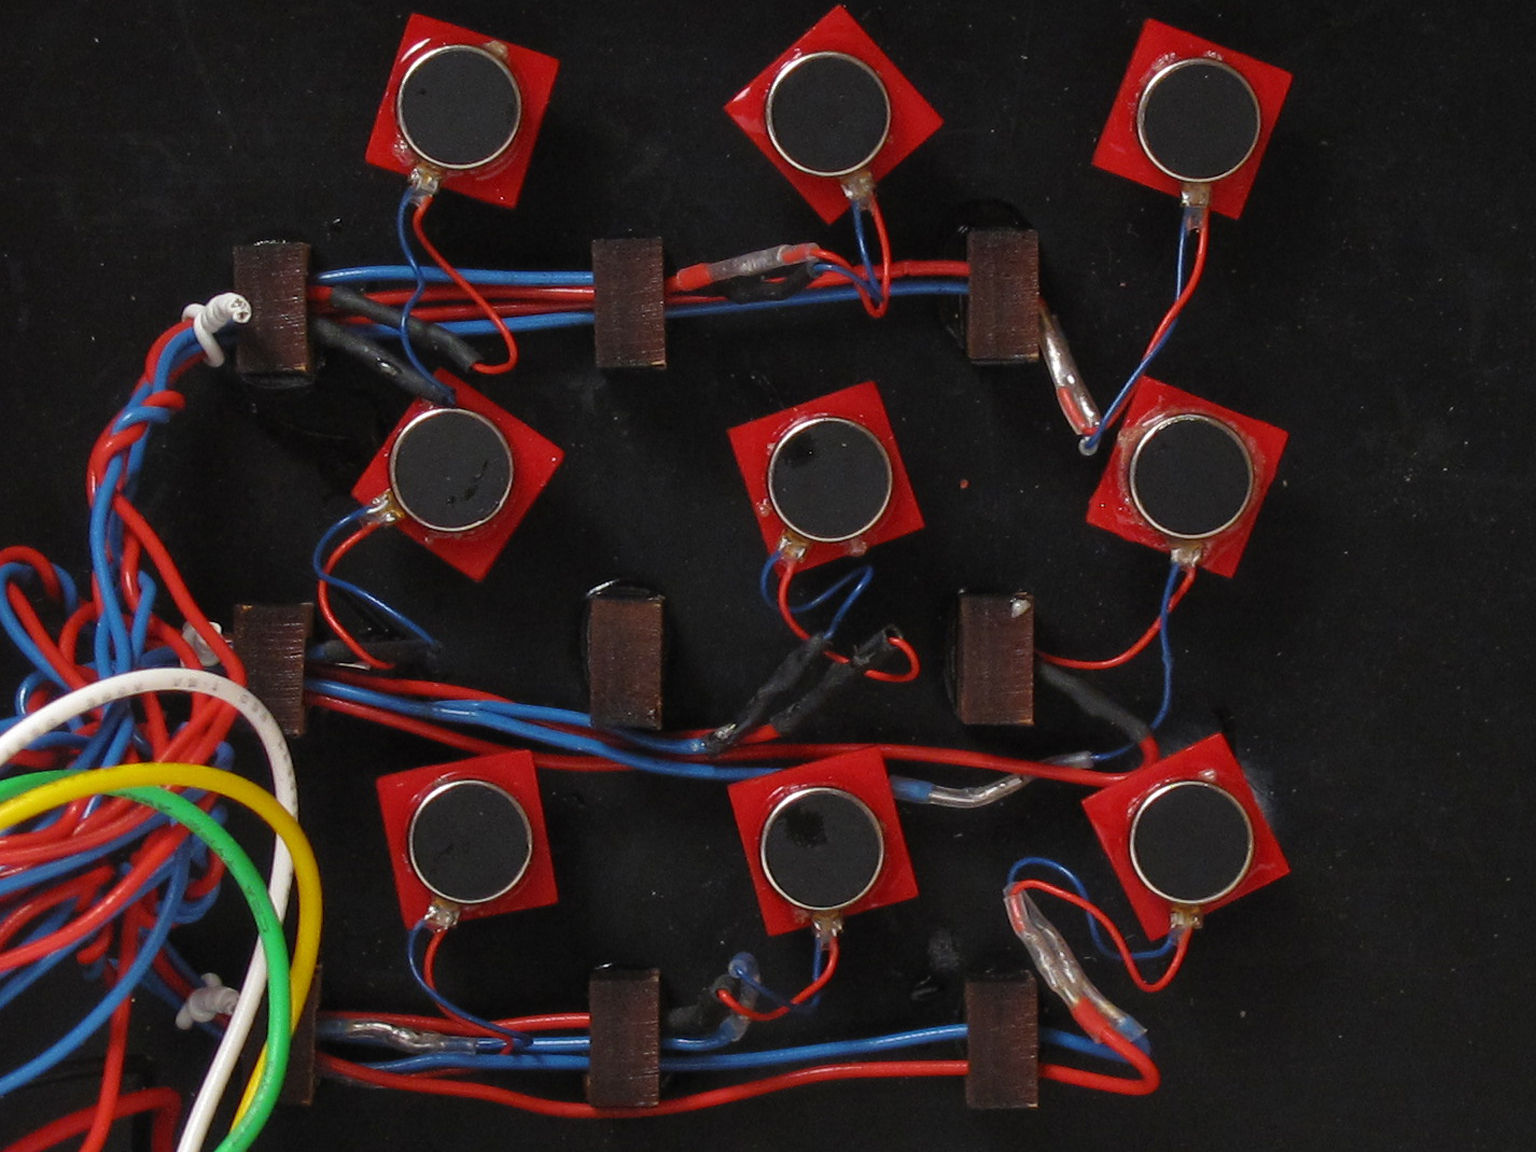


The vibe motors are routed to the Arduino Uno through two 75HC595 Shift registers. The wiring diagram for this along with some basic sample code can be found here: http://www.arduino.cc/en/Tutorial/ShiftOut
And heres the instructables page: http://www.instructables.com/id/Vibrating-Pixels-Mechanical-Mirror/


Siduri named after the Sumerian god of happiness and merriment, is a smart coaster for your drinks. It recognizes when a glass is near empty and then glows yellow to alert waiters that you will be in need of a refill soon.
Designed specifically for lounge and club settings, Siduri helps nightlife revelers politely draw the attention of barmaids and helps bartenders to keep the drinks flowing.
The coaster is powered by Ardunio and uses an FSR sensor that recognizes the difference in the weight of a drinking glass. A button located near the base of the coaster allows bar staff to calibrate the coaster to an unlimited amount of drinking glass types into the coaster’s memory. Hidden under the white acrylic top are three surface mount LED’s that breath a soft yellow light when the FSR sensor recognizes when a glass is 3/4 empty. The remaining materials were laser cut out of 1/8” wood to give the coaster a manly, yet classy aged feel.
If you would like to make your own smart coaster, here is how I did it…
http://www.instructables.com/id/WaiterLite-Coaster/
Link to my youtube video:

The Concept
Feeding toddlers is a problem for the parents because the toddlers tend to lose their interest easily. Therefore they refuse eating their food and get attracted by other things surrounding them.
Delightful Spoon is an interactive toddler spoon that aims to attract toddlers during the meal time. Thanks to the capacitive touch sensor, every time the toddler puts the spoon into his/her mouth the spoon lights up charmingly.
Wiring & Soldering
In order to be sure about the dimensions of the spoon shell, the assembly of the inner parts such as the battery, wires, capacitive sensor and LEDs are needed. Therefore, this step is coming before the CAD process. For the Delightful spoon we will be using momentary stand-alone capacitive touch switch by Adafruit, a 3.7V rechargeable lithium-ion battery and a copper tape to increase the sensitivity so that the sensor switch can sense the magnetic fields of food and the lips to light up the LEDs inside.


3D Modeling
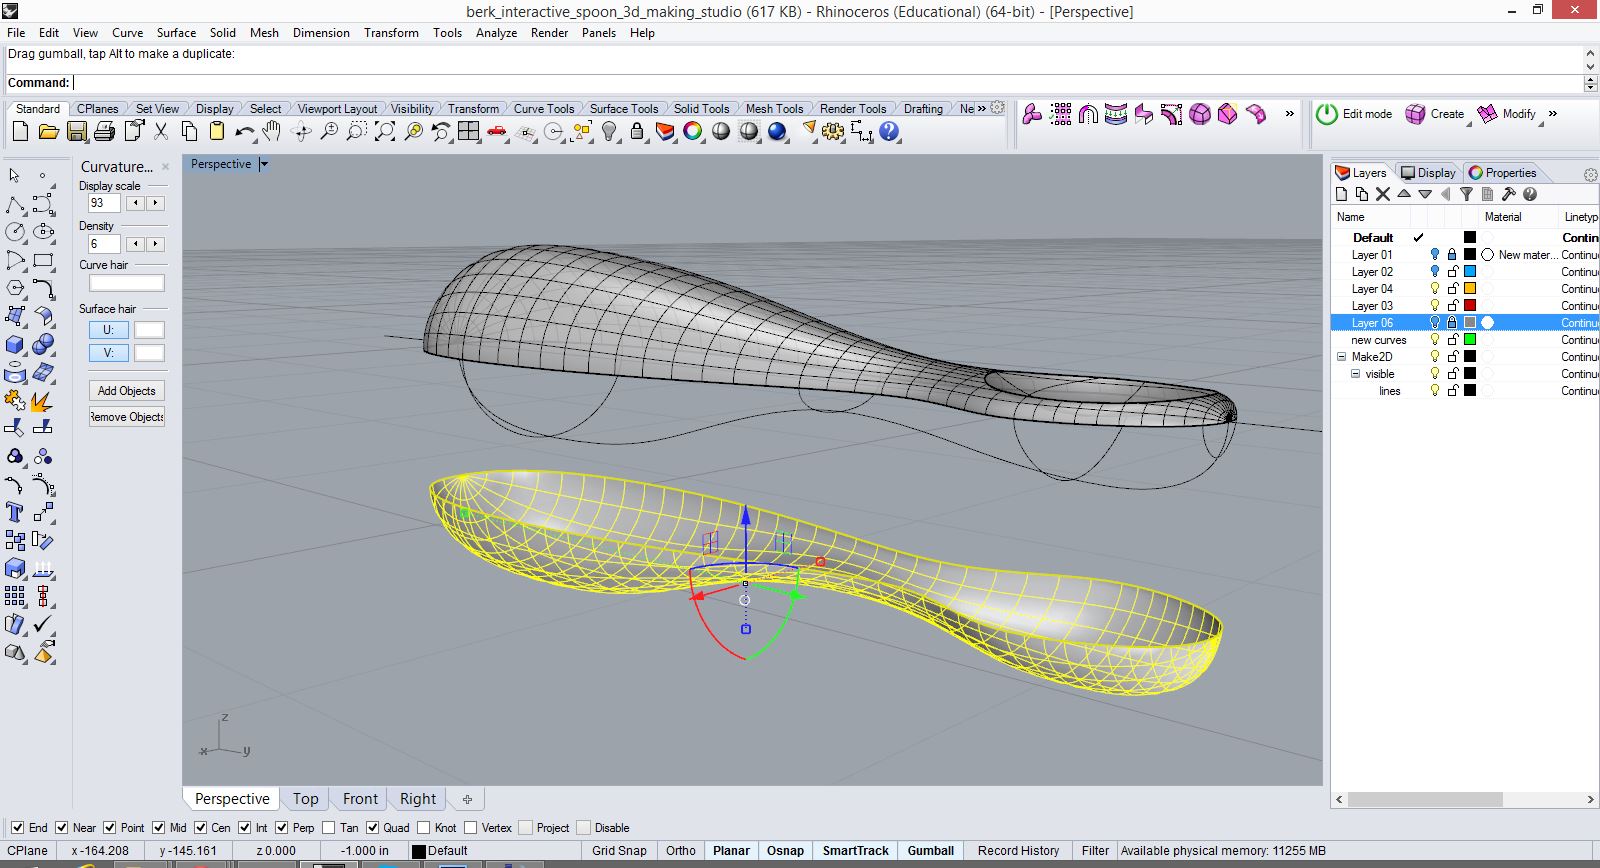
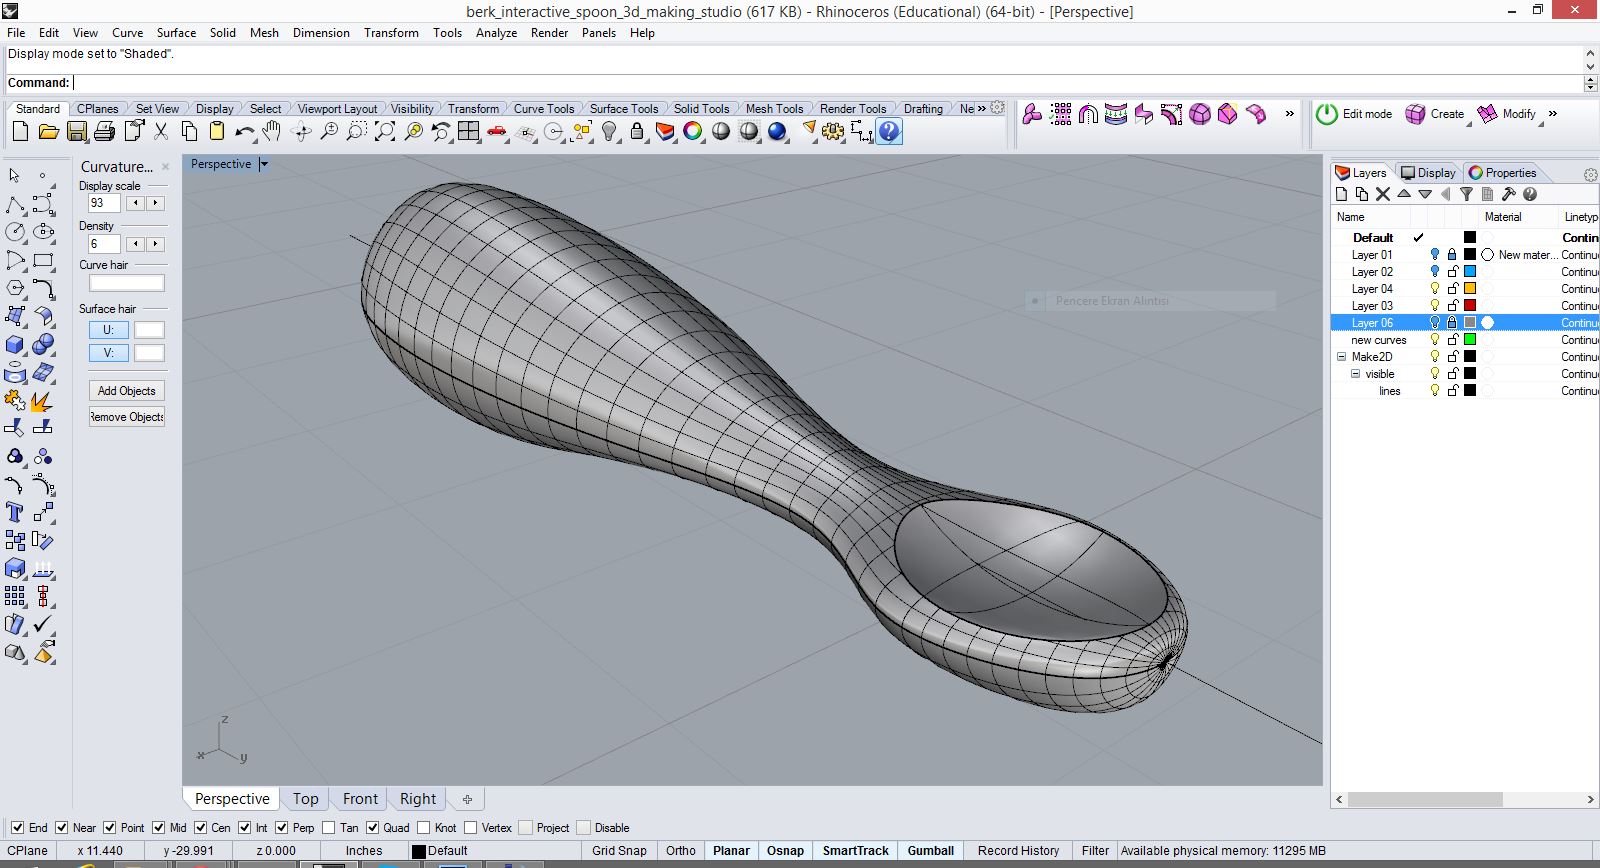
I used Rhinoceros 5 3D NURBS modeling software to create my spoon. By using networksurface command I was able to create an organic shape out of the smooth curves that I drew in the beginning. After creating the whole shape, I cut it into two pieces, and created shells out of two solid pieces.
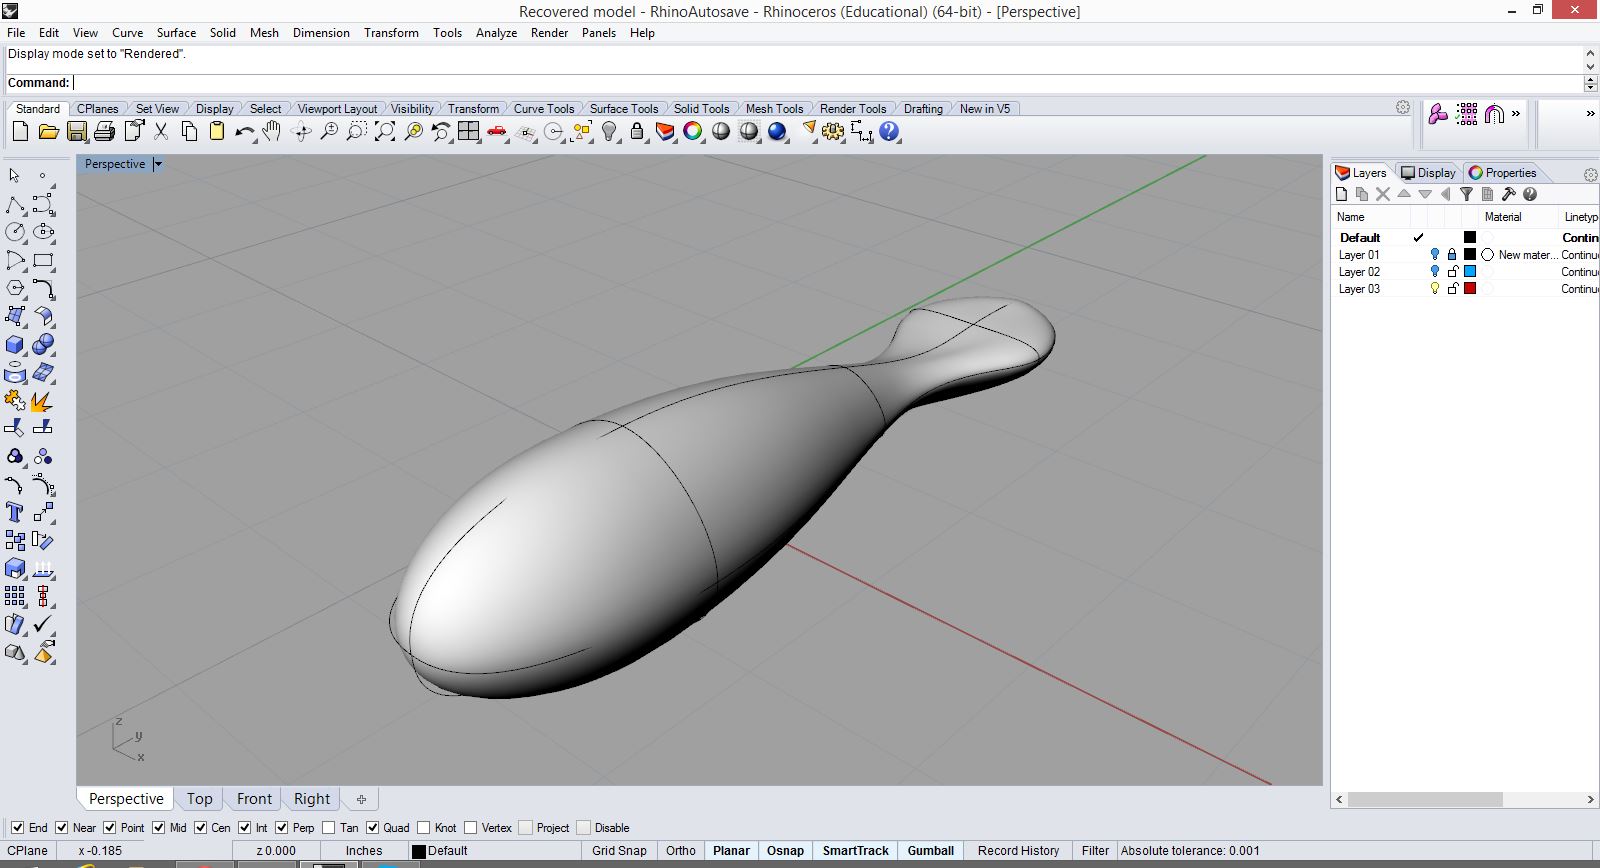
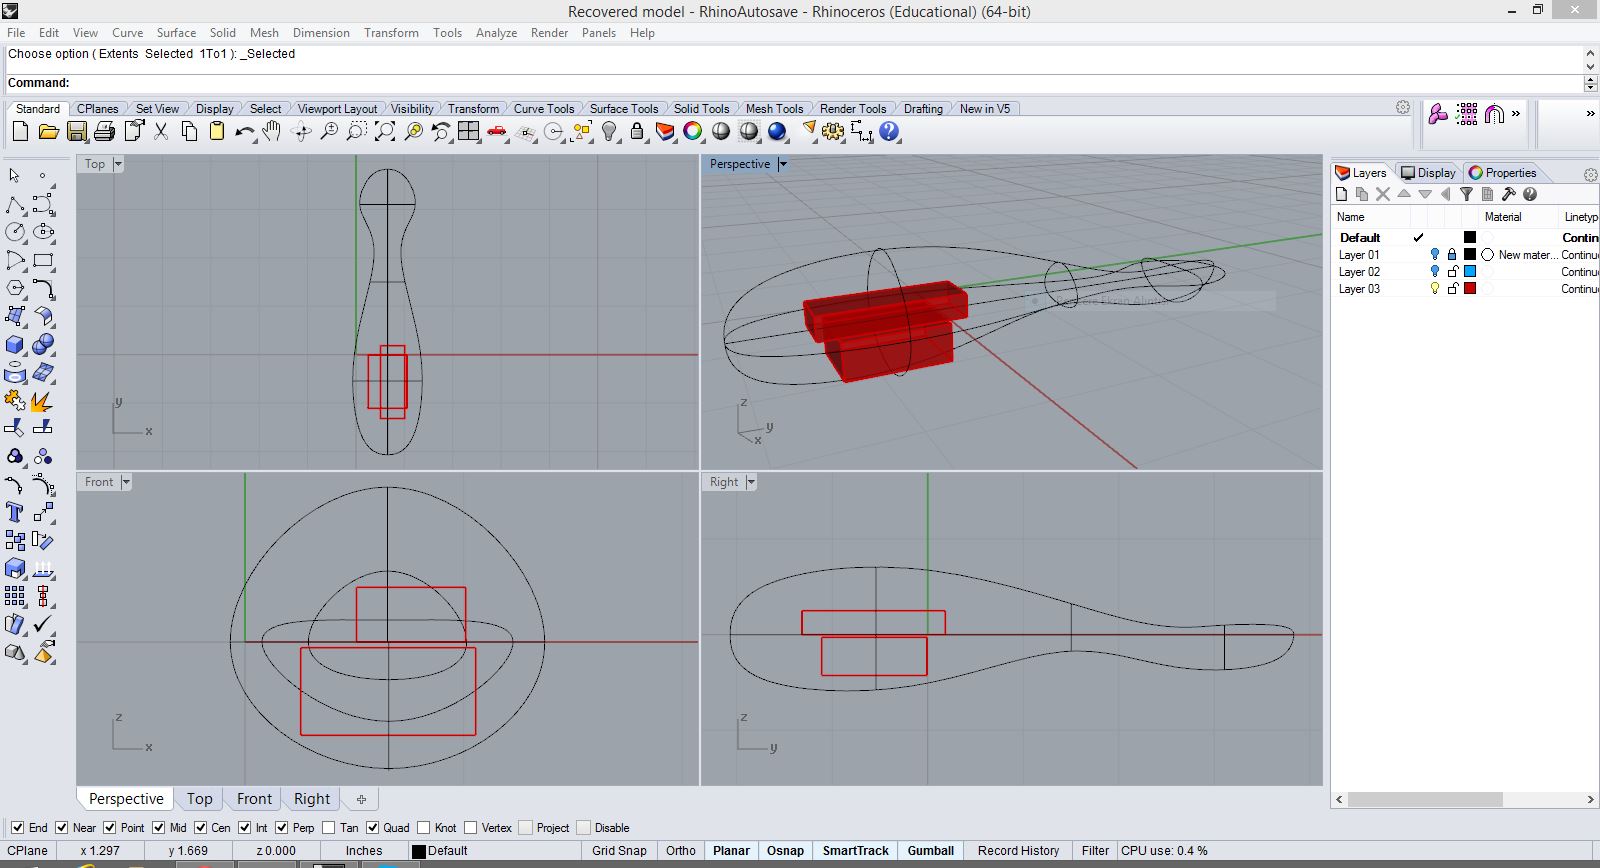
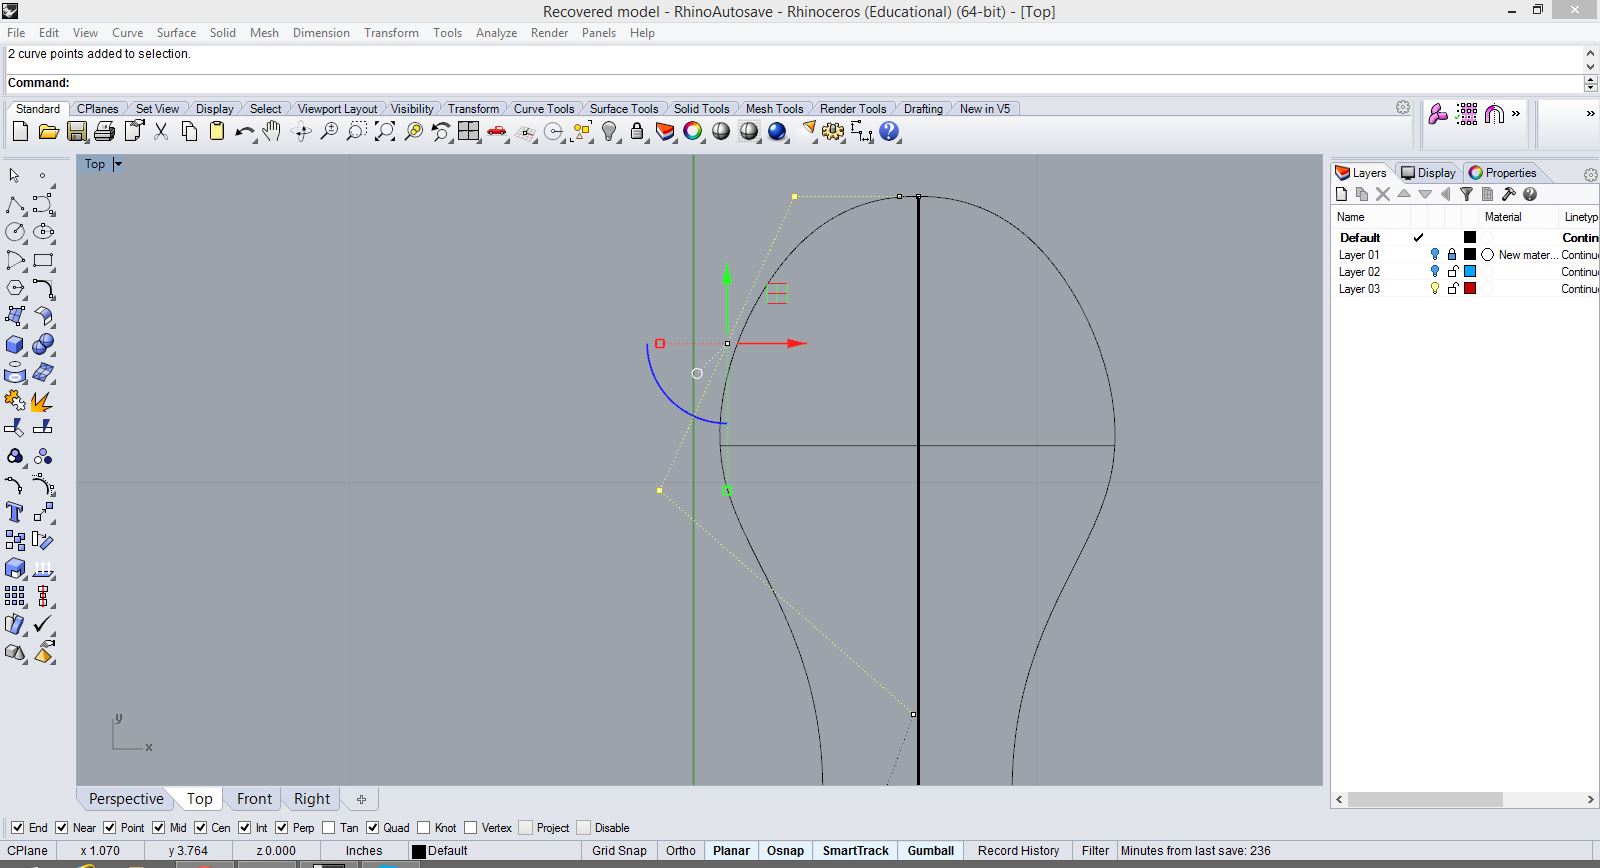
3D Printing
I used Dimension 3D Printer. It took approximately 3 hours to get the printed object out of the printer. Then I placed it into the chemical bath to get rid of the supporting material.

Assembly
Shells are ready, circuit is there.. Why should I wait to assemble them? Here is the final image of the Delightful Interactive Toddler Spoon…


and here is the video for my Delightful spoon thanks to my amazing actress Lusha..
I would like to say thank you with this picture of me and my grandmother trying to feed me…


The Internet is so loaded with non-sequiters that it’s impairing our ability to enjoy the craziness that takes place in our own minds each night as we sleep. I felt that my own sense of wonder had been seriously impaired and I decided to combat this by making an Internet Enabled Mash Up Dream Generator.
When you approach the box, attracted by the slowly pulsing blue button, the box lights up and begins to play a relaxing Nocturne. You stare into the infinitely repeating blue LED void and descend into a dream state. Press the pulsing button and it generates your dream! The dreams are generated by taking important news headlines and pop cultural icon’s twitter feeds and then mashing them up and filtering them through lines of Beat Poet Allan Ginsberg’s signature work Howl.
Here’s an example.

This one says . . .
“Happy. Free. Confused. Lonely. At the same time. (@TaylorSwift13) An Outsized Rapscalion let loose in postwar England! (@nytimesarts) Incomparable blind streets of shuddering cloud and lightning in the mind leaping toward poles of Canada & Paterson, Illuminating all the motionless world of time between. (AG, Howl)”
Here’s a link to the instructable
http://www.instructables.com/id/Nocturnal-Emissions-My-Arduino-Powered-Internet-En/
And here’s a link to my movie on Vimeo.
This Kinetic Wall Sculpture is a first study done for a future chandelier project that will involve moving parts controlled by an arduino. The wall mounted chandelier (completed project) will be able to change shapes and the brightness/color of the light depending on how user controls it with a remote. Targeted to customers who like to show off their home and objects in their living space to the guests, the chandelier will amuse and impress the guests while entertaining them as well. Although it will be a pricey piece to purchase, anyone can make their own by downloading files from Thingiverse and going through step-by-step process on Instructables.


All the parts were designed in computer using Solidworks and Illustrator.


Instructables: http://www.instructables.com/id/Transforming-Chandelier/
This project is an exploration in exploration. The user is encouraged to take a closer look at the piece, and discover an unexpected surprise. Using the brass as a capacitive touch sensor allows the user to switch on a motor that animates a hidden neopixel and a bunch of confetti.

Here is a link to the instructables that I created on how to make your own capacitive touch object! http://www.instructables.com/id/Capacitive-touch-me/
All of the components including the arduino board and the motor are housed inside of the box to conceal the mechanisms. The power cord alludes to the fact that indeed something is going to happen.


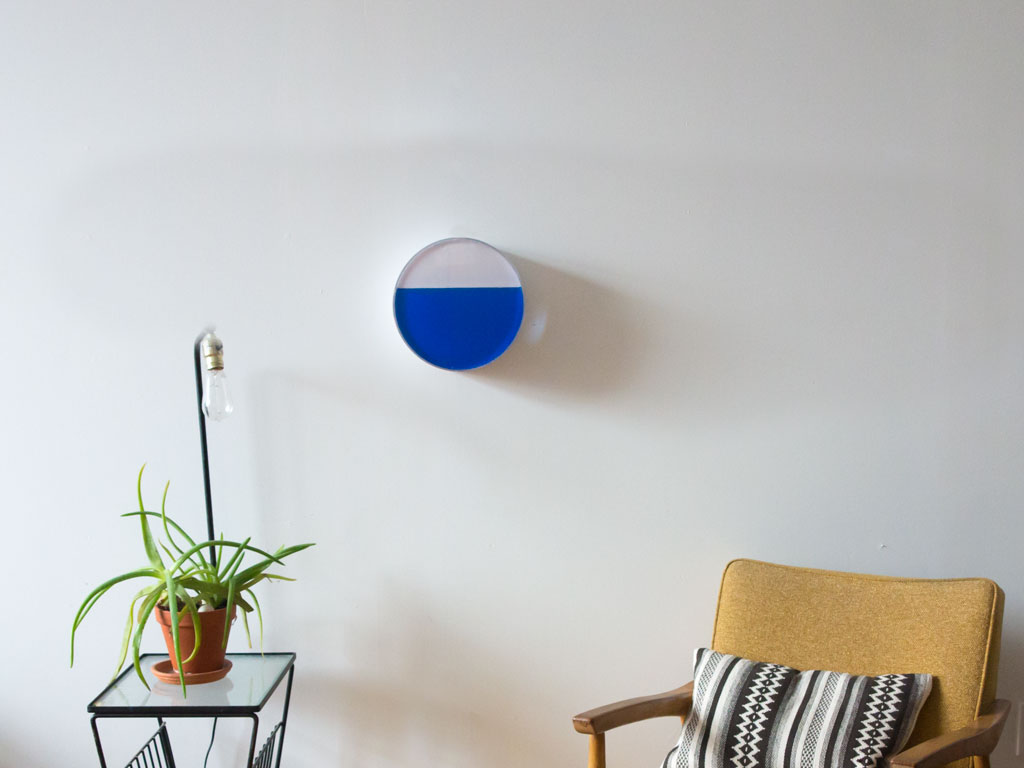
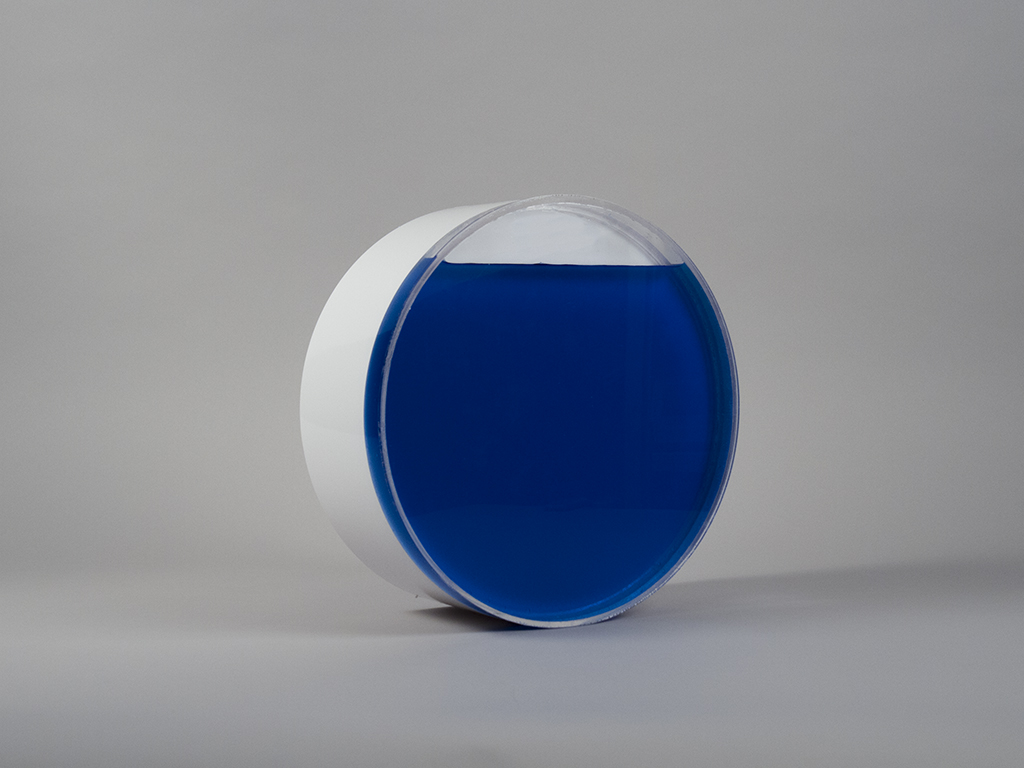
The Tidal Clock is designed to bring an awareness of the ocean into users’ daily lives, reconnecting city dwellers with their maritime environment. I have lived in New York City for many years and I travel daily between Brooklyn and Manhattan, which are both located on islands, yet I am rarely made aware of the surrounding ocean. The Tidal Clock serves as a pleasant reminder of our closeness to the water. It can be set to one’s local tide chart, or to the tides of a favorite far away beach.
I have been tracking my process of building my initial prototype for the Tidal Clock. The final prototype uses displacement and a stepper motor to change the water level of the clock to reflect the ebb and flow of the tides.
On average the cycle from high to low tide on the coast of New York and New Jersey is 6 hours and 13 minutes. I wrote my code for the stepper motor to reflect this cycle. Moving forward with this project, I would like to use programming to pull the exact tide charts for specified locations. 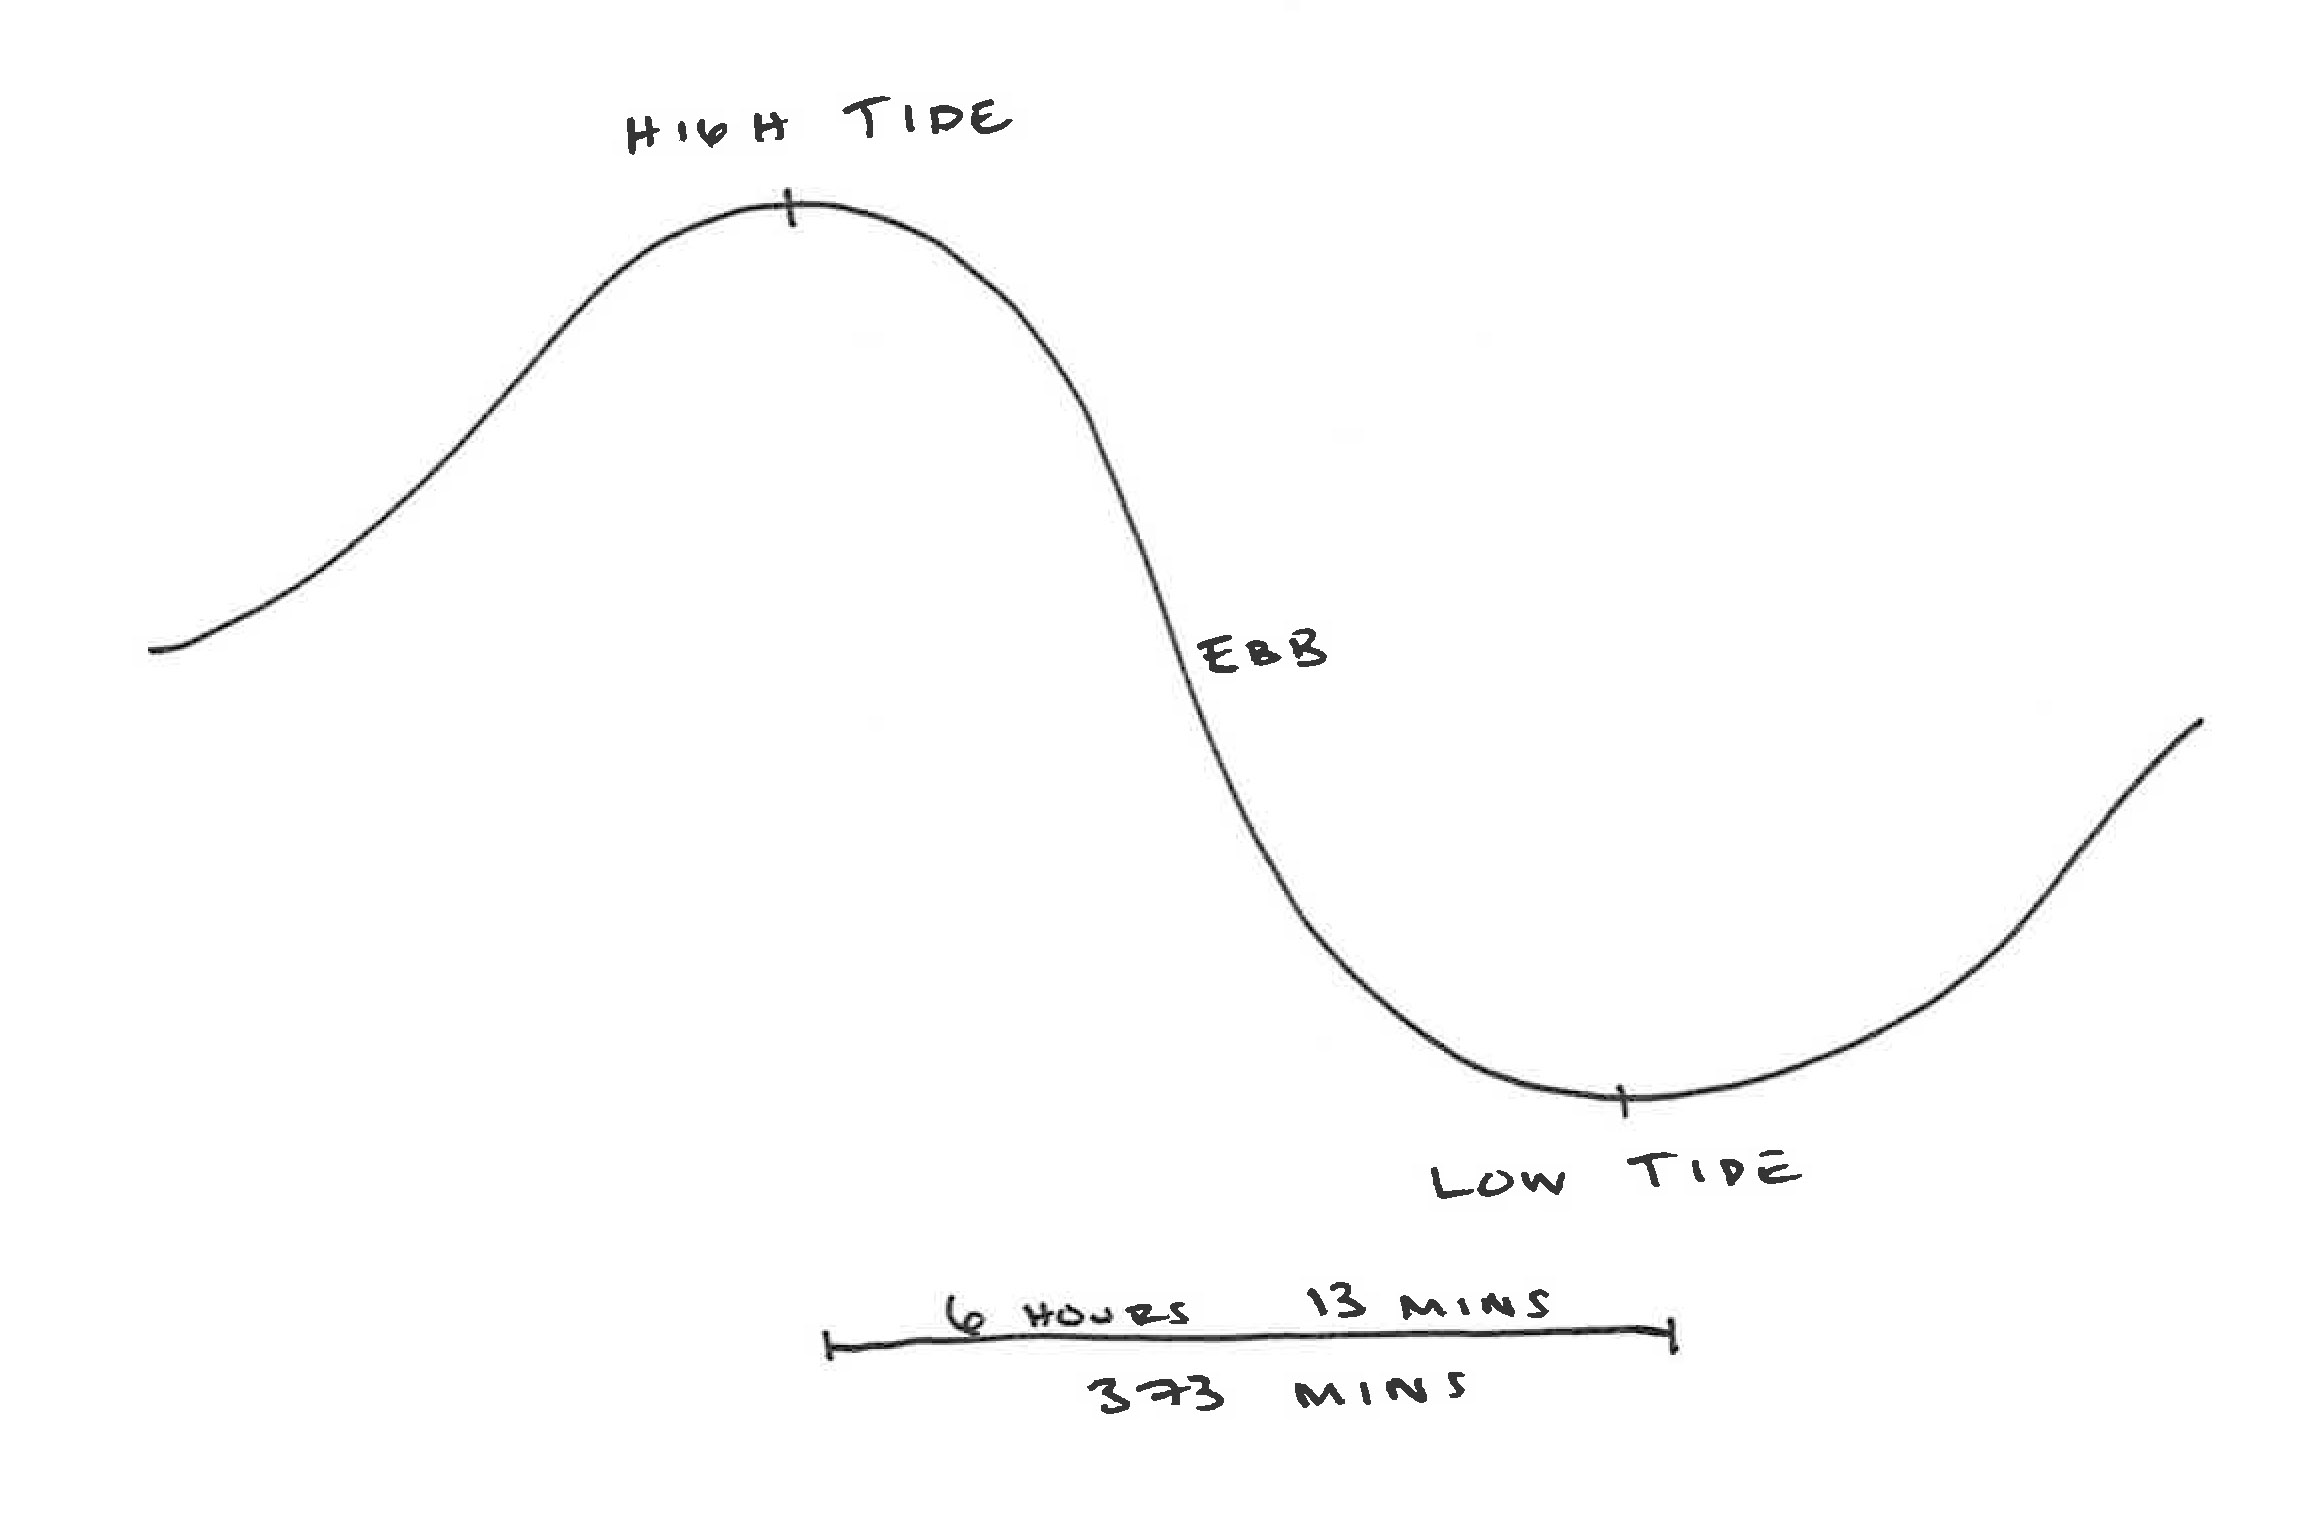

Here is a link to my Instructable where you can see details on how I built the prototype. It has been getting great feedback and is even a featured Instructable!