Accelerometer Tests

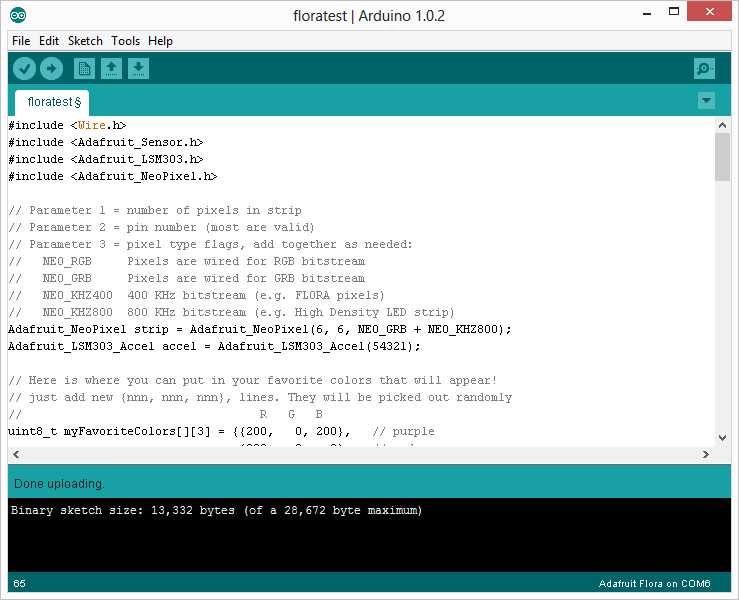
This week I played around with the accelerometer and the code from the sparkle skirt.  First, I made sure that my sewing connections were good between the accelerometer board and Flora main board.  I then connected the Flora to a pixel strand.  I had some difficulty getting everything up and running.  After testing all of my connections I was able to narrow it down and I discovered that the mini USB port of my Flora is not working.  Thankfully, I had a little help from a friend and Wolfgang let me use his Flora.  Wolfgang was also gracious enough to take some time to explain some of the code functions to me.  Code still feels like a foreign language at this point so I appreciate any help I can get.

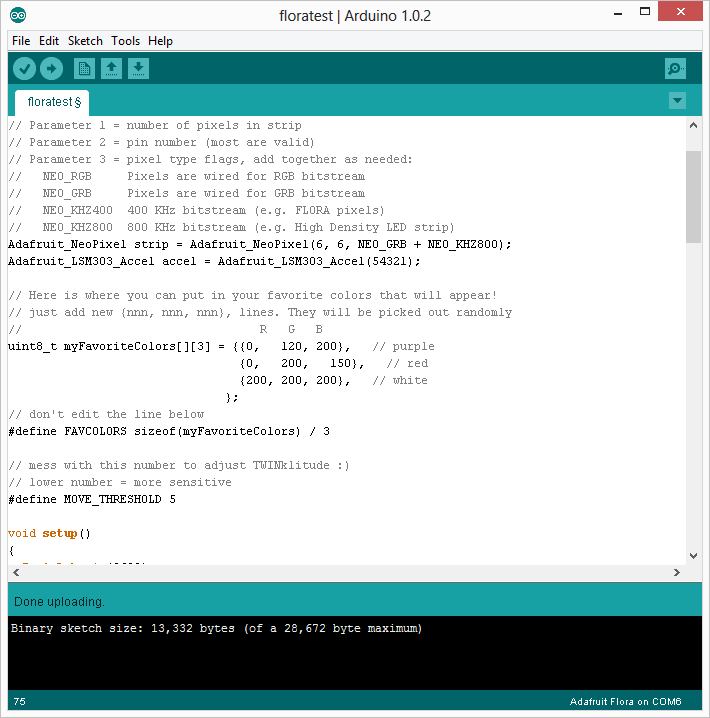
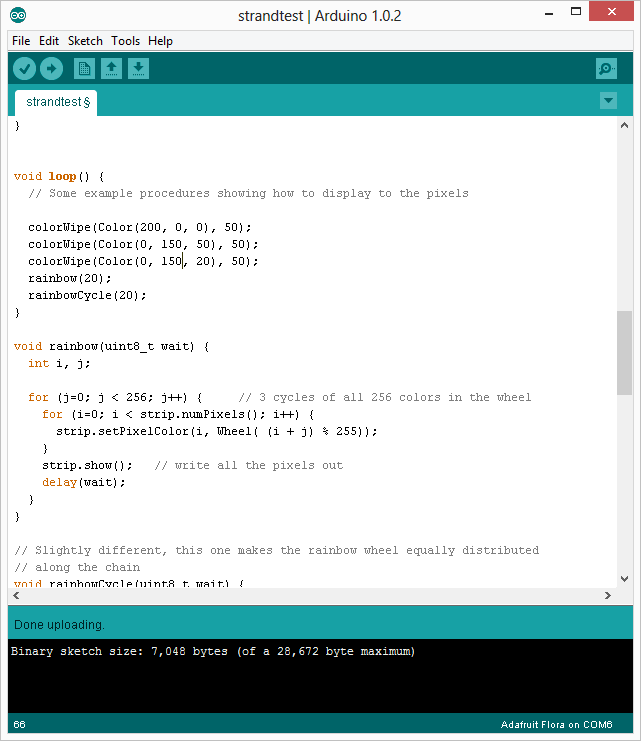
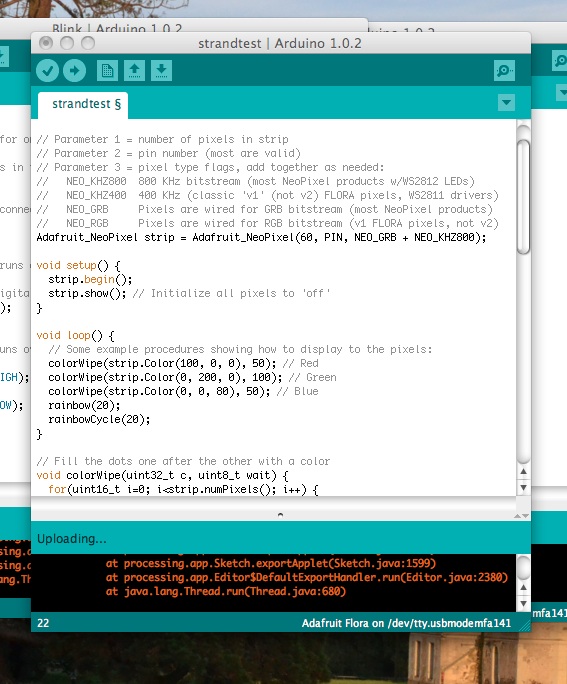
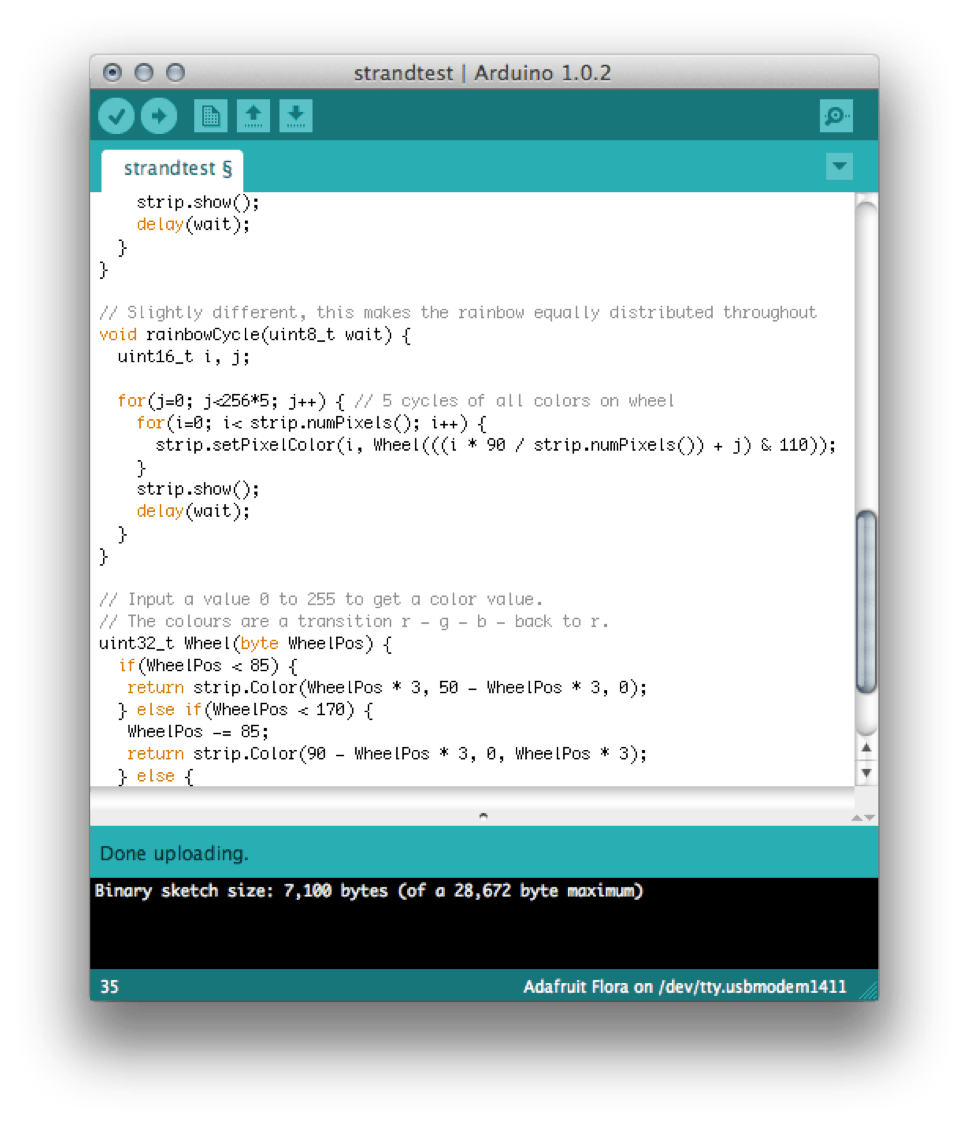
I was able to get the sparkle skirt code up and running on the pixel strip.  I changed the code to reflect the number of pixels in the strip.  I altered the colors and I lowered the move threshold all the way to 4 so that it was more sensitive.  Here is the part of the code I altered:
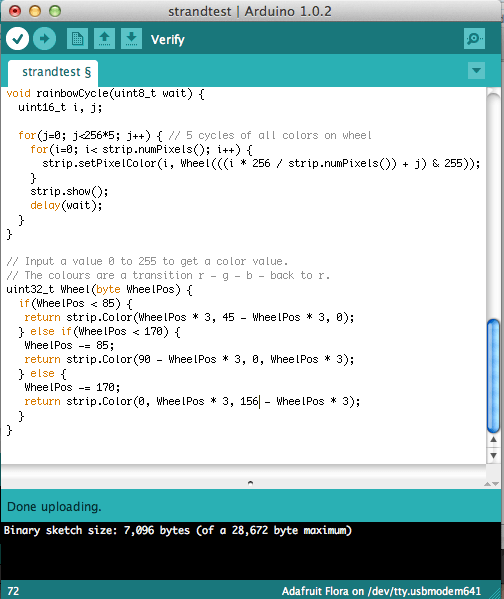
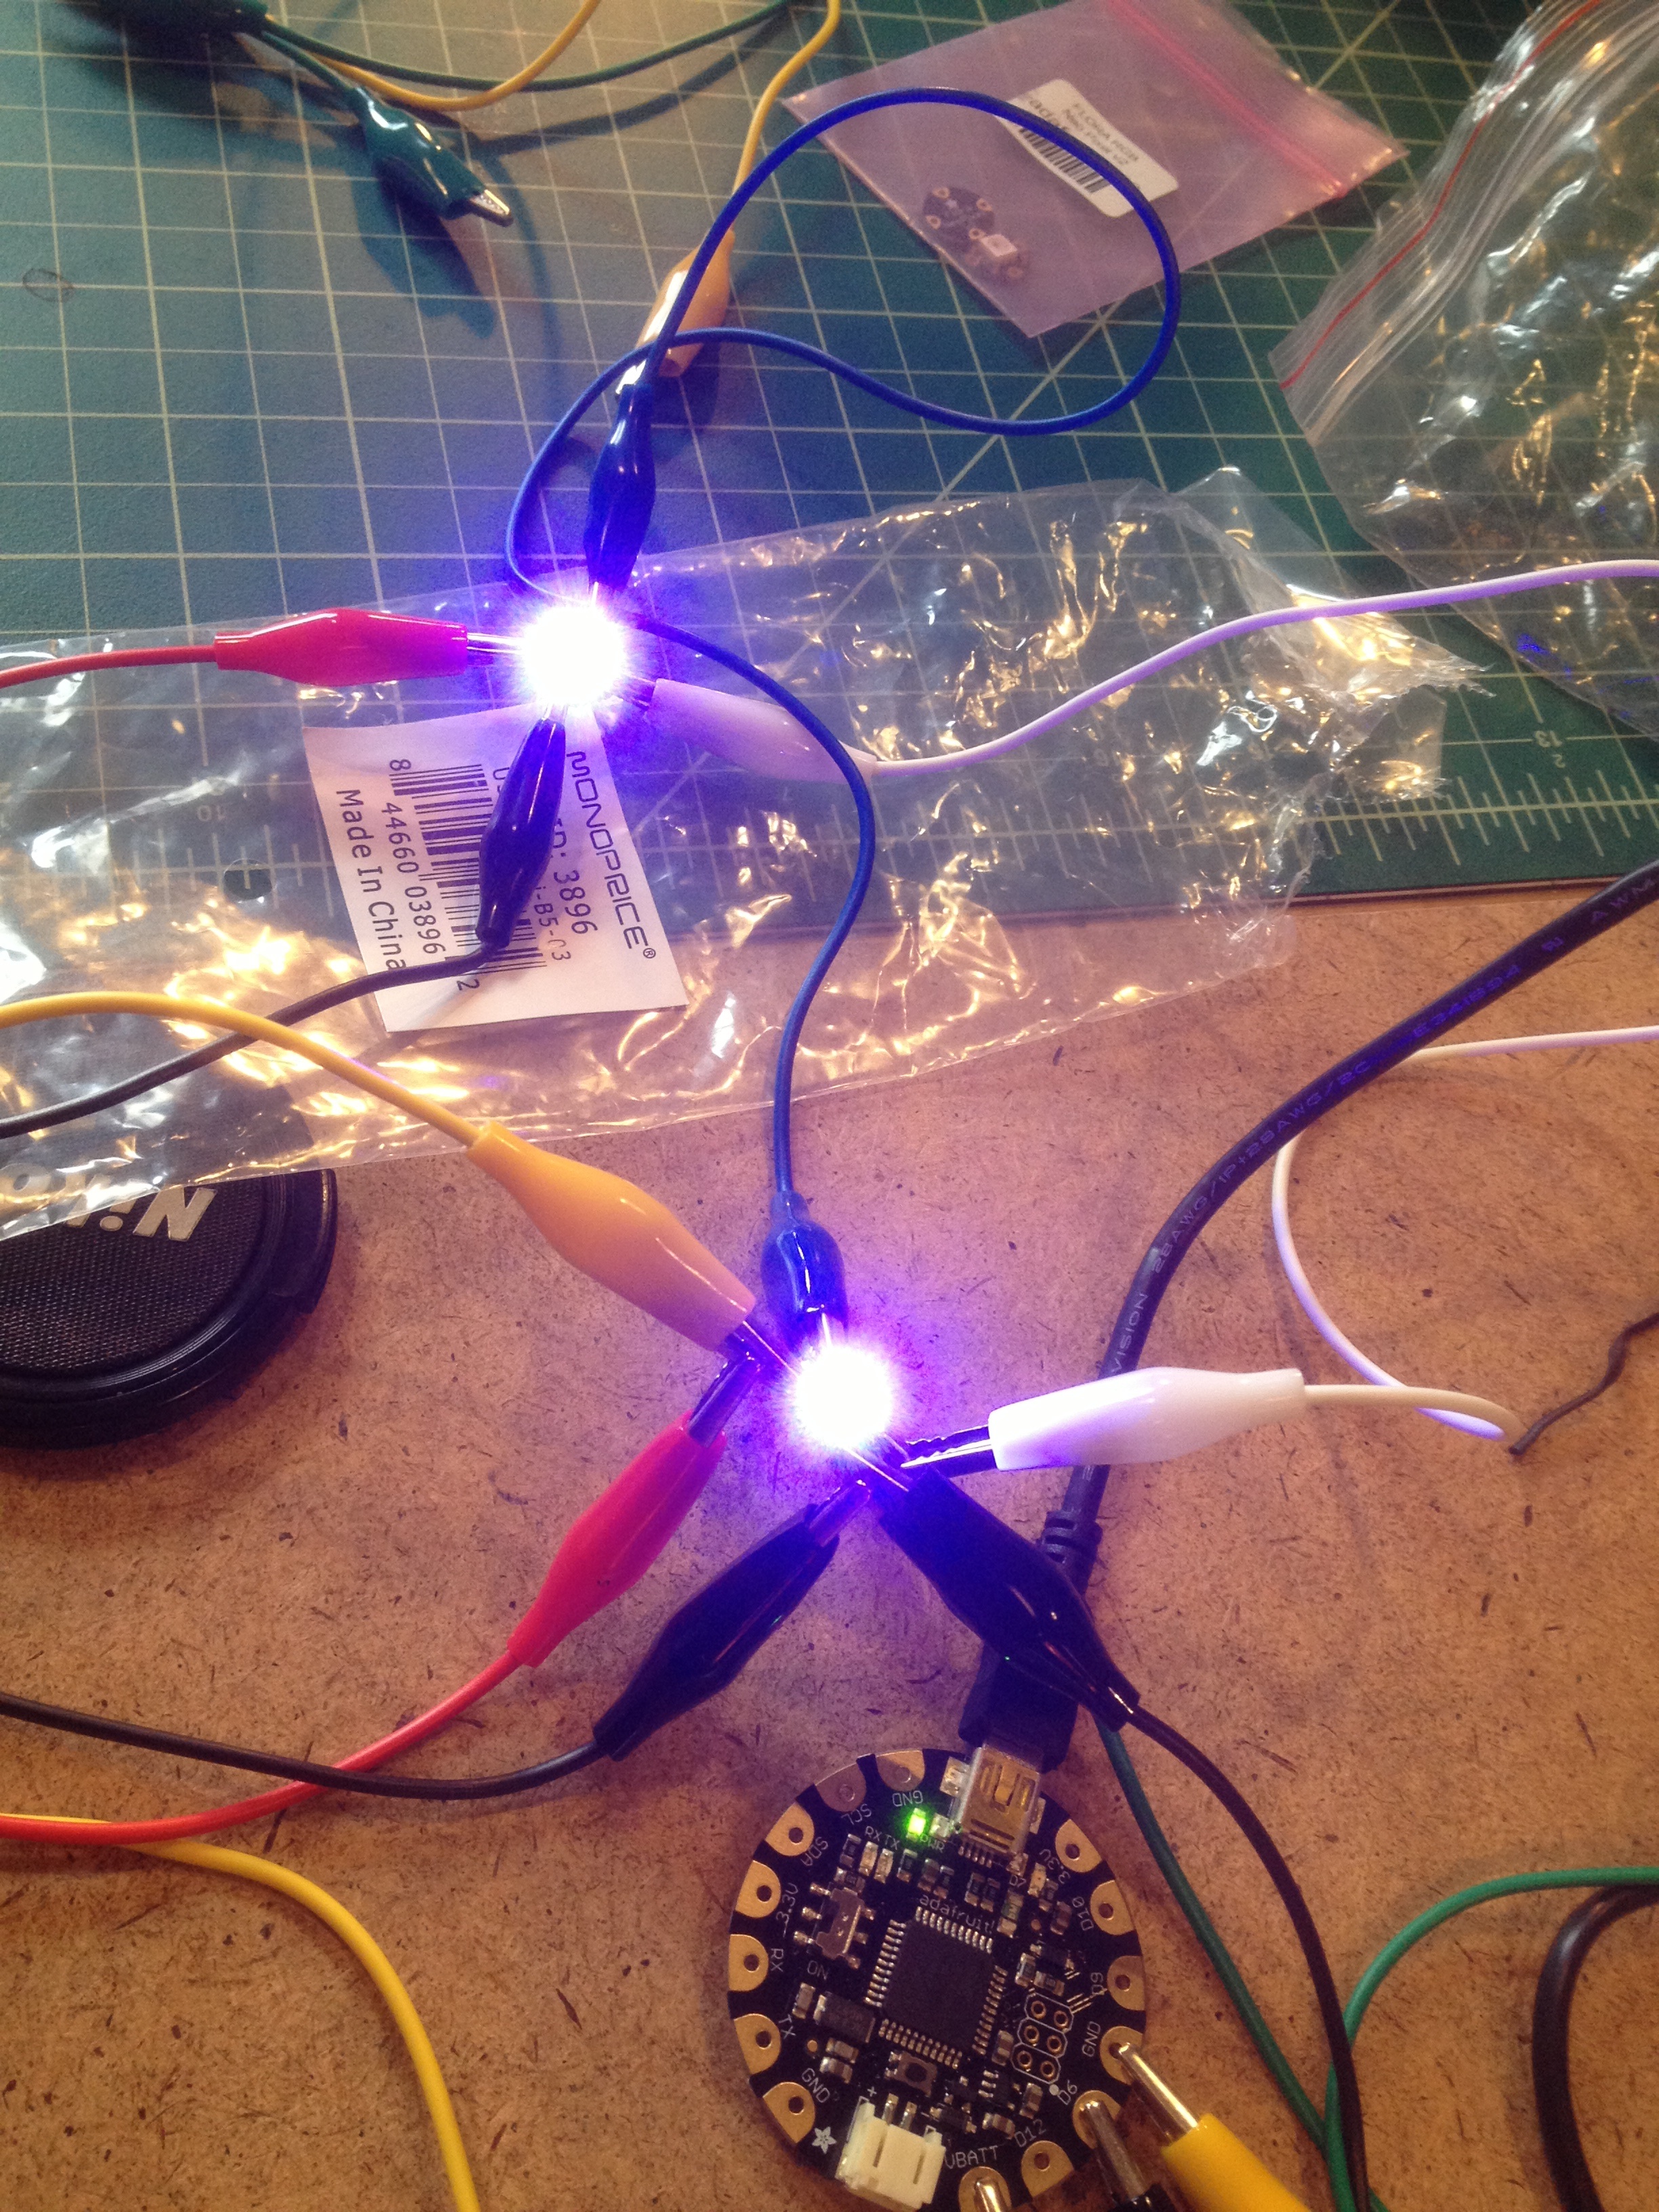
Screen Shot 2013-09-23 at 3.14.57 PM


Here is the result

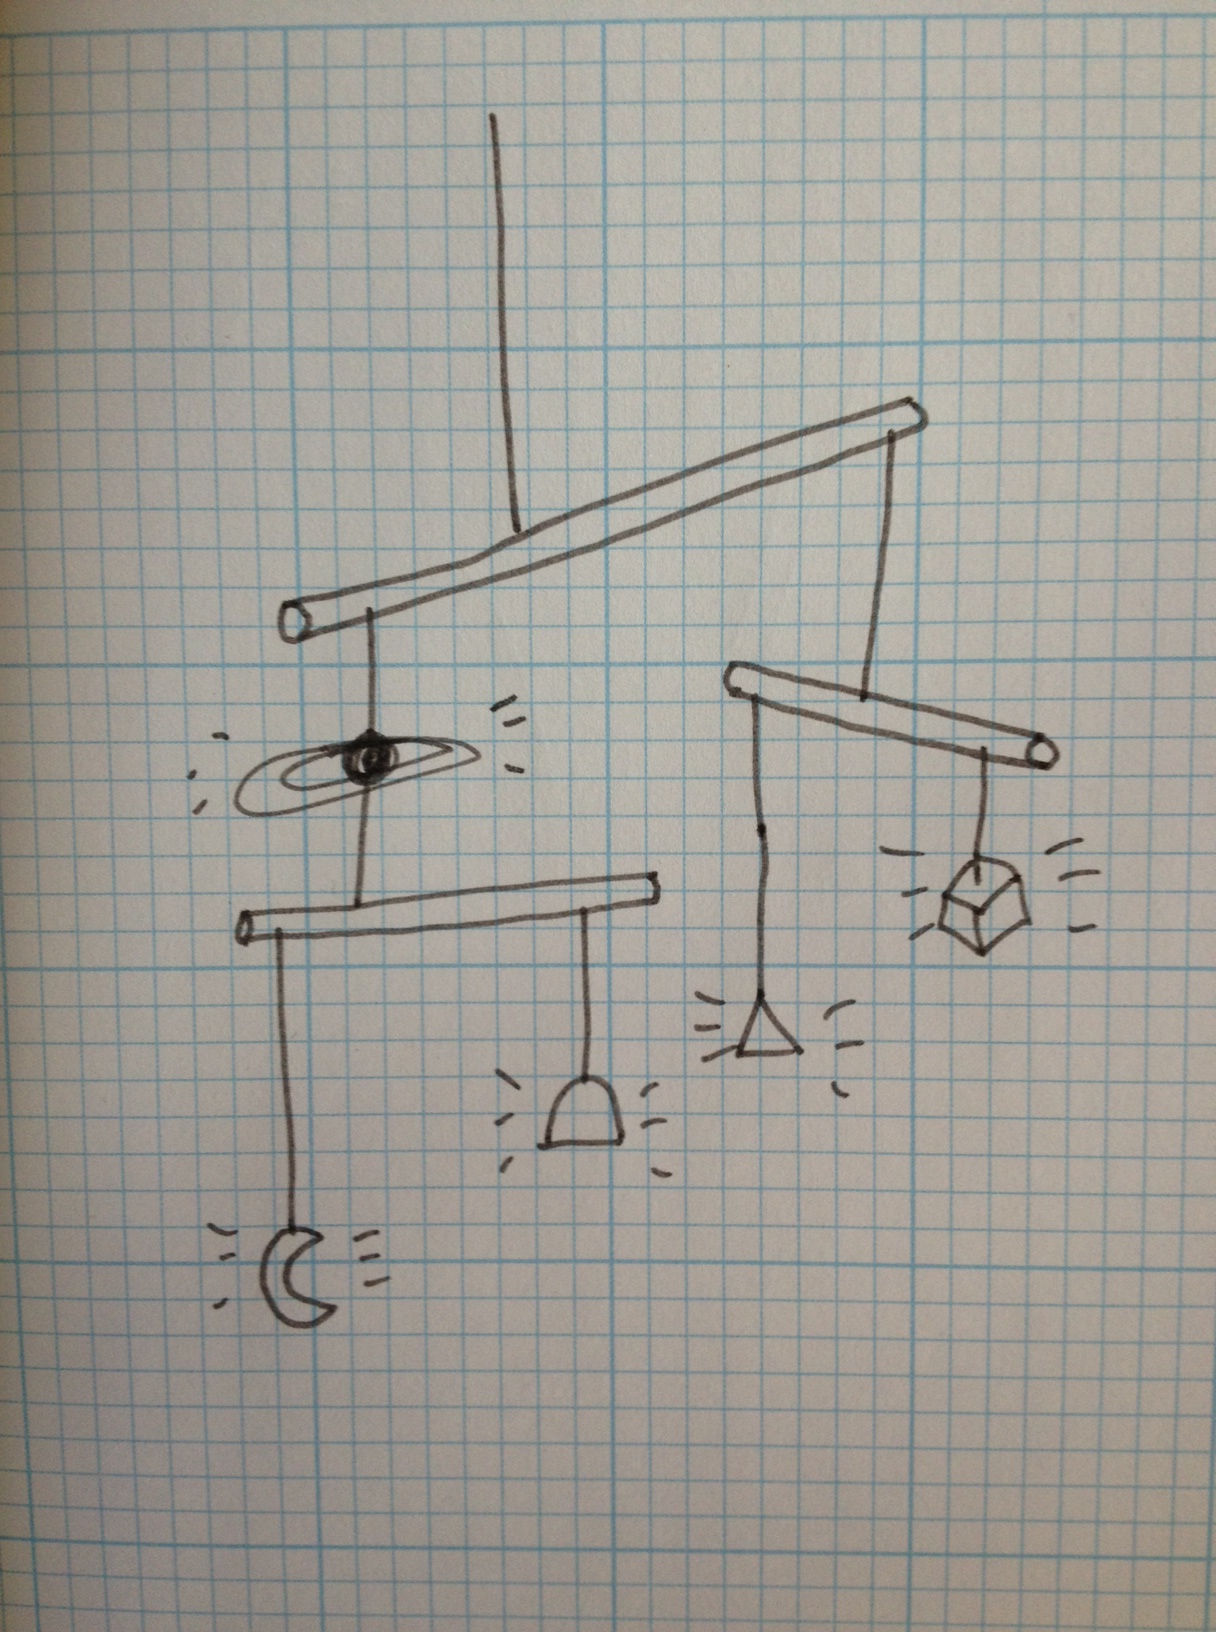
For my plush nightlight, I am thinking of making a plush terrarium mobile.  Terrariums are typically used to house and display small wonders.  Rather than enclose objects inside a structure, I want to make a mobile out of plush wonders.  I want the wonders to light up either as you approach the mobile or depending on the sound level in the room.  Mobile

if we move..

Hi,

I started with connecting an RGB LED light to my sewed Flora board.

Then I checked the LED with floratest, to see if my connection is right or not.. and it lighted up!

IMG_2094

Then I searched for the sparkling skirt’s code on adafruit and found it, then pasted it.

However, when I tried to upload the code, I got several “serial port COM4 is already in use” errors unfortunately.. Plugging out and then in again worked somehow and I also restarted the Flora.. But it makes me anxious not to know whats going on indeed. Anyway, I uploaded the code successfully and animated the code..

Important notice: move_threshold is quite important! I forgot to change it to 5 from 45 and I had problems with lighting up the LEDs.. Then thanks to Wolfgang, I understood what I forgot..

Here is the video

http://www.youtube.com/watch?v=_KsDC2GXOeY

here is the code

accelarator sensor 1


and I changed the colors to my favorite colors..

here is the code and my favorite colors video:

accelarator sensor changed colors

http://www.youtube.com/watch?v=Jr1DS70xIQE

Actually I was planning to change the codes in a way that I can match different colors with different movements.. Such as going left = blue, going right = red.. And I thought that the thing that Becky taught at the class -regarding changing “if” codes- would be helpful, but I was confused with the codes.. I hope I can get it this week.

Stack of pancakes or banana?

Too late to change?

I thought of another idea for my plush nightlight that I think I’m a bit more excited about.

I am thinking of creating a plush banana that you can zip closed. Once the banana has been “peeled” and the zipper crosses over the conductive thread the light turns on and it glows from within.

Perhaps the brightness can be controlled by the number of sections that have been peeled, ie- one for dim and two for bright.

thoughts?!?

photo

For my plush nightlight I’m thinking of creating a stack of pancakes with goodies on top.

The butter, blueberries and raspberries would sparkle with the appropriate colored light as you shake the plush toy.

I had originally tested this by limiting the strand to 3 pixels and then changing the colors of the strip. In practice I imagine that I would sew each colored pixel in at the the right spot.

The test that I photographed is only using one pixel because the strand had a really poor connection.

photo 1  raspberry

photo 2  blueberry

photo 3  butter

Screen shot 2013-09-23 at 12.59.42 PM

photo 4

It just won’t sparkle.. :(

IMG_3672

IMG_3671


After sewing the neo pixel on the cardboard, I checked with Strand Test sketch to see the LED lighting up, and it worked.


But when I uploaded the sketch from adafruit, it just wouldn’t light up.

When I shake it, the serial monitor will show “Twinkile!” which I assume it is signaling the LED to sparkle, but nothing happens.

I tried with a different LED, which still seems to have the same problem.

Screen Shot 2013-09-22 at 7.54.13 PM


I’ll play around with it more, and see if I can get it to work.

Chameleon Scarf test

I ended up doing the Chameleon Scarf demo since I had sewn in the Flora color sensor. I added and sewed in another LED so it can register and show the color the sensor read. The connection was strong, and the light was able to pick up 2 out of the 5 test. Some of colors weren’t strong enough for the sensor to register and convert the colors into.

I will try to work on the accelerator, since it won’t register any data now. I’m trouble shooting.

here is the screen shot of code for the Chameleon scarf.

Screen Shot 2013-09-20 at 5.33.40 PM

Here are the successful test from running the program. I did understand a bit more of the conversations. Like sum can be written like + .. we learned this during class, but it clicked more during this test run.

DSC_0306 DSC_0307 DSC_0309

: )

NeoPixel “Switch” Up

Fun with the NeoPixels

I didn’t get too fancy with the NeoPixels but I did try to get all of mine connected in series.  Unfortunately I could only get the first one to work after hooking all that up.  I double checked all the connections and everything seemed lined up correctly.  + to + and – to – and all the arrows pointing in a row.  I decided it must be a jumper wire so I unhooked the three additional NeoPix that I’d connected to the functioning one and began connecting them out one at a time (note to self this is probably a good practice for the future) and when I didn’t get that 2nd one to light up I began swapping jumpers.

Image

I totally lucked out that the first one I tried seemed to be faulty.  This is the second jumper wire I’ve discovered like this and I’m wondering if with the multimeter I could test the wires for continuity.  (I set the jumpers aside but tied them in a loose knot so I know not to use them unless I figure out how to fix them.)

Image

I began switching numbers around and was able to figure out what all the parameters did.  First it displays each specified color at the brightness determined on the scale of 0 to 255 for a time determined by the 4th number in each series.  When I made the number smaller the delay was a shorter time.  (Not sure what unit of time this number represents.  I assumed it was milliseconds but it seem longer than this.)

Image

I was confused by the difference between rainbow and rainbow cycle.  I changed the parameters and deleted one and then the other line.  It seems like the cycle is a longer smoother thing.  The number which follows seems to make it happen faster or slower.

I decided to try adding the switch to my device so I could turn it on and off while I was rewriting code without plugging and unplugging the USB cable.  The switch worked but I got this error message on my computer.

Image

I’m not sure why adding a switch would cause the whole system to draw more power.  I noticed that in the Getting Started with Arduino book there’s a resister included in the switch circuit.  Maybe that’s why?  Need to find out more about this.

Image

Single LED was OK but strandtest.. not

After the last class which I couldn’t work my arduino stuff on my laptop, we tried to figure out the problem with Borris. Having tried many different things we achieved to make a blink -without knowing what we did- Then I thought all the problems are solved with my laptop and arduino.. But they aren’t.. I think the main problem is about “strandtest” because I imported strandtest manually to my library and it doesn’t work properly.

Here is my trials and failures:

First I started the Arduino application, and then connected the cords with a single RGB LED. Then I ran floratest and played with colors and delays.. Here are pics and videos:IMG_1975

IMG_1974

IMG_1968

http://www.youtube.com/watch?v=sNNbRuc3R_k&feature=youtu.be

Then, when I tried to make some trials with strandtest I couldn’t achieve it. Although I learned how to import things to library (we are not supposed to import files to the arduino file in program files, we should import them into the documents/arduino/libraries) And the second rule is legal file name, we should avoid using “-” in file names, but “_” works.

failure

Luces

Here is my first attempt, to simply figure out how to put them in order. I had a bad alligator clip, but found the bad one and continued.


first attempt

DSC_0302 DSC_0303


Here is my second attempt. I was happy to figure out setting up the second LED pretty fast by taking a look at the tutorials. I messed around with the colors, but had trouble getting it to change speeds or intervals. Fun trying to figure out how to read this.

second attempt


DSC_0304 DSC_0305luz


Flicker like hell

ardrino code ardunio play_gc

I had a great challenge trying to get the code to flicker like I wanted.  You can see the flicker effect here. The problem  I incurred is that i wasn’t sure how to loop the 1st LED to the 2nd LED.  What i figured out is that you have to change the =0  value of the 1st LED to corresponding with the send LED value of =1.