Do you ever wake up in the middle of the night, needing to pee?
Or maybe you’re sleepless in bed, and want to sit up and read for a little while.
Or maybe, you’re staying somewhere unfamiliar, and you’re worried that if you *do* wake up in the middle of the night, you won’t remember where the light switch is, and then you’ll bonk your knee into a table or bang your head into a wall. Yowza! That’ll be one big bruise.
Leo the Lemur lighting the lamp’s light switch
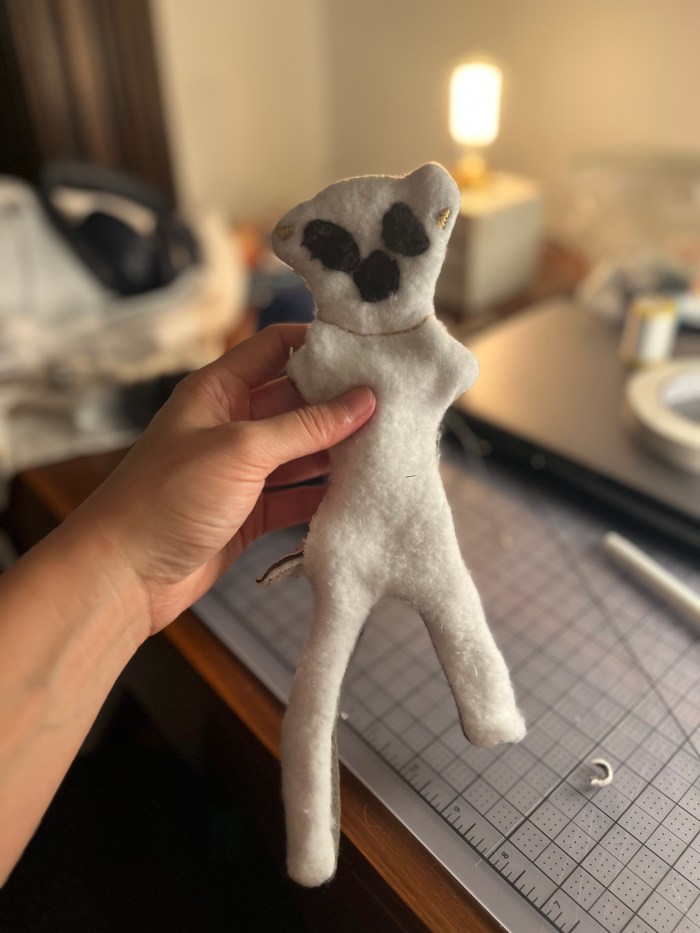
Leo the Lemur is a plushie night light for kids of all ages who either (A) love lemurs (B) need a little help turning on the lamp in the middle of the night or (C) all of the above.
Last week, when looking through some of the other plushie designs, I was really impressed by lights that served a clear purpose. It popped in my head that one of the most frustrating things I experience in the darkness is the inability to find the light switch. And thus, Leo.
Leo the Lemur reading a book by tail-light
This project was a major challenge, in a very satisfying way—I definitely learned a lot in the process. I’ve never made a stuffed animal before (unless you count my original prototype, which was a very simple anglerfish), and I’ve never made any sort of lighting or electronics.
The experience tapped into my doggedness and obsessiveness: once I had the idea of the lemur, I had to pursue it, and I was going to do whatever I needed to make it work. And I knew the outcome wasn’t going to perfect—I just wanted. to execute as well as I could.
Key supplies!
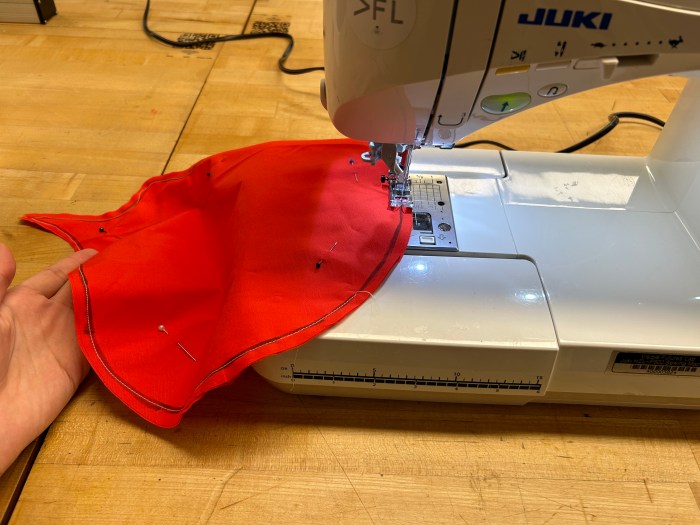
In terms of materials, I used four types of cloth (oops, I accidentally overspent at Mood Fabrics—learned that lesson the hard way), and two colors of thread. Additionally, I used clay (plus paint and gloss) for the eyeballs and nose, as well as armature wire, yarn, and stuffing for the plush’s innards. The sewing was a combination of sewing machine and hand sewing.
The final putting-together of the plush was much more time-consuming than I anticipated—order of operations was important, and I didn’t have an optimal way to cover the wire such that it didn’t get bunched up when I tried to push it into the arms and legs. That was definitely the most challenging part, and something I’d approach differently the next time around. However, when there’s a will (and a chopstick), there’s a way.
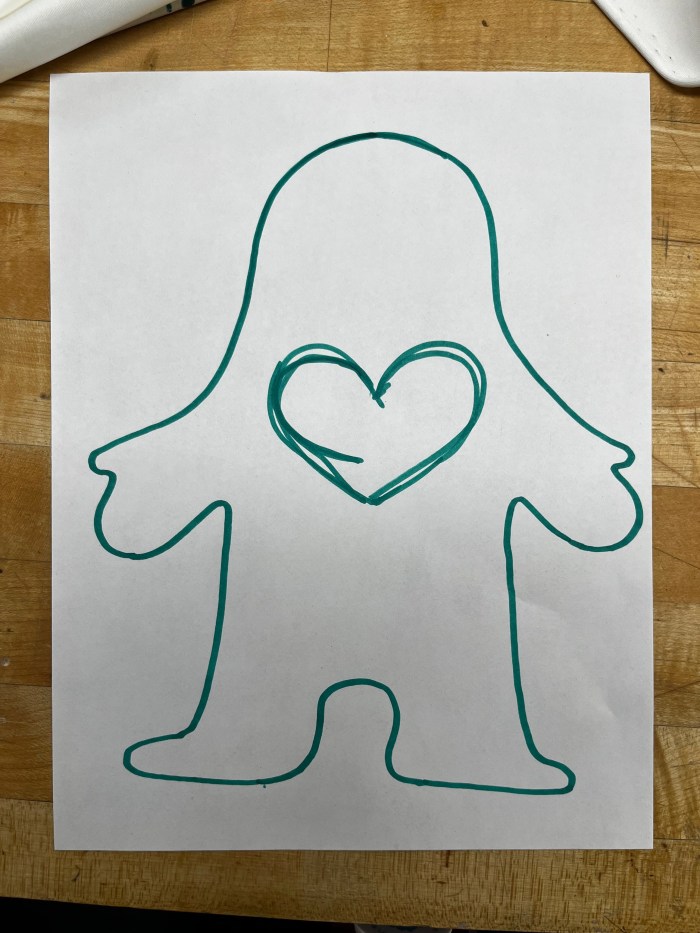
Initial sketchLemur body pattern
If I had more time to work on this project, and create additional iterations, I would be interested in trying out a few things, including:
A larger lemur: This would be to fit the battery pack better, as well as test out on larger lamps and light fixtures
Maybe making the head more three-dimensional: Potentially adding the ears and snout as separate items attached via ladder stitch. I think it could be nice if the snout didn’t blend directly into the black nose area, too.
Proportions: While the tail is definitely the pièce de resistance, it is totally out of proportion with the lemur’s body. I’d like to try something more consistent. I also think that a striped tail just made of the same fabric as the body (that fuzzy white and black), could be just as effective in its own way.
Foot pads: Little black pads to go on the palms of the hands and feet
Tighter wire/grip: Currently, the lemur slides down the neck of a lamp unless it’s angled somewhat horizontally. Would tighter wire or some kind of grippy material prevent this?
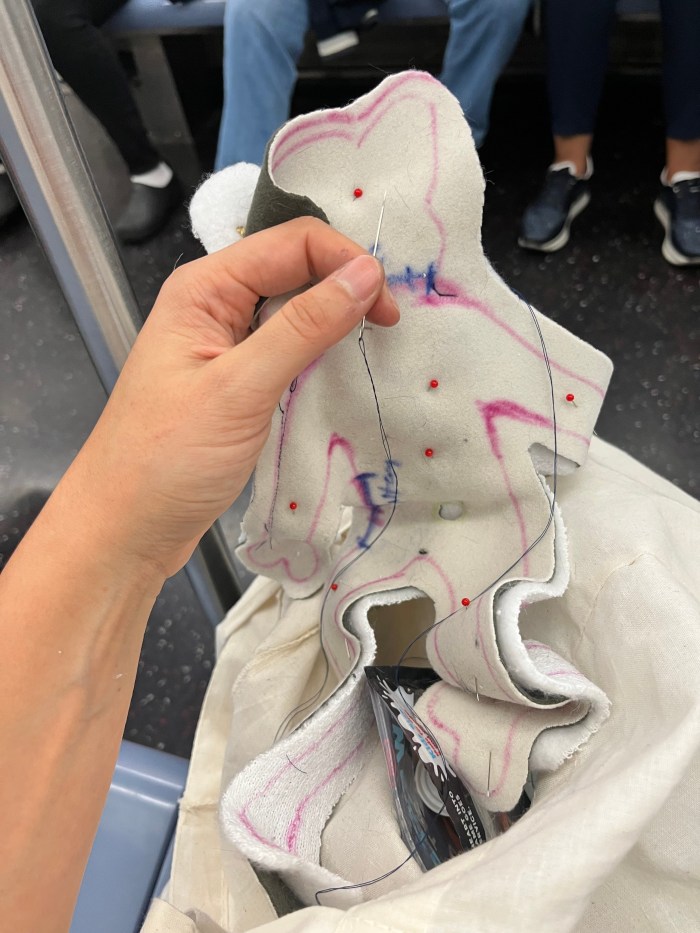
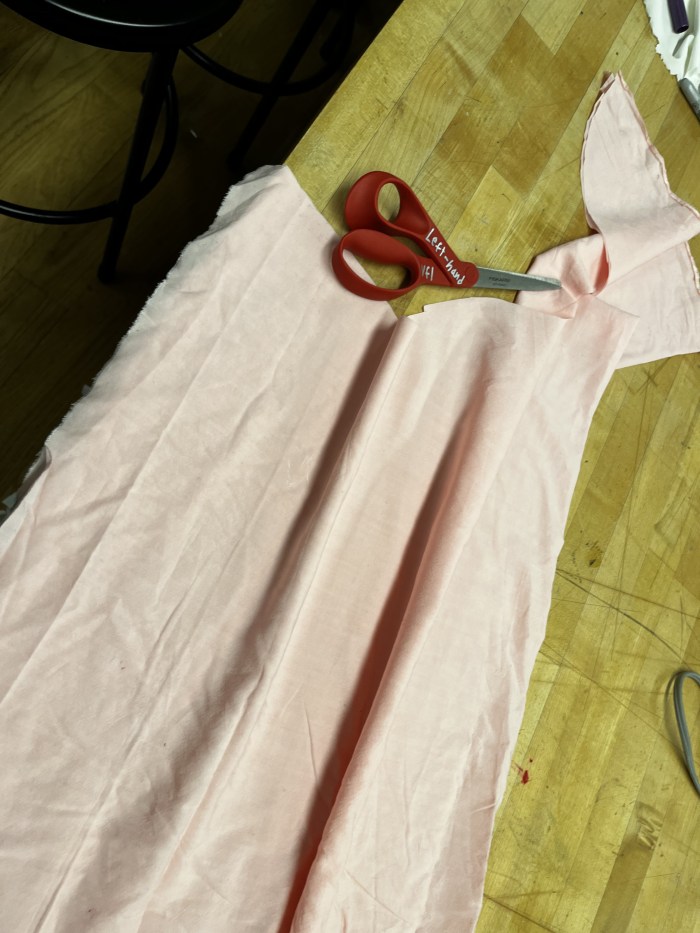
The outer fabricHand-sewing the curvier parts on the subway
Tail with electric wires and armatureSewing the tail onto the body
The LED circuit
Reversal in progressThe internal wire armature before insertion
There’s nothing like a good book
My hope is for Leo to make people feel safe and secure at night, knowing that if they need to get up when it’s pitch black outside, they won’t have to fumble to turn on a light. And hopefully they’re comforted by his derpy cuteness!
This flash light is inspired by my philosophy of life, which is that everyone is born equal, but it’s the people we meet, the environment we grow up in, and the cultures we come in contact with that make us unique individuals, and it’s the love in our hearts that makes us who we are.
But when I made this doll into a piece of clothing, I realized that it is not only a way to express oneself, but also a medium to convey warmth to the people around me.
Imagining on a cold night on the streets of New York, a stranger walking towards you wearing such a cute shirt, which emits warm light, would it not make you feel warm and sweet? So I wanted to make a shirt that lights up, that would allow people to transmit warmth and love to those around them even on a cold dark night.
Making processes:
1 Soldering the led light with the resistor.2 Slodering all the LED lights and bettery together3 Testing whether it can be lighten up.4 Drawing the shape. 5 Transfer the shape to the fibric.6 Cutting the fibric.7 Sewing the doll and put the LEDs and filler in it.8 Adjust the position of the bettery to make sure you can turn on the light.
Your friendly night light for small groups of people to stay together in a crowd. As public gatherings and events have had a comeback, getting lost in crowds has also had a larger comeback. Initially thought out as an additional assistive hand for mums with more than two children; I soon realized, music festival go-ers, friend groups, tourists etc could get an extra hand.
I wanted to add a third dimension to an ‘alphabet’ or a sign or a universal symbol for this project. The ‘&’ happened to spark my thought further adding to the ‘pun’
DOES IT LIGHT UP?
Yes, I would like to light it up with a touch sensor so that it blinks every time someone touches the Ampers’hand. But with my limited knowledge with circuits, I could only make it blink.
My intention with the light is to make the users feel at ease and comfortable to be with their close ones.
Materials I used for this project were Foam Stuffing, Cotton cloth, and wire. This also happens to be my first time sewing and using a needle and cloth so it was quite challenging to work my way around a shape this complex.
Due to some difficulties, I had to cut of a certain part of the ‘&’ so that the later stages of folding the cloth inside-out or stuffing or wiring wouldn’t be a problem
For the ease of stuffing, I had to keep multiple openings on the &.
If there’s one think I’d like to change about this, it would be adding multiple LED’s to it for it to feel like a night light in full effect. The wiring ended up getting slightly loose once put in.
My Plush Night draws inspiration from my personal collection of stuffed animals. Since they’re not currently with me, I’ve taken it upon myself to create a plush companion featuring built-in LED lights. When envisioning soft, illuminated objects, beds and nights naturally come to mind. People often seek to surround themselves with things they love as they settle in for the night. The ubiquitous smiley face exudes a positive vibe, creating a cheerful atmosphere before I embark on a restful night’s sleep.
Material used: Two red light bulbs, Battery pack, and Soft white blanket for the fabric.
In crafting this plush toy, I decided to utilize a sewing machine, which I hadn’t used in quite some time. Initially, getting started proved a bit challenging, but once I did, I found that it significantly expedited the process and resulted in a neatly defined outline for my plush toy. Additionally, following a conversation with Becky in the last class, I experimented with splitting the inner surface of the pierced sections. This approach proved to be incredibly beneficial, especially when working on the invisible stitch.
My toy is called Madmad, and it serves two purposes: helping adults overcome sleep difficulties and assisting individuals in relieving stress.
As children, many of us find comfort in holding onto something to fall asleep. This habit often continues into adulthood. Madmad is designed to cater to this need. Inside, I’ve placed plastic and paper, so when it’s squeezed, it produces a soothing noise that helps people release their stress.
Madmad is divided into three parts: the eyes, the body, and a button. The toy is designed to enclose a ball within it, featuring LED lights, buttons, and soft cotton material. When the button is pressed, Madmad’s ears light up, creating a calming atmosphere.
This versatile toy can be placed on bedside tables, in office rooms, or taken along while traveling. I’ve added a convenient button, making it easy for people to carry it anywhere they go.
The head wires incorporate LEDs and buttons. As you approach the toy, the LED lights will open.
The “Fish Illuminating the Night” is designed for the baby
Can be hung on the crib as a companion for babies to sleep with
Inspiration Story: The underwater world is pitch black and mysterious, with little stars trembling and hiding by the coral. Suddenly, a little light came from afar, illuminating the blue sea as it approached. Little Star curiously asked, “How did you bring the sun to the bottom of the sea!”
Materials: cotton, felt, small light bulbs, wires, and battery packs.
In this project, I attempted to sew LED lights into plush toys to make them a night light.
1.Draw the pattern and staple it onto the fabric with a needle
2.Sewing facial features
3.Cutting and Sewing of Overall Shape
4.Reverse fabric+Completion of the toy fabric section
Hateune miku is related to the negi(Allium fistulosum?) because of the song Loituma Girl. Someone made a flash video for this song that miku wave a negi. So I made a negi support stick for miku’s fans.They can wave them in the concert to make them cool and fancy.
The green leaves on the head can glow to make it look like green support stick. And it also very long and stand out.
Material
green and white cotton fabric, cotton, wire, white LED lights, battery pack
Circuit diagram
Progress
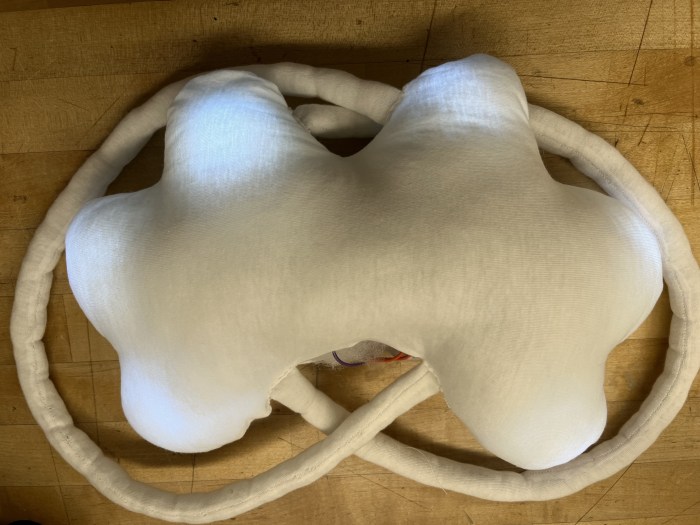
Sewing white fabric
Solder circuits
Sewing green fabric
Finish
Other
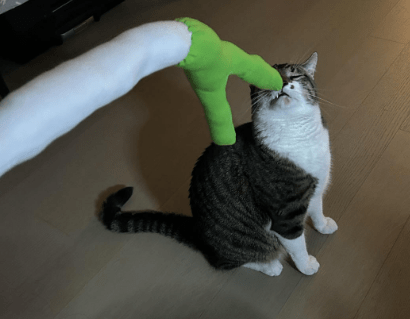
It can use as cat teaser!!
And you can also use it when you want to go to the bathroom at night!
My target users are people walking on the road at night, especially children. Walking on the road at night is very dangerous and easily be hit by a car. Therefore, I suggest wearing the night light I designed, which will make the wearer easily visible to drivers. Also, the glowing wings make the one who wears it look like an angel, creating a fairytale mood on a dark night.
Materials: cotton, cotton fabric, small light bulbs, wires and a battery pack.
For this project, I tried sewing LED lights into a plush toy to make the toy glow. I also tried sewing the straps into the wings. I think stuffing the cotton into the straps and sewing the straps into the body was the hardest. If I had more time, I would have strung more lights around the wings to make the outline of the wings glow.
I have always been inspired by the night sky, and ironically growing up I was terrified of the dark. Putting these two ideas together, I started brainstorming ideas for a plush night light which would light up and make children feel more comfortable in the night inspired by the night sky. During this process I was interested in incorporating magnets into my ideas and having two be a part of one. So I also became interested in the idea of shortening distances for those in long distance partnerships, whether platonic or romantic.
I started a little backwards, I made my first proposal sketch and because I have no sewing experience I wanted to try to make it and see what I could learn from my process. The following is my sketch I made for the night light I prototyped
And the prototype I made:
Then I started some other sketch ideas. I was excited about the use of magnets and thought more about the composition of two plushes together. This proposal includes cut outs and fitting a star into the moon with additional stitching details
My final proposal is inspired by the “story” which got me into space. The minute I heard this fact, I immediately fell in love with the narrative of the universe, and its the simple fact that the earth and moon were once, one piece. For this piece I also start characterising the pieces adding arms and legs, and more white stitch details.
I am leaning towards my third sketch currently, with a crescent moon and a small earth. I enjoy the use of magnets to attach these pieces together. The magnets I used in my prototype were a little weak so I would have to find something stronger, and also figure out if there is a way to keep the magnet in place for where it should stay.